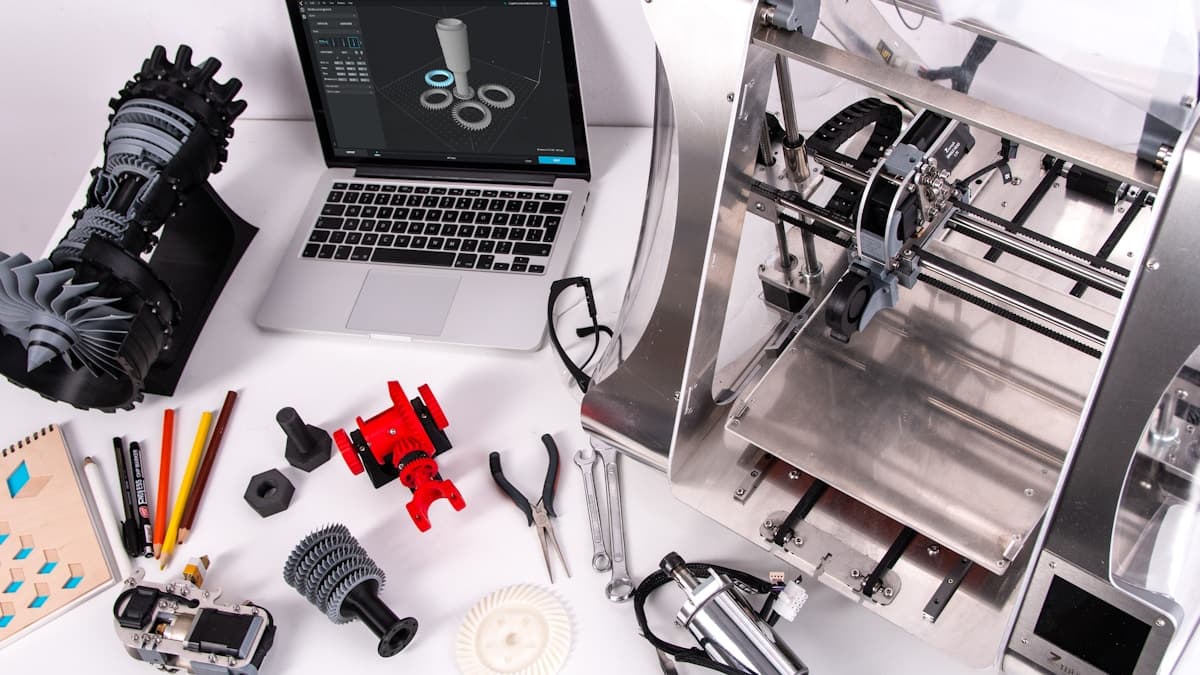
3D printing services for labs solve a problem every research group recognises: the part you need does not exist in any catalogue, the quantity is one, and the experiment runs next week. A holder for an oddly shaped specimen, an adapter between a pump and a chamber nobody designed them to share, a bracket that puts a camera exactly 42 mm above a stage, a rack for tubes a supplier discontinued. Buying that machined is weeks and hundreds of dollars; printing it is days and tens. This guide covers what labs sensibly print, where printed plastic has no business near your samples, how to pick a material from the sterilisation and chemical duty rather than the datasheet, and what to send a shop so the first quote is the real one. Browse the 3D printing provider directory when you are ready to send the job out.
What Labs Actually Print
Four groups cover most bench work, and knowing which group your part belongs to fixes the process and the material before anyone talks price.
Sample and specimen fixtures. Tube and vial racks, plate and slide holders, cryo-box inserts, imaging stage adapters, mounts that hold an irregular specimen in a repeatable orientation. The biggest category, because the geometry is a negative of something only your lab handles.
Instrument hardware. Optical and sensor mounts on a breadboard grid, probe holders, laser and light shields, guards, alignment targets, spacers, and the endless adapters between generations of equipment. Older instruments in particular are kept working by parts the manufacturer stopped selling — the same case made in 3D printed replacement and spare parts.
Fluidics and flow hardware. Manifolds, tubing guides, perfusion-chamber bodies, bespoke reservoir caps and Luer or barb adapters. Sealing is the whole challenge here, and it is where the process choice matters most.
Teaching, outreach and visualisation. Molecular and anatomical models, tactile teaching aids, conference-booth demonstrators. Anatomical models from CT scans covers the patient-data workflow specifically.
Core facilities and shared instrument suites sit across all four, and simply compress the timescale: a new stage insert on Tuesday because the beamtime is Friday.
Where Printing Is the Wrong Answer
Worth stating plainly, because lab content tends to skip it.
Anything that contacts live cells, media or a sample you will publish on. Uncured photopolymer residue is cytotoxic, layer lines cannot be validated as clean, and colourants and additives leach in ways nobody has characterised for your assay. Print the fixture that holds the vessel; keep certified commercial consumables against the biology.
Anything sterility-critical or regulated. A printed part is not a sterile-barrier device, and if your work runs under GLP, ISO 17025 or a clinical protocol, an uncontrolled part in the measurement chain is an audit finding waiting to happen. Where a printed part must be qualified, 3D printing for medical devices covers what documented additive actually requires.
Anything holding a real load or a pressure. Vacuum manifolds, gas lines and lifting hardware want machined metal or a rated commercial fitting. Printed plastic is anisotropic — measurably weaker along the build axis — and it fatigues unpredictably.
Optics in the beam path. Printed lenses and windows are not optics. Print the mount, buy the glass.
Choose the Material From the Cleaning Method
The most common misorder in a lab is a part specified from a stiffness figure and then destroyed on its first pass through an autoclave or a solvent wash.
| What the part must survive | Sensible materials | What kills the wrong choice |
|---|---|---|
| Repeated autoclaving at 121 °C | Polypropylene, polycarbonate, PPSU, PEI/Ultem, PEEK | PLA collapses, PETG and ABS soften, most photopolymers swell and yellow |
| IPA, ethanol and bleach disinfection | PA12 (SLS/MJF), polypropylene, PETG | ABS crazes in alcohol; some resins soften and go tacky |
| Aggressive solvents — acetone, DCM, THF | PP, PEEK, fluoropolymer commercial parts | ABS dissolves outright; nylons and photopolymers swell and lose dimension |
| Freezer and cryo handling | PP, PA12, TPU for anything that must flex cold | Rigid photopolymers turn brittle and shatter at −80 °C |
| Optical clarity for viewing windows | Polished SLA clear resin, machined acrylic | FDM is never transparent, whatever the spool claims |
| Contact with cells or media | Certified biocompatible resin, fully post-cured | Standard resins leach; as-printed FDM cannot be cleaned |
| Static-sensitive electronics work | ESD-safe PA or ABS grades | Ordinary plastic is an insulator and holds charge against a board |
| Ovens and hot-plate proximity | PEI/Ultem, PEEK, PC | PLA deforms at temperatures a warm incubator reaches |
Grades vary widely between suppliers, so treat this as a shortlist and confirm against the exact powder or filament your provider runs. How to choose a 3D printing material goes deeper on the trade-offs, and resin safety and post-processing explains why cure state — not the resin name — decides whether a photopolymer part is safe to handle.
Processes and When Each Fits
| Process | Typical lab job | Why it wins here |
|---|---|---|
| FDM | Racks, brackets, guards, large enclosures, polypropylene parts | Cheapest route to real engineering thermoplastics, and the only affordable one at large sizes |
| SLS nylon | Fluidic manifolds, complex fixtures, living hinges | Tough PA12, no supports inside internal channels, even matte finish |
| MJF | A set of the same insert for every bench | Consistent part-to-part properties across tens or hundreds |
| SLA / resin | Sealed flow cells, fine detail, clear windows, biocompatible parts | Smoothest surface off the machine and the only route to optical clarity |
| PolyJet | Multi-material fixtures with soft gasket faces | Rigid and elastomeric printed in one part |
| Metal AM | High-vacuum and high-temperature hardware | The only additive route to a genuine metal part; cost and lead time match |
For a rack that every bench in the building wants, price low-volume 3D printing against rapid tooling — moulding starts to win somewhere in the low hundreds of units.
What Drives the Quote
Machine time dominates, not material. The levers that move a lab quote most:
- Setup versus quantity. One part carries the whole setup cost. Twelve of the same insert cost far less than twelve times one, so batch the group's fixtures into a single order.
- Sealing. A flow cell that must hold pressure is finishing labour, and it is usually the largest line on the invoice.
- Surface finish. A part that must be wiped clean needs sanding, vapour smoothing or a coating; an as-printed rack does not. Specify finish per surface, not per part.
- Material grade. Autoclavable, ESD-safe and biocompatible grades carry both a material and a machine premium, because fewer shops run them.
- Threaded inserts. Heat-set inserts installed by the shop are cheap per unit and vastly outlast printed threads on a fixture that gets disassembled weekly.
- Documentation. A material certificate or a process record is a real cost when a shop has to produce one, and free when you do not ask.
How much 3D printing costs breaks the general pricing model down further.
How to Spec the Job
Send this and you get a number you can put on a purchase order rather than a range:
- STEP, not just STL. If a wall needs thickening or a boss resizing for an insert, the shop can only do that to solid geometry.
- The interface dimensions, marked up. The three that matter are usually the ones touching an instrument or a standard vessel — a breadboard hole grid, an SBS microplate footprint, a GL45 bottle thread, a 50 mL tube diameter. Flag those and let everything else run to general tolerance. Tolerances and accuracy sets realistic expectations.
- The cleaning and sterilisation method, with temperature and cycle count. This single line changes the material more often than anything else you write.
- Every chemical the part will meet, including the disinfectant. Labs remember the reagent and forget the bleach.
- Whether anything contacts a sample. Say it explicitly; it moves the job into a different material class.
- Quantity now and likely repeats, so the shop can price a batch and keep the file on record.
- Fastener strategy. Design the boss for a heat-set insert rather than a printed thread. Design for 3D printing guidelines covers the geometry rules.
If nobody in the group models CAD, send dimensioned sketches and photographs of the equipment with a ruler in frame. Plenty of bureaus offer a design service, and an hour of theirs is cheaper than a postdoc's week in a program they do not know.
Qualifying a Provider
Four questions sort the shortlist:
Can you run the grade I need? Autoclavable polypropylene, PEI/Ultem, ESD and certified biocompatible resins are a genuine filter — most shops do not stock them, and finding out at quote stage is cheaper than at the bench.
What is your turnaround on a revision? For lab fixtures this matters more than the price of the first part. Version two nearly always follows within a fortnight.
Will you sign our NDA, and where do our files go? Custom hardware often discloses unpublished work, and a technology-transfer office will usually require an executed agreement first. NDA and IP protection covers what to ask, including whether any process is subcontracted.
Can you handle a university purchase order? Practical, and it stops more orders than technical capability does. Ask about PO terms, quoting validity and whether they invoice institutions directly. How to choose a 3D printing service covers the wider checklist.
Start With One Fixture
The reliable way in is not a fluidic device. Print a rack, a bracket or a stage adapter — something where a wrong tolerance costs a week rather than an experiment. You learn how your provider communicates, how close their dimensions run, and how the material behaves in your cleaning routine, on a part nobody's data depends on.
Then move up. Once the group trusts the process, the second and third jobs tend to be the ones that were quietly blocking work — and the file sitting on the shop's server means the next copy is a two-day email.
Get Lab Parts Quoted
Decide first which of the four groups your part belongs to and how it will be cleaned, because those two answers fix the process and the material before anyone talks price. Then send STEP geometry, the marked-up interface dimensions, the chemicals and temperatures, and the quantity.
Browse 3D printing providers to find shops that take laboratory work, or start with California providers if you are near a university or biotech cluster. Ask two or three: the spread in what they ask you about cleaning and sample contact tells you more about capability than the spread in their prices does.
Related Resources
- 3D Printing Services for Jigs, Fixtures and Manufacturing Aids — the same logic applied to a production floor
- 3D Printing for Medical Devices — what changes when a part must be qualified
- 3D Printing Services for Food-Safe and Food-Contact Parts — the closest cousin on cleaning and surface finish
- Resin Safety and Post-Processing Basics — why cure state decides handling safety
- 3D Printing Services for Electronics Enclosures — housings for bench instrumentation
- 3D Printing Services in California — the research-cluster supply base
- Browse 3D Printing Providers — send the job out
Hero photo by ZMorph All-in-One 3D Printers via Unsplash.