3D printing services for electronics enclosures solve a problem that shows up on almost every hardware project: the board works, the firmware is close, and there is no box. Tooling a housing costs thousands and takes weeks, off-the-shelf project boxes never have the right cutouts, and hand-machining an acrylic case is a weekend you do not have. Printing gives you a housing that matches your board this week, and — when volume stays modest — it can keep giving you that housing right through production. This guide covers what gets printed, which process fits which stage, the materials that carry real requirements like flame rating and heat, how to design cutouts that actually fit, and what to send a shop. When you are ready to source, browse the 3D printing provider directory.
What Gets Printed
Four categories cover nearly all enclosure work, and knowing which one you are in settles process and cost before anyone quotes.
Fit-check shells. The cheapest and most useful print on the list. A rough two-part box that proves the PCB mounts where you think it does, the connectors line up with their windows, and the standoffs clear the tallest capacitor. Print it in the cheapest thing available, break it, and revise. Teams that skip this stage discover the problem after they have paid for a cosmetic part.
Presentation and demo housings. The case that goes in front of a customer, an investor or a trade-show stand. Here the surface finish, colour and parting-line placement matter as much as the fit, and the process choice usually shifts away from bare FDM.
Low-volume production housings. Fifty to a few thousand units a year, the volume band where an injection mould never pays back. This is where printed enclosures quietly live in commercial products — instrument cases, sensor housings, control boxes, retrofit panels. The requirements tighten: consistent material, a flame rating if the product needs one, and dimensional repeatability from batch to batch. It is ordinary low-volume production work that happens to be shaped like a box.
Brackets, mounts, panels and internals. The parts nobody plans for: DIN-rail clips, panel adapters, light pipes, board standoffs, cable retainers, blanking plates for the connector you dropped in rev C. Individually trivial, collectively the reason a lot of shops keep a printer in the building.
A fifth case is worth naming because it catches people out: replacing a housing that no longer exists. Legacy equipment with a cracked case and a dead manufacturer is a scan-and-reprint job, closer to replacement and spare parts work than to product design.
Where Printing Is Not the Answer
Being specific about the boundary is what makes the rest of this credible.
High volume. At ten thousand units a year of the same case, injection moulding wins on unit cost by a wide margin and the tool amortises quickly. Print the prototype, mould the production run — the crossover is laid out in injection molding vs 3D printing.
Full EMI shielding as a printed feature. Polymers do not shield. You can conductively coat a printed case, bond in a shielding can, or use a metallised gasket, but nothing about the printing itself buys you attenuation. Plan the shielding as a separate part.
Optically clear windows. Printed "clear" materials are translucent at best and craze under UV. Use a cut acrylic or polycarbonate window bonded into a printed frame; it is cheaper and it actually looks like a window.
Anything that must dissipate serious heat through the case. A printed polymer housing is an insulator. If the board needs the enclosure as a heatsink, you need metal — and that changes the sourcing conversation entirely.
Process Selection
| Process | Best for | Typical materials | Watch for |
|---|---|---|---|
| FDM | Fit checks, brackets, internals, cheap production shells | PETG, ABS, ASA, PC, PA6-CF, flame-retardant grades | Layer adhesion is the weak axis — orient so screw bosses and snap fits are not pulled along Z |
| SLS / MJF | Presentation and production housings, snap fits, living hinges, thin walls | PA 11, PA 12, glass-filled nylon | No supports and near-isotropic strength; slightly porous, so seal it if the case must keep water out |
| SLA / resin | Cosmetic parts, fine texture, light pipes, tight-tolerance faces | Rigid, tough and heat-resistant resins | Best surface of the three; check UV stability before shipping anything that lives in daylight |
Most real projects use two of these. FDM printing services carry the iteration because the cost of being wrong is a few dollars, then the housing that ships is often Multi Jet Fusion or SLS nylon because those tolerate thin walls, integrated snap features and a dyed finish that looks deliberate rather than 3D printed.
Materials, and the Requirements That Pick Them
The material list for enclosures is short, and it is chosen by requirements rather than preference.
PETG is the sensible FDM default: tough, prints reliably, survives a drop, does not warp much on a large flat lid. Fine for anything indoors and unregulated.
ABS and ASA buy you heat resistance and, for ASA, real UV stability — the correct choice for outdoor housings and anything that lives in a vehicle or near a warm supply.
Polycarbonate is the impact and heat answer when PETG is not enough. It is harder to print well, so it is a reason to use a provider rather than the printer down the hall.
PA 11 and PA 12 nylon, via SLS or MJF, are the workhorses for anything that has to flex and keep flexing — snap-fit lids, integrated hinges, latches. Nylon is what makes a printed enclosure feel like a moulded one.
Glass and carbon-filled grades add stiffness for large panels that would otherwise bow, at the cost of brittleness at thin sections.
Flame-retardant grades are the requirement most likely to be discovered late. V-0 rated filaments and powders exist across FDM, SLS and MJF, but a UL 94 rating attaches to a material at a stated thickness, not to your part. If the product needs a rating, name the exact grade on the purchase order, set a minimum wall thickness, and ask for the material certificate. The general trade-offs — heat, stiffness, UV, cost — are covered in how to choose a 3D printing material.
Designing a Housing That Fits First Time
Five details account for most failed first articles.
Wall thickness. Aim for 2–3 mm. On FDM, pick a thickness that is a whole multiple of the extrusion width so the wall is solid perimeters rather than a thin sandwich of infill. Thicken locally around bosses and connector windows rather than thickening the entire shell.
Screw bosses and threads. Do not print fine threads and expect them to survive assembly. Design for heat-set brass inserts — they take repeated opening and closing, which printed threads do not — or for self-tapping screws into a boss with a properly sized pilot. This one change removes most field failures on printed cases.
Cutout clearance. Printed holes come out undersized and every process has its own bias. Add 0.2–0.4 mm per side on connector and display windows, dimension from one datum face instead of chaining, and expect the first article to need a tweak. What is realistic per process is set out in tolerances and accuracy in 3D printing.
Orientation and the parting line. You are choosing where the layer lines run and where the weak axis sits. Ask the provider to orient so the cosmetic face is up-facing or vertical and so no snap finger is loaded along Z. On a cosmetic part, say where the parting line may fall; otherwise it will land across the front.
Sealing and venting. If the case has to keep water out, design an O-ring groove or a gasket land and use cable glands rather than printed pass-throughs. If it has to let heat out, put the vents where convection actually goes — a louvre pattern on a vertical face beats a grille on the base. Broader geometry rules live in the design for 3D printing guidelines.
Finishing
Bare FDM looks like bare FDM, and for internal parts that is fine. For anything a customer touches, the common paths are vapour smoothing on ABS and ASA, bead blasting and dyeing on nylon — black dyed MJF is the closest a printed case comes to a moulded one — and sanding plus primer and paint when a specific colour is required. Sealing and clear-coating also close the surface porosity on nylon, which matters if the enclosure needs to be wiped down. Costs and lead times for each are covered in post-processing and finishing services.
What to Send a Provider
Send a STEP file, not just an STL — a mesh throws away the exact geometry of every hole the provider might need to interpret. Add a simple drawing marking the two or three dimensions that are genuinely critical, usually the connector window and the mounting hole pattern, so the shop knows where to spend its attention. State the material by grade rather than by family, name any flame or temperature requirement, say whether the finish is cosmetic or functional, give the quantity and whether it repeats, and say if you want a first article before the batch runs. Providers who quote housings regularly will also ask about insert type and orientation preference; the ones who ask are the ones to use. The general file-prep steps apply here as they do to any job — see how to prepare files for a 3D printing quote.
Get an Enclosure Quoted
Decide first which of the four categories your housing belongs to, because that answer sets the process, the material and how much evidence you need from a supplier. A fit-check shell is a same-week, low-stakes order you should place immediately. A production housing deserves two or three quotes and a first article. Browse 3D printing providers and describe the board, the environment and the quantity — what a shop asks you about inserts, wall thickness and flame rating will separate the ones who print enclosures for a living from the ones who print anything at all.
Related Resources
- Functional and End-Use 3D Printed Parts — when a printed part becomes the product
- Low-Volume 3D Printing Services — the volume band printed housings live in
- Injection Molding vs 3D Printing — where the crossover actually falls
- Design for 3D Printing Guidelines — walls, bosses, snap fits and orientation
- 3D Printing Services for Robotics Parts — the adjacent brief, with more moving loads
- 3D Printing Post-Processing and Finishing Services — smoothing, dyeing and sealing a case
- Browse 3D Printing Providers — send the job out
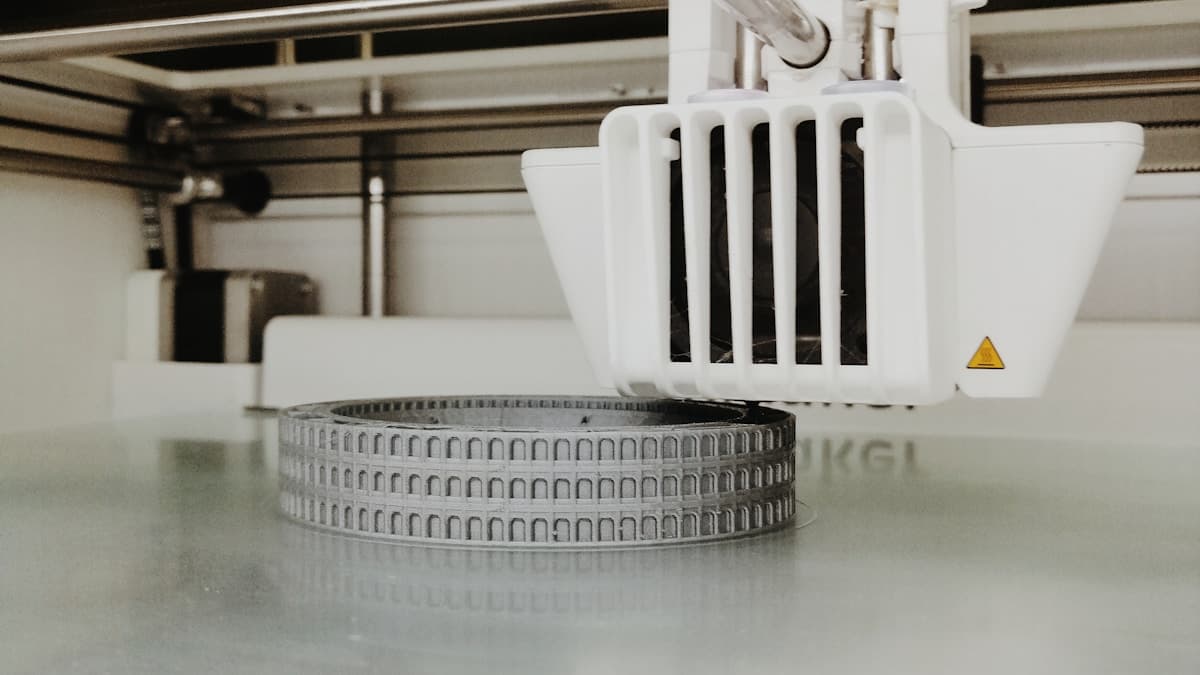
Hero photo by Andrea G via Unsplash.