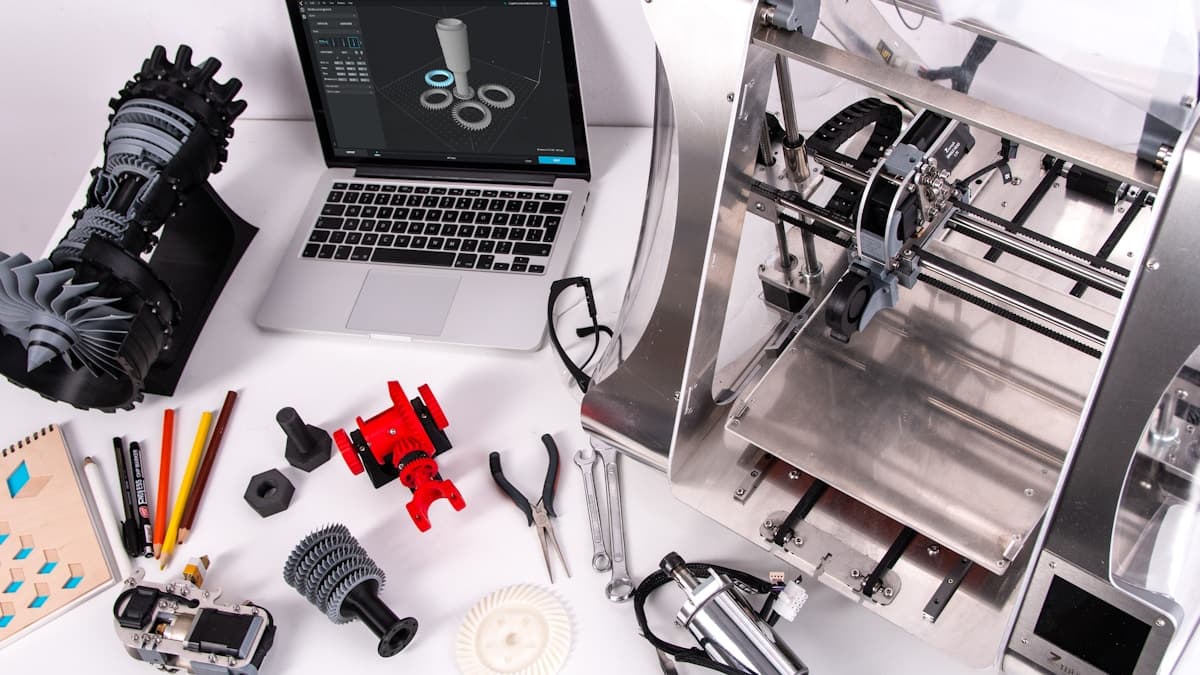
When a part breaks on equipment nobody supports any more, the problem is rarely that the part is hard to make. It is that the tooling was scrapped years ago, the minimum order is fifty, and the lead time is eleven weeks. 3D printing replacement and spare parts sidesteps all three, because additive has no tooling cost — making one part costs roughly what making one part should cost.
That makes it one of the strongest genuine applications for the technology, and one of the least understood by the people who need it most. This guide covers which parts are worth printing, what to send when you have no drawing, how the reverse-engineering step works, and where the honest limits are. When you are ready to source it, browse the 3D Prototyping Hub provider directory and filter for shops that take one-off and reverse-engineering work.
Why This Is Additive's Best Argument
Most 3D printing buying decisions are a trade-off against injection moulding or machining. Spare parts are the case where the comparison barely applies:
- No tooling. A mould for a discontinued knob costs thousands and takes weeks. The business case never closes for one part. Printing has no such threshold — see injection molding vs 3D printing for where the crossover actually sits.
- Quantity of one is normal. You need one bracket, not a minimum order of five hundred.
- The part already exists as evidence. Even broken, it carries its own specification. That is a far better starting point than most prototyping work, which begins with an idea.
- The clock is the real cost. When a line is down or a machine is unusable, the comparison is not part price against part price. It is part price against a day of lost production.
The counterpoint matters too: if the OEM part is in stock and inexpensive, buy the OEM part. Printing earns its place when availability, lead time or minimum order is the obstacle.
What to Send When There Is No Drawing
This is the step that stalls most requests, and it is more tractable than people expect. Providers who do this work regularly are used to starting from a physical object rather than a file.
In descending order of usefulness:
- The intact original, if you have a spare or can pull one from a second machine. This is by far the best case.
- The broken original — every fragment. Keep the pieces. Fracture faces and mating surfaces carry geometry that a photograph does not, and a provider can often reassemble enough to measure.
- Photographs with a scale in frame — a ruler or calipers alongside the part, shot square-on from several angles. Photographs alone rarely produce an accurate model, but they establish what the part is.
- Part number, equipment make, model and serial. Sometimes the geometry can be sourced rather than recreated.
- The mating assembly. If the part is gone entirely, the hole it fits into defines much of it.
How the geometry actually gets recreated. For simple prismatic parts — brackets, spacers, covers — hand measurement with calipers and a straightforward CAD rebuild is quickest and cheapest. For organic, curved or complex geometry, or where the part must mate precisely with a worn surface, 3D scanning for reverse engineering is the right route: the part is scanned to a mesh and the model rebuilt from it. Scanning costs more and takes longer, so it is worth asking which approach the provider thinks your part needs rather than assuming the expensive one.
Ask for the model file as a deliverable. Once the geometry exists, the second and every subsequent replacement is just a print — you have converted a supply problem into a file. That is the durable win, and it is easy to forget to ask for it. STL vs STEP explains which format to insist on: STEP, if you ever want the part modified.
Which Parts Are Worth Printing
Good candidates — geometry problems more than material problems:
- Housings, covers, guards and panels
- Knobs, handles, levers and buttons
- Brackets, mounts and standoffs
- Clips, latches, retainers and spacers
- Bushings, cable guides and chain links
- Light-duty gears, cams and sprockets
- Trays, carriers and fixtures that hold the real part
- Obsolete plastic components on otherwise sound equipment
Poor candidates — treat printing as a bridge at most:
- Pressure-containing or sealing-critical components
- Safety-critical parts, or anything with a certification attached
- High-temperature parts near engines, heaters or exhausts
- Precision bearing surfaces and sealing faces
- Parts under sustained high structural load
The honest test is what happens when the part fails. If the answer is "the machine stops again," printing is a reasonable risk. If the answer is "someone gets hurt" or "the machine is destroyed," it is not — say so up front and let the provider tell you whether a printed part is appropriate at all. A good one will decline work rather than take it.
Choosing the Material and Process
The original's material is a starting point, not a specification to match blindly. What matters is the job the part does.
| Requirement |
Sensible route |
| General plastic housing, cover, bracket |
FDM in PETG or ABS |
| Wear, gears, hinges, bushings |
FDM in nylon, or SLS/MJF nylon for durability |
| Complex geometry, no supports, near-isotropic |
SLS or MJF |
| Fine detail, smooth cosmetic surface |
SLA / resin |
| Flexible seals, gaskets, bumpers |
TPU |
| Real structural or thermal load |
Metal printing or conventional machining |
If you are printing the part yourself rather than sending it out, the spool decides as much as the process does, and two of the routes above are the ones most often bought wrong. Which nylon filament to buy covers the grades that survive wear and the drying they need before they will print at full strength. Which TPU to buy covers shore hardness, which is the number that decides whether a gasket seals or merely fits.
Two cautions specific to replacement work. First, orientation is a specification, not a detail — a layer-built part loaded across its layers can fail far below expectation, so tell the provider how the part is loaded rather than only what shape it is. Second, printed parts shrink and finish differently from moulded ones; if the part press-fits or seals, flag those surfaces so they can be machined or allowed for. Tolerances and accuracy and design for 3D printing cover both.
Where the original was a metal part under genuine load, be realistic. CNC machining vs 3D printing is the comparison to run, and machining often wins for a single metal part.
How to Request the Quote
Send this and you will get a usable quote first time:
- What the part is and what it does — one sentence on its function beats three paragraphs of description.
- The equipment it belongs to — make, model, and the part number if you have it.
- The physical sample, or photographs with a scale, and confirmation of whether you can post the part.
- How it is loaded — static, cyclic, rotating, impact, sealing, none of the above.
- The environment — temperature, chemicals, oils, UV, food contact, outdoors.
- Quantity now and likely quantity later. One today but four more next year changes whether the model is worth building properly.
- Urgency, honestly stated. "Line is down" and "would be nice by month end" get scheduled very differently.
- Ask for the CAD file as a deliverable.
How to prepare files for a 3D printing quote covers the file side once geometry exists, and how much 3D printing costs explains what drives the number.
Get a Replacement Part Quoted
The parts most worth printing are the ones you cannot buy: the obsolete cover, the discontinued gear, the bracket for a machine whose manufacturer no longer exists. Those are exactly the jobs where a quantity of one is normal and tooling costs would otherwise kill the idea.
Keep the broken original, photograph it with a ruler, write down what it does and how it is loaded, and browse the 3D Prototyping Hub provider directory for shops that take one-off and reverse-engineering work. Ask two or three, and ask each whether they would scan or hand-measure — the spread in those answers tells you who has actually done this before.
Related Resources
Ready to find a 3D printing service provider?
Browse 2,000+ verified providers across the United States and submit your quote request free.
Browse Providers