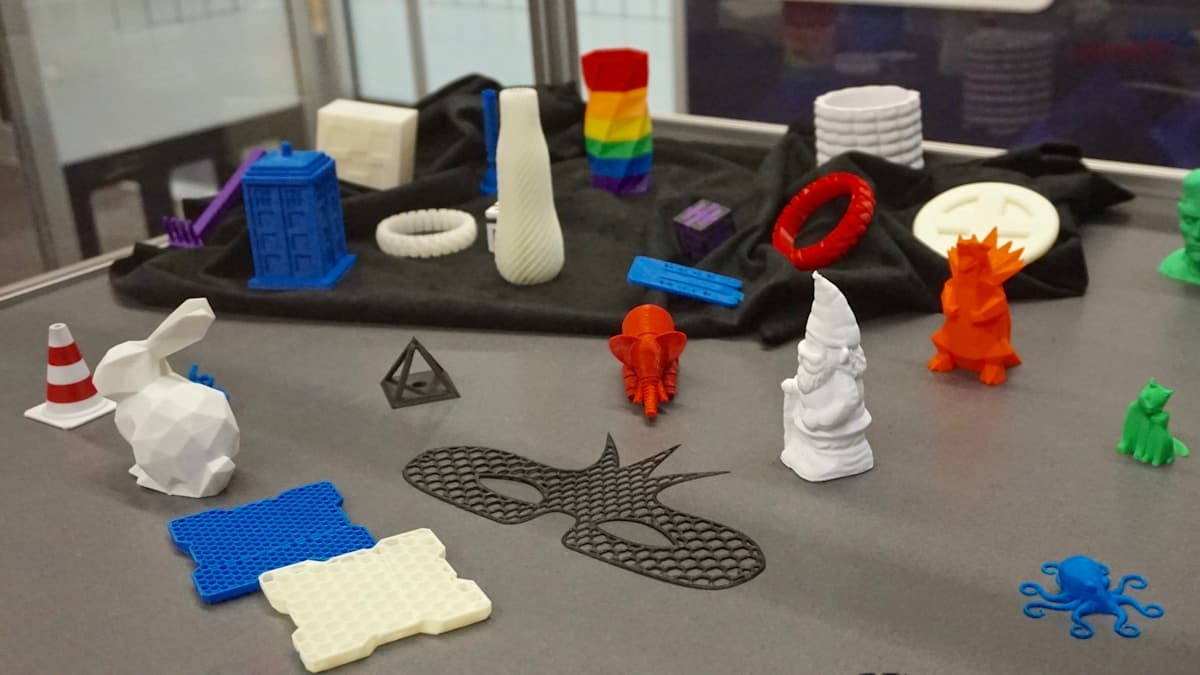
3D printing services for toy and board game prototypes solve a problem that stalls most game designers and toy inventors at exactly the same point: the design is finished, the next step is putting it in someone's hands, and the quantity you need is four. Tooling is years and tens of thousands of dollars away. Laser-cut chipboard and borrowed pieces from other games will get a mechanic playtested, but they will not survive a pitch meeting or a Kickstarter photo shoot. This guide covers what to order, which process fits which component, what a printed prototype may and may not legally be, and how to spec parts that actually fit together. When you are ready to source, browse the 3D printing provider directory.
What You Are Actually Ordering
Four categories cover nearly every job, and sorting your parts into them before you ask for a quote is what turns a vague email into a priced order.
Playtest components. Tiles, tokens, resource markers, player boards, custom trays, card holders, dice towers and insert organisers. Geometrically simple, needed in tens, and the parts that make a prototype playable rather than merely viewable. These are a volume order: one file, printed twenty times, nested on a plate.
Miniatures and character figures. Sculpted pieces at 28–32mm, or hero figures at display scale. This is detail work and it is priced as detail work — supports, cleanup and a surface that reads at arm's length matter more than build speed.
Working toy mechanisms. Articulated limbs, snap-fit shells, launchers, gear trains, ball joints. The prototype exists to prove the mechanism functions, which means clearances and assembly order are the brief, not appearance.
Pitch and sales samples. The single finished piece that goes in front of a licensor, a retail buyer or a camera. One part, painted, photographed, handled. It overlaps with the work covered in 3D printing services for retail displays and signage, and it is the one place in the project where paying for finishing is obviously worth it.
Most real orders mix at least two of these. Say which parts are which in the RFQ — a shop quoting fifty tokens and a sculpted dragon as one undifferentiated batch will either overcharge for the tokens or underdeliver on the dragon.
Process Selection
| Process | Best for | Watch for |
|---|---|---|
| FDM | Tiles, trays, boards, tokens, large toy shells, mechanism test parts | Cheapest per volume and easy to get big; layer lines are visible and the layer bond is the weak axis, so orient functional loads across layers |
| SLA / DLP resin | Miniatures, sculpted figures, fine texture, master patterns for casting | Detail FDM cannot reach; most grades are brittle under impact and embrittle further in UV, so it is a display and master material, not a play material |
| SLS / MJF nylon | Living hinges, thin webs, snap-fits, parts that must survive repeated handling | Isotropic and support-free with excellent fatigue life — the right answer for a mechanism you intend to demo fifty times |
| Full-colour (binder jet / PolyJet) | Pitch samples where graphics are part of the design | Colour straight off the machine saves a paint day; surfaces are more fragile than they look |
The two deeper hubs worth reading before you specify are SLA 3D printing services for figure work and multi-jet fusion services for durable nylon components. For broader material trade-offs, how to choose a 3D printing material covers the ground once rather than per project.
One warning specific to this category: resin miniatures photograph beautifully and snap when dropped. If the sample will be handled across a table by strangers at a convention, print the demo copies in nylon or FDM and keep the resin one for the camera.
Quantity Decides Everything
Printing is the right process for a narrow and well-defined band, and knowing where you sit saves the most money of any decision in this article.
One to ten sets. Print everything. Nothing else competes on cost or lead time, and the file is reusable the moment a playtest changes a tile size.
Twenty to three hundred copies of the same piece. Print a master, then cast. A printed and finished master feeding silicone moulds and urethane resin is the standard route for a short run of miniatures or tokens, and it is far cheaper per unit than printing each one. Urethane casting vs 3D printing lays out the crossover, and low-volume 3D printing services covers costing a run honestly.
A thousand and up. You are going to tool. Printing's remaining job is the appearance model and the fit check that de-risks the mould — compare the economics in injection molding vs 3D printing before you commit to a tool.
Designers routinely discover mid-campaign that the Kickstarter they funded needs 800 of a part they were printing at 12. Decide which band you are fulfilling from before pre-orders open, not after.
The Safety Line You Cannot Print Across
This is the part of the brief that gets skipped, and it is the one with legal consequences.
A 3D printed part is a prototype, not a toy. In the US, anything marketed for children under 14 is a children's product under the CPSIA and must be third-party tested against ASTM F963 — lead and phthalate content, small-parts and choke-hazard geometry, sharp points and edges, and use-and-abuse durability. The EU route is EN 71 plus CE marking. All of that testing is performed on finished goods made from production material by the production process, so a printed sample cannot carry a certificate forward to a printed production part.
Three practical consequences:
- Print for adults and for process. Playtesting with adults, pitching, photography and fit validation are all fine. Handing printed parts to a child, or selling them as a toy, is not.
- Treat the material as uncertified unless the shop documents otherwise. Ask what resin or filament a part was made in and keep the answer with the project file. Resin prints in particular must be fully cured and washed before anyone handles them for long, as covered in resin safety and post-processing basics.
- Budget compliance testing against production, not prototyping. It is a real line item in a toy launch and it arrives after tooling, which is exactly when founders least expect a new invoice.
If your product is an adult collectible, a hobby miniature or a game for adults, most of this relaxes — but say so explicitly in your own marketing, because the age you print on the box is the age you are regulated at.
How to Spec It
Send STEP, not STL, for anything mechanical. A solid model lets the shop open a clearance, thicken a wall or scale a peg without guessing at your intent. Sculpted figures are the exception and arrive as mesh. The distinction is explained in STL vs STEP files for 3D printing.
State the scale in millimetres, in writing. Miniature files circulate at wildly different scales and a sculpt that is correct at 32mm is a doorstop at 320mm. Name the dimension that matters — base diameter, eye-line height, tile edge length.
Call out the fits. Which pieces must seat in which tray, which peg enters which hole, which shells close on each other. Give the shop the mating pair and a target clearance rather than a blanket tolerance across the whole part; tolerances and accuracy in 3D printing is worth reading before you put a number on a drawing you cannot measure on arrival.
Separate finishing per part. Raw off the plate for playtest components, primed and painted for the hero piece. Post-processing and finishing services is usually the difference between a sample that pitches and one that explains.
Send the brief with the files. Quantities per part, scale, what the prototype is for, your date, and whether anything is functional. How to prepare your files for a quote is the fastest read in the archive and it reliably lowers the price.
Qualifying a Provider
Five questions, asked before you send the whole set.
- Do you run both resin and FDM in-house? A shop with one machine class will steer your whole order onto it.
- Will you sign a mutual NDA, and who owns a model you rebuild from my sketch? Both answers in writing — see NDA and IP protection.
- Can you quote the set as a split? Tokens by volume, figures by part. A shop that offers this has done game work.
- What finishing do you do yourself? Sanding, priming and painting in-house beats coordinating a second vendor on a pitch deadline.
- Will you print one test piece before the batch? A single tile that proves the tray fit is the cheapest insurance in the project.
A provider who has printed for a game studio before will ask you about scale and about which pieces are handled, unprompted. That question is the signal.
Get Your Prototype Quoted
Start with the smallest order that answers a real question — one tile, one figure, one mechanism — rather than a full set you may redesign after the first playtest. Then send the complete brief out to two or three shops with quantities, scale and the fits named. Browse 3D printing providers and compare what they ask you back; the ones who want to know how the pieces interact are the ones who will get the fit right the first time. The wider process of turning a prototype into a product is covered in 3D printing services for product development.
Related Resources
- 3D Printing Services for Cosplay Props and Costumes — the large-format, hand-finished sibling of this brief
- 3D Printing Services for Product Development — prototype to production, in sequence
- Urethane Casting vs 3D Printing — the route to 200 identical pieces
- Injection Molding vs 3D Printing — when tooling finally pays
- SLA 3D Printing Services — the resin process behind miniature detail
- How Much Does 3D Printing Cost? — the cost drivers behind your quote
- Browse 3D Printing Providers — send the set out
Hero photo: Locanam 3D Printing via Unsplash.