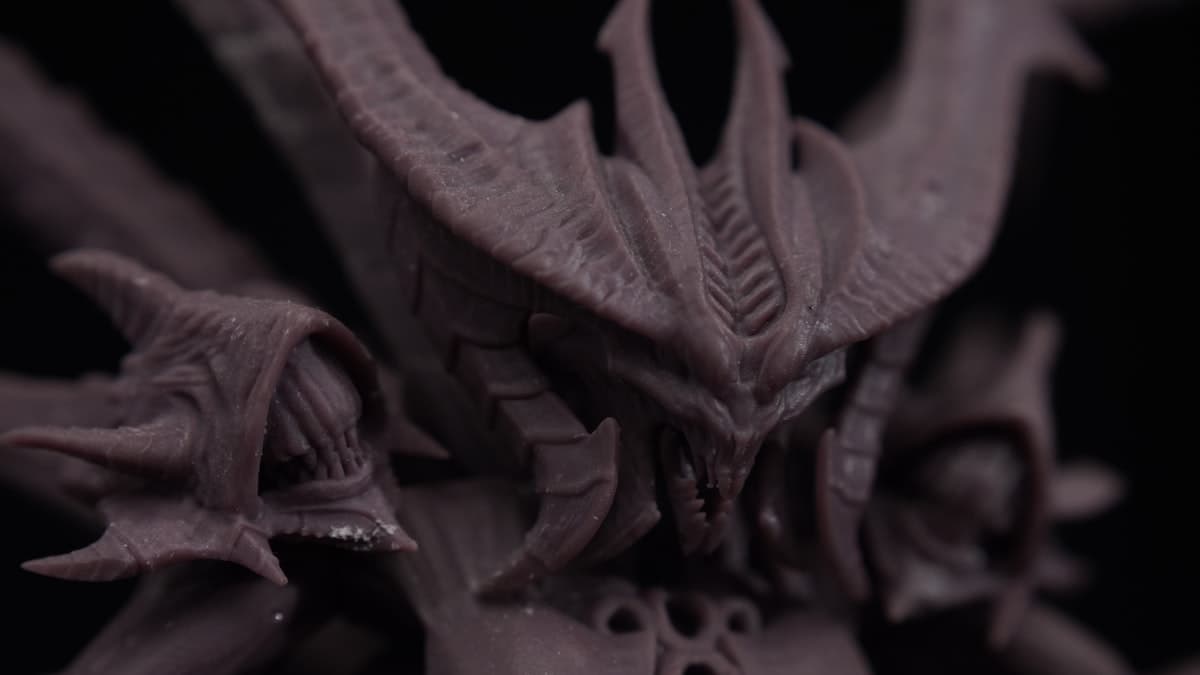
No 3D printing process produces a finished part. Every one of them hands you something that still needs work: supports snapped off and their scars sanded, powder blasted out of internal channels, resin washed and cured, layer lines filled or smoothed, threads installed, a surface primed and painted to match a color your customer already approved. 3D printing post-processing and finishing services are where a raw build turns into a part you can put in front of a client, drop into an assembly, or ship to an end user.
Buyers get caught out by this more than by any other part of the quoting process. A print quote covers the print. If the part needs to look like a molded product, that is a separate line of work — often a larger one than the printing itself. This guide covers what the finishing operations actually are, what drives their cost, how to specify them so you get what you pictured, and how to qualify a provider to do it. When you're ready to source it, you can browse the 3D Prototyping Hub provider directory and filter for shops that finish in-house.
What Finishing Actually Covers
It helps to separate the operations that are mandatory from the ones you choose.
Mandatory, on every part:
- Support and raft removal — clipping, cutting, or breaking away the scaffolding, then dressing the witness marks it leaves.
- Depowdering (SLS, MJF) — blowing and blasting loose powder out of the part, including internal cavities and channels.
- Wash and cure (SLA, DLP, resin) — solvent wash to remove uncured resin, then UV cure to reach final mechanical properties. Skipping or shortcutting this leaves parts tacky, weak, and chemically reactive. The resin safety and post-processing basics guide covers what this involves.
Chosen, based on the job:
| Operation | What it does | Typical materials |
|---|---|---|
| Sanding | Removes support scars and layer lines by hand or with abrasives | All |
| Media / bead blasting | Uniform matte surface, removes residual powder | SLS, MJF, metal |
| Tumbling / vibratory | Batch deburring and edge-breaking, low cost per part | Nylon, metal, tough plastics |
| Vapor smoothing | Chemically reflows the surface — glossy, sealed, no layer lines | ABS, ASA, nylon, MJF, TPU |
| Dyeing | Color penetrates a porous part; won't chip | SLS, MJF nylon |
| Primer, paint, clear coat | Cosmetic-grade appearance, color matching | All |
| Threaded insert installation | Durable reusable threads in a plastic part | All plastics |
| Post-print machining | Tight-tolerance features printing can't hold | All |
| Annealing / heat treatment | Improves strength and heat resistance | PLA, nylon, metal |
| Plating / metallization | Conductive or metallic surface on a plastic part | Most plastics |
The choice is driven by one question: is this part functional, cosmetic, or both? A jig that lives in a fixture needs supports off and nothing else. A pre-production enclosure going into a photo shoot needs the full cosmetic stack.
How Finishing Is Priced
Printing is priced largely by material volume and machine time. Finishing is priced by labor hours, and that changes the economics completely — it's the reason a finished part can cost several times the raw print.
The drivers that move the number:
- Surface area, not part volume. A large thin-walled shell has far more surface to sand and coat than a small solid block of the same weight.
- Geometry complexity. Deep pockets, internal channels, fine detail, and undercuts are slow to sand and awkward to mask. Vapor smoothing sometimes costs less than sanding on complex geometry precisely because it reaches everywhere without manual access.
- Cosmetic grade. This is the single biggest lever. "Supports removed, functional" and "Class A, color-matched, no visible layer lines" are separated by hours of skilled work per part.
- Masking. Every surface that must stay uncoated — sealing faces, electrical contacts, bearing bores, mating surfaces — needs masking, and masking is manual.
- Color matching. Matching a specific RAL, Pantone, or an existing production part requires mixing, spraying test coupons, and approval cycles.
- Quantity. Setup, fixturing, masking templates, and dye baths amortize across a batch. Finishing costs per part drop substantially from one-off to a run of fifty.
For how these interact with print pricing itself, see how much 3D printing costs.
How to Spec Finishing on a Quote
Most finishing disappointments trace back to an under-specified request, not to poor work. "Make it look nice" gets interpreted, and it will be interpreted cheaply. Give the provider these six things:
- A cosmetic grade, or a reference. State it plainly — functional, smooth-to-touch, paint-ready, or display-grade. A photo of an acceptable part is worth more than any adjective.
- Which surfaces matter. Mark cosmetic faces and hidden faces separately on a drawing or an annotated screenshot. Nobody should be sanding the inside of an enclosure that gets screwed shut.
- Critical dimensions and where they are. Finishing adds and removes material. Call out press fits, bearing seats, sealing faces, and any toleranced feature so they get masked or machined. See tolerances and accuracy in 3D printing for how much movement to expect.
- Color and finish, precisely. RAL or Pantone number, and gloss level — matte, satin, or gloss. "Black" is not a specification; there are dozens of blacks and they don't match each other.
- Inserts and hardware. Sizes, locations, and quantity. Supply the hardware or have the provider source it, but decide which.
- Quantity and repeatability. Say whether this is a one-off or the first of a recurring run. A provider will set up differently — and quote differently — if batches two through ten are coming.
Send a STEP file rather than an STL when finishing involves machining; the machinist needs real geometry. Preparing files properly for a quote covers the rest.
What to Look for in a Provider
- In-house versus subcontracted. Shops that finish in-house control the schedule and the quality loop. A shop that sends parts to a paint house adds days and a hand-off where accountability blurs. Ask directly.
- Evidence, not adjectives. Ask for photographs of finished parts in the material and grade you need — ideally parts similar in size and complexity to yours. Good finishing shops are happy to show work.
- A first-article process. For anything beyond a one-off, you want one part finished and approved before the batch runs. A provider who offers this without being asked is a good sign.
- Willingness to talk about the trade-offs. A provider who tells you vapor smoothing will soften your fine detail, or that your color match will need a test coupon, is protecting you. One who agrees to everything is not.
- Material-specific capability. Dyeing nylon, smoothing MJF, and painting resin are different skill sets. Confirm they routinely do yours rather than that they could.
Choosing the Process With Finishing in Mind
The cheapest finished part often comes from choosing the printing process differently, not from finishing harder.
- SLS and MJF parts come off the machine with a uniform matte surface and no support marks at all — the powder bed supports the part. Blast and dye and you're done. For functional end-use parts this is frequently the lowest total cost, even when the print itself costs more. See SLS services and multi jet fusion services.
- SLA and resin give the finest as-printed surface and the least sanding for display models — but supports touch the part and leave marks that must be dressed. SLA vs FDM covers the difference.
- FDM is cheapest to print and the most expensive to make cosmetic, because layer lines are coarse and must be filled and sanded. For a painted show surface, an FDM part is rarely the economical route.
- Metal parts almost always need support removal, stress relief, and machining of critical faces — budget for it from the start. See metal 3D printing services.
If the part is functional or end-use, pick the process whose native finish is already close to what you need. Finishing should close a small gap, not rescue a bad process choice.
Get It Quoted
Finishing is the step that decides whether a printed part reads as a prototype or as a product. It is also the step most likely to be quoted vaguely and delivered disappointingly — almost always because the spec left room for interpretation.
Write the spec down, mark the critical surfaces, name the color, and ask for a first article. Then browse the 3D Prototyping Hub provider directory to find a shop that runs your process and finishes in-house, and send the same spec to two or three of them. The spread in the quotes will tell you a lot about who actually understood the job.
Related Resources
- How Much Does 3D Printing Cost? — where finishing sits in the total
- Tolerances and Accuracy in 3D Printing — why finishing moves dimensions
- How to Prepare Files for a 3D Printing Quote — what to send
- Functional and End-Use 3D Printed Parts — when finish is a durability question
- Resin Safety & Post-Processing Basics — the wash-and-cure side
- Browse 3D Printing Providers — find a shop that finishes in-house
Hero photo by Azeez Maree via Unsplash.