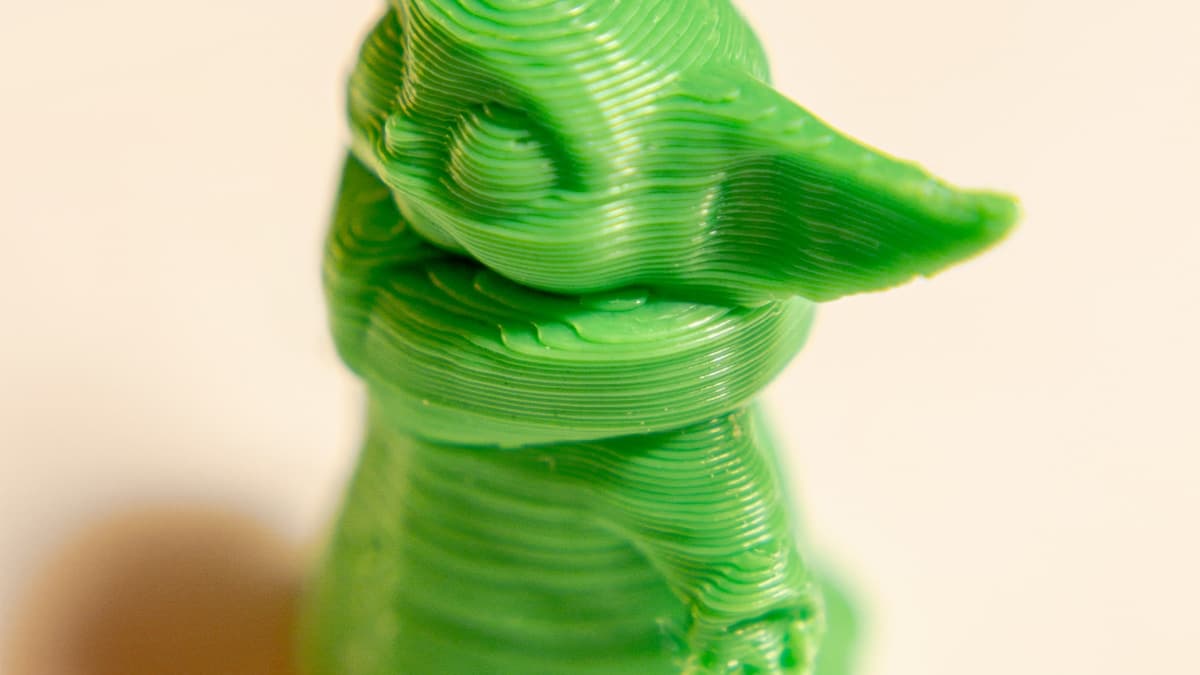
3D printing services for cosplay props get hired at one of two moments: the build you planned needs 400 hours of machine time you do not have before the con, or the piece is bigger than any machine you own. What you are buying in both cases is raw parts — sectioned, unpainted, covered in layer lines — and the finishing is still yours unless you pay for it separately. Understanding that split is most of what separates a quote you can act on from a number that looks wrong. This guide covers what is worth sending out, how sectioning and wall settings move the price more than the file does, and what to ask a shop before a fixed deadline. When you are ready to shortlist, start with the 3D printing provider directory.
What Cosplayers Actually Outsource
Four jobs, and naming the one you are ordering settles the machine and the material before anyone quotes.
Helmets and hard armor. The core job. Helmets, pauldrons, cuirasses, bracers, greaves, backpacks. Large hollow shells that are all surface and no mechanism, printed in filament, sectioned to fit a bed, and glued up. This is where outsourcing pays best, because it is the slowest thing to print and the least interesting to babysit.
Weapon and hero props. Blasters, swords, staffs, wands, tools. Long parts that almost always section, usually with an internal channel for a steel or aluminium rod, because a printed blade with no spine snaps at the first seam it is leaned on.
Fine detail pieces. Insignia, faceplate ornament, buckles, small skulls, crests. Small, crisp, and the one category that belongs on a resin machine rather than a filament one.
Short merch and group runs. Twenty of the same badge for a group, or a small batch for a table. This is ordinary low-volume production and prices like it — see low-volume 3D printing services for how batch pricing behaves.
What is generally not on the list is soft goods and fabric. Flexible parts print, but a shop set up for rigid filament will not necessarily run TPU, so ask rather than assume.
FDM or Resin — Pick Per Part, Not Per Build
| Part | Process | Why |
|---|---|---|
| Helmet, cuirass, pauldron | FDM, filament | Big, hollow, tough enough to pack in a suitcase |
| Blade, staff, blaster body | FDM, filament | Long sections, needs an internal rod, layer lines vanish under primer |
| Insignia, crest, faceplate detail | Resin | Crisp edges at a scale filament cannot hold |
| Mask with fine sculpt | Either | Resin if the sculpt carries it, FDM if it is worn hard |
| Flexible trim, gaskets | FDM in TPU | Only if the shop actually runs flexibles |
Most real builds split across both, and a provider that runs both will sort your file list for you. A shop with one process will quietly put everything on the machine it owns, which is how a helmet ends up in resin — heavy, brittle and expensive.
The other reason the choice matters is what you do with the part afterwards. Filament parts sand and fill happily and take screws. Resin parts are harder, more brittle, and crack rather than deform when a con floor meets them.
Sectioning Is the Whole Ballgame
A helmet is around 250 to 300 mm across. A typical desktop machine takes 220 to 256 mm. A large-format bureau machine takes 400 mm or more. That single number decides whether your helmet arrives in two pieces or seven, and every extra seam is glue, filler, sanding and a place for a crack to appear later.
So the first question for a provider is not price, it is build volume. A shop with a big machine is frequently cheaper in real terms than a cheaper shop with a small one, because you are paying for finishing hours you never see on the quote. Large-format 3D printing services covers what those machines change.
If sectioning does have to happen, it is CAD work — cutting the mesh, adding alignment pins or dovetails, and putting the seams somewhere a panel line already exists so the fill is invisible. Some shops do it and charge for it. Some hand the file back. Ask. And if you are buying files rather than modelling them, prefer designers who ship a pre-sectioned version for common bed sizes; that decision is worth more than the price of the file.
How Pricing Works
Machine hours, driven by height and material volume. A tall part on an FDM machine is a long print, full stop. Hollowing the shell and dropping infill can halve a quote without changing anything you can see from the outside.
Cosmetic shell settings, if you ask for them. Two to three perimeters and 5 to 10 percent infill is right for a worn prop. Nobody needs a solid helmet — it costs kilos of filament, days of machine time, and it is too heavy to wear for eight hours. Say "cosmetic shell, worn part, keep it light" in the order.
Prep and sectioning labour. Real time, quoted or absorbed. If it is absorbed silently, it usually reappears as a longer lead time.
Finishing, which is the big one. Filling, sanding through grits, filler primer, and repeat. On a full armor set this is more hours than the printing and it is skilled hand labour. Most bureaus deliver raw and let you do it; the ones that offer finishing are not overcharging when it looks expensive. Post-processing and finishing services covers the tiers.
Minimums. Small orders price against a shop minimum rather than a true per-part figure, which is why sending your whole part list at once beats trickling files across a month.
Spec the Order Like This
Say it is a wearable prop. This one sentence changes the wall settings, the infill, the orientation and the material recommendation. A shop that thinks it is printing an engineering part will give you something strong, dense and unwearable.
Give a real measurement. Head circumference above the ears for a helmet, plus 15 to 20 mm of clearance for padding. Forearm and bicep for bracers. Downloaded files are modelled to a generic body and are usually a few percent off yours.
Name the material against your climate. PLA is easy, cheap and prints beautifully, and it softens in a car parked in the sun — a genuinely common way a finished build warps between the hotel and the hall. PETG or ASA for anything that will sit in a vehicle in summer. Say where the piece will live before someone chooses for you.
Say where the seams may fall. Faceplates, chest centrelines and anything symmetrical carry the eye. Give the shop permission to put seams somewhere ugly-but-hidden and it will.
Flag pre-supported files. Many prop files ship pre-supported for resin. Send that mesh to a filament shop and the supports print as part of the model. Send the unsupported version, and say which one it is.
State the date. Not "before October" — the actual date you need it in hand, with finishing time left after it.
Vetting a Provider
- What is your largest build volume? The answer sets your seam count before anything else does.
- Do you section files, or do I send them ready? Both answers are fine. Not knowing is not.
- Will you print it hollow with low infill? A shop that pushes back on cosmetic settings is not used to props.
- Do you run both filament and resin? Lets you split the part list sensibly rather than compromise.
- Do you offer finishing, and at what tiers? Raw, sanded, primed, painted — know which one you are buying.
- Can you commit to this date? Ask against their actual queue, in writing, in con season.
A local shop earns its place here more than in most categories: prop parts are bulky and awkward to ship, and a provider you can drive to will hold a bracer against your arm before printing the other five. Browse the directory of 3D printing providers to see who is close enough for that.
Sending It Out vs Printing It Yourself
If you build most weekends, a machine pays for itself quickly and a bureau becomes overflow capacity for the pieces that do not fit — which, in practice, is the helmet every time. Our companion guide to the best 3D printers for cosplay and props covers that hardware decision.
If you do one serious build a year, sending it out is straightforwardly cheaper than owning, maintaining and learning a machine on a deadline. The failure mode of ownership is not the money — it is discovering the week before a con that large flat plates warp off the bed and that fixing it is its own hobby.
Plenty of builders end up doing both: print the small iterative pieces at home where a failed part costs an evening, and send the helmet and the armor plates to a shop with a machine twice the size of theirs. See custom 3D printing services for how one-off work is usually quoted.
Start Here
Order one piece first — a bracer, a pauldron, something small enough to be cheap and real enough to test the vendor. You will learn whether the shop reads orientation notes, how tight the seams come out and how honest the lead time was, and you will learn it while there is still time to change your mind.
Find 3D printing services near you, send the small piece, then send the helmet.
Hero photograph by Girl with red hat via Unsplash.