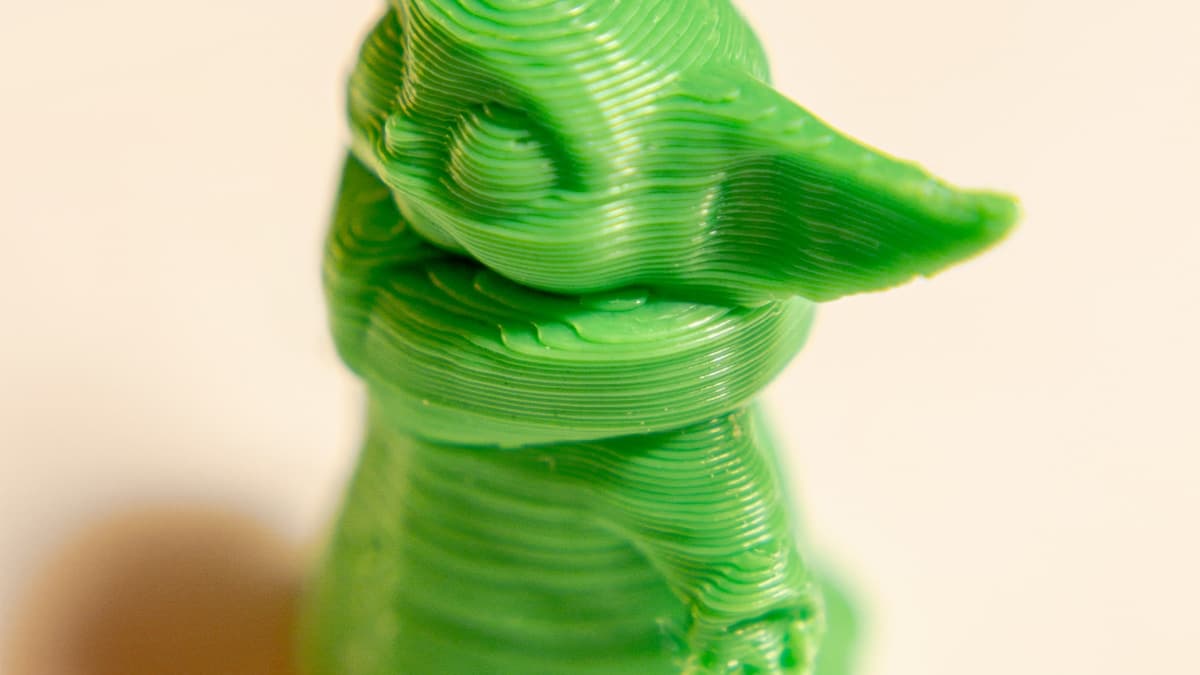
You sanded it for an hour, worked up through 1000 grit, and the surface felt like glass under your thumb. Then the first coat of primer went on and every ridge came back. 3D prints still show layer lines after sanding because abrasive paper only cuts the high spots: the ridges disappear, the grooves between them stay exactly where they were, and primer is far too thin to bridge them. The lines were never gone — they were just invisible until a uniform colour showed them to you. If the surface is the deliverable and you have already lost two evenings to it, the provider directory lists shops that finish parts as a service.
This post contains affiliate links. If you purchase through these links, 3D Prototyping Hub may earn a small commission at no extra cost to you.
This post also contains Amazon affiliate links. As an Amazon Associate we earn from qualifying purchases.
Read What Came Back Through the Primer
Four different defects get called "the layer lines are still there", and three of them are not a sanding problem at all. What the primer shows you tells you which one you have.
| What you see under the primer |
What it actually is |
Where to start |
| Fine, even lines over the whole surface |
Valleys never reached — you cut the peaks only |
Coarser grit, then filler |
| Wide steps on shallow curves and domes |
Stair-stepping — geometry, not finish |
Reorient, or lower layer height |
| One vertical line up a face |
The Z seam |
Cut it level, don't sand it |
| Lumps with a dished halo round them |
Blobs sanded instead of removed |
Cut them off, then sand flat |
The first is what this page is mostly about. The other three are worth separating out because every minute spent sanding them is wasted: a stair-step a millimetre wide does not come out with 400 grit, and a seam is a ridge of material that wants a blade.
Sanding Removes Peaks. Primer Does Not Fill Valleys.
A printed wall is not a flat plane with lines drawn on it. It is a stack of rounded extrusions, each bulging slightly outward, with a groove along every join. Flat sandpaper rides on the bulges and takes their tops off happily — the surface starts reflecting light evenly and feels smooth — while the groove floors sit below the plane the paper can reach, untouched.
So there are two honest ways to remove them: cut the whole surface down below the deepest groove, which means removing real material from the part, or fill the grooves with something that has body.
This is where ordinary primer disappoints people. A normal aerosol colour coat dries to roughly 10-25 microns, it shrinks as the solvent flashes off, and it follows the profile underneath rather than levelling it — which is why the lines reappear sharper after painting than they looked before. High-build filler primer is a different product: it carries solids, builds several times thicker per coat, and is designed to be sanded back so the high spots come off and the filled valleys stay filled. Two coats of that, flatted at 400, does more than another hour of bare sanding.
Stair-Steps Are Geometry, and No Grit Fixes Them
On a wall that is nearly vertical, the step between layers is small. On a shallow slope it is enormous, and the arithmetic is simple: the horizontal step equals layer height divided by the tangent of the surface angle. At 0.2mm layers, a 45° face steps 0.2mm, but a 10° dome steps about 1.1mm. You cannot sand away a feature a millimetre wide without reshaping the part.
Fix it before printing: tilt the model so the show surface is steeper, drop to a 0.08-0.12mm layer, or fit a finer nozzle and accept the print time. This is the same mechanism behind prints that come out stepped on curves, and it is worth recognising before you buy more sandpaper.
If the part is small, detailed and has to look moulded, the honest answer is a different process. Resin prints at 0.03-0.05mm layers, so the ridges start an order of magnitude smaller — ELEGOO's store and Anycubic's US store both sell desktop resin machines at the price of an evening's labour, and resin has its own finishing problems (horizontal banding chief among them) but not this one at this scale.
Level the Defects Before You Sand the Surface
Sandpaper is for surfaces. Lumps and ridges want cutting, and sanding them instead dishes the plastic around them — which only shows up after paint.
- Blobs, zits and support nubs: slice them off level with flush cutters or a sharp blade first. Where they come from is covered in why prints have blobs and zits.
- The Z seam: a raised line of start-stop points up one face. Pare it down with a blade or a deburring tool from a finishing kit — and move it onto a hidden face next time, as in why prints have visible seams.
- The flared bottom edge: scrape the elephant foot flat rather than trying to feather it, or it reads as a soft bulge round the base forever.
The Grit Sequence That Actually Works
Most people start too fine. 400 grit on a fresh 0.2mm layer surface polishes the peaks, loads up with plastic and never reaches the valleys, which is exactly the outcome this page is about.
- 180-240 dry, across the lines rather than along them, until the ridges stop catching the light individually.
- 320, then 400, still dry, still across. The surface should go uniformly dull — any shiny patch is a valley you have not reached.
- Filler primer, two light coats, left to harden properly.
- Flat it back at 400, dry or damp, until the high spots cut through to plastic and the low spots stay grey. Repeat 3 and 4 once if grey islands remain.
- Wet sand 600, 1000, 2000 with wet/dry paper for a gloss finish, keeping the paper soaked.
Two details carry most of the result. Wet sand PLA from 400 up, because PLA begins softening around 60°C and dry friction gets there easily — the plastic then smears into a skin over the lines, feels beautiful, and shows every ridge back through the paint. And put the abrasive on something rigid: a fingertip follows the contour it is meant to be flattening, while sanding sticks and needle files keep flat faces flat and get into fillets and panel lines. Wear gloves for the wet and filler stages, and a dust mask for the dry ones — sanding dust is fine enough to hang in the air for hours.
Fill Rather Than Sanding Deeper, Because the Wall Is Thinner Than You Think
There is a hard limit on how much you can remove, and it is the perimeter. Three walls at 0.42mm is about 1.26mm of solid material between you and the infill. Sand through it on a curve — where the stair-steps are worst and the pressure is highest — and you open a window into the part that no primer closes.
So after the first flatting, stop cutting the part and start cutting the filler. High-build primer handles normal layer texture. For deeper damage, or a large flat face that has to read as moulded, a thin brushed coat of clear epoxy self-levels into the valleys and gives you a sacrificial film thick enough to sand properly. Its honest cost is detail: epoxy fills a crisp panel line as willingly as it fills a layer groove, so keep it off anything engraved. Finish with a UV-resistant clear coat once the surface is already flat — gloss hides nothing and exaggerates everything, which is the point of putting it on last.
If paint is lifting rather than showing lines, that is a different fault with a different fix; see why paint peels off 3D prints.
Vapour Smoothing Is a Styrenics Trick
Acetone vapour smoothing works, genuinely and spectacularly, on ABS, ASA and HIPS, because acetone dissolves those polymers and surface tension pulls the softened skin flat. It does nothing useful to PLA or PETG — they are not meaningfully soluble in it, so the part goes tacky and dull instead of glossy. The solvents that do attack PLA belong in a fume hood rather than a garage.
So the material decision sits upstream of the finishing decision. If a seamless gloss surface is the requirement, print it in a styrenic and smooth it, print it in resin, or send it out: shops offering post-processing and finishing services run vapour smoothing, media blasting and spray booths as routine line items.
What Sanding Will Never Fix
Some marks are not surface texture and reappear however far you go:
Do It In This Order
- Cut off blobs, nubs and the seam; scrape the elephant foot flat.
- Dry sand 180-240 across the lines until no ridge catches light on its own.
- 320, then 400. Uniformly dull, no shiny valleys left.
- Two coats of filler primer. Let it harden.
- Flat at 400 until high spots cut through and low spots stay grey. Repeat 4-5 if needed.
- Wet sand 600 → 1000 → 2000 only if you want gloss.
- Colour, then clear coat, over a surface that is already flat.
Most parts stop needing work at step 5. If you are still at it on step 6 and the lines persist, the problem is upstream — the orientation, the layer height or the process — not the paper.
When to Stop Sanding and Send It Out
Finishing is labour, and labour scales with surface area. A single figure is an evening. A helmet shell, an enclosure face or an automotive panel is several — and the evening you sand through a wall costs you the print as well.
Our provider directory lists shops by location and process, and the guide to choosing a finishing service covers what to ask for — a surface specification, not "make it smooth". If you would rather keep doing it yourself, the kit worth owning is in our finishing and painting supplies guide.
A printed part can absolutely be finished to look moulded. It just does not get there by sanding harder — it gets there by filling what sanding leaves behind.
Hero photo by Girl with red hat via Unsplash.
Ready to find a 3D printing service provider?
Browse 2,000+ verified providers across the United States and submit your quote request free.
Browse Providers