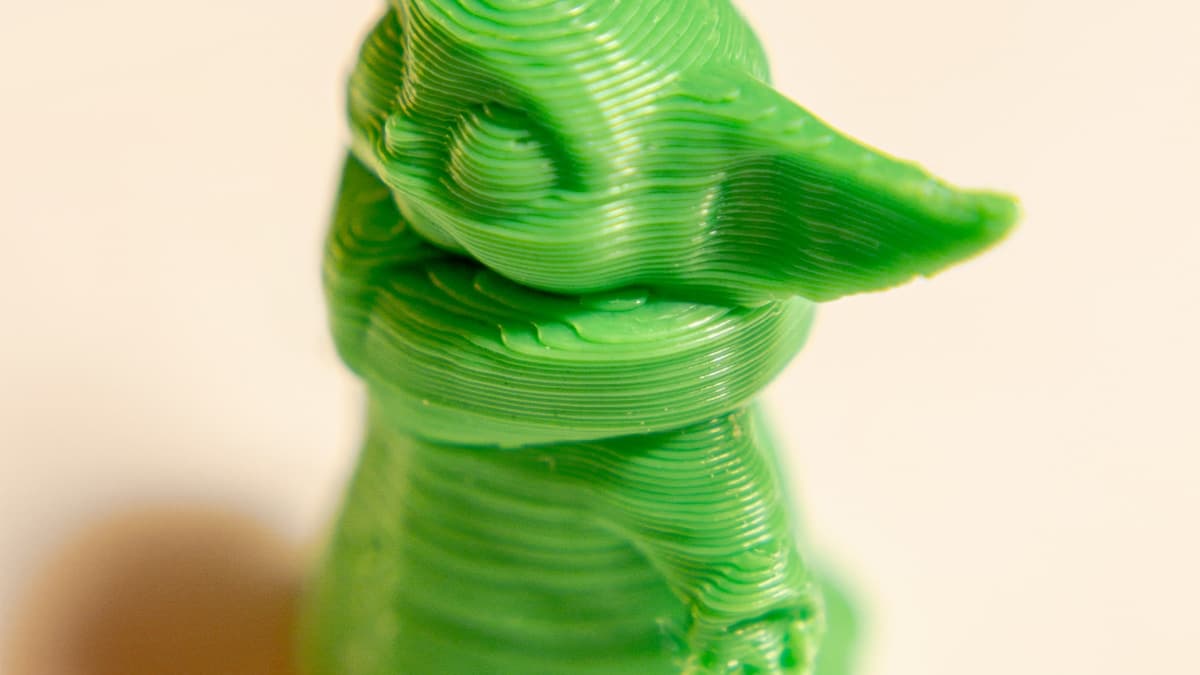
A finished 3D print and a raw one are the same object separated by about an hour of work and roughly $60 of consumables. The 3D print finishing supplies that actually matter are unglamorous — an assortment of wet/dry sandpaper, a can of high-build filler primer, acrylic paint, a clear coat, and a respirator — and the order you use them in matters more than the brands. Get the sequence right and a layered green figurine becomes a painted object nobody identifies as printed. Get it wrong, usually by sanding when you should be priming, and you round the detail off a good print.
This guide covers what the surface actually needs, the five categories worth buying, the sequence to run them in, and where the money is better spent on a provider who finishes in-house.
This post contains affiliate links. If you purchase through these links, 3D Prototyping Hub may earn a small commission at no extra cost to you.
This post also contains Amazon affiliate links. As an Amazon Associate we earn from qualifying purchases.
What the Surface Actually Needs
Finishing is a defect-removal problem, and there are only four defects. Knowing which one you are looking at tells you which product to reach for.
| Defect | What it looks like | What removes it |
|---|---|---|
| Layer lines | Regular horizontal ridges, worst on shallow curves | Filler primer, then sanding — in that order |
| Support scars | White torn nubs and rough patches on overhangs | Flush cutters and a blade first, abrasives second |
| Seams and blobs | A vertical scar where each layer starts | Pare with a sharp blade, then 400 grit |
| Elephant's foot | A splayed lip on the first layer | Sand flat on a sheet laid on a table, not by hand |
Two things follow from this. First, abrasives alone do not fix layer lines — a layer line is a valley, and sanding cuts the peaks down to meet it, which means removing material across the entire part until you reach the bottom of the deepest groove. That is how detail gets destroyed. Filler primer raises the valleys instead, which is the correct direction to solve the problem from.
Second, the material decides the workflow. PLA sands beautifully but melts under friction, so it wants water and a light hand. PETG is gummy and clogs paper — wet sanding is close to mandatory. ABS and ASA sand well and are the only common filaments that respond to solvent smoothing. Cured resin sands to a glass finish and needs almost no levelling, only support cleanup, but its dust is the one you must never generate dry.
The Five Categories Worth Buying
| Category | What it does | Buy first? |
|---|---|---|
| Wet/dry abrasives | Removes scars, seams and peaks | Yes — nothing works without it |
| High-build filler primer | Fills layer valleys, unifies colour | Yes |
| Acrylic paint + clear coat | Colour, and protection for it | Yes |
| Resin wash & cure gear | Cleans and hardens before finishing | Only if you print resin |
| Respirator and gloves | Keeps vapour and dust out of you | Yes — before the first spray |
1. Wet/Dry Sandpaper — Buy the Assortment, Not the Sheets
An assortment pack spanning roughly 400 to 3000 grit costs about what two loose sheets cost and covers every stage you will actually use. Add a separate pack of 220 for support scars and first-layer flare. Silicon-carbide wet/dry paper is the type you want — the black stuff — because it survives being used with water.
Use it wet. Water carries the swarf out of the abrasive so the paper stays cutting instead of burnishing, it keeps PLA cool enough to abrade rather than smear, and it puts the particulate in a bowl instead of your lungs. A tub of water, a drop of dish soap, and a torn quarter-sheet is the whole setup.
Two accessories earn their place immediately: sanding sponges for curved surfaces, which conform where flat paper bridges and flattens, and a rotary tool with sanding drums for internal corners and heavy support scars. Run the rotary tool at its lowest speed — it will melt PLA into a smeared ridge in a second at high RPM, and that ridge is harder to remove than what you started with. For the cutters, blades and calipers that come before any of this, the tool kit guide covers the base set.
2. High-Build Filler Primer — The Product That Does the Real Work
If you buy one thing beyond sandpaper, buy high-build filler primer — the automotive kind, sold as "filler primer" or "sandable primer". It sprays on thick, settles into the layer valleys, and dries hard enough to sand back level with the peaks. Three light coats bury the layer lines on a typical 0.2mm print outright.
Two rules make it work. Light coats, not one heavy one: a wet coat runs into detail and takes a day to harden properly. Sand between coats: primer that is not sanded back is just a thicker version of the same surface. Grey primer is the standard choice because it shows defects better than any other colour, and a first uniform coat is often the moment you discover a seam you could not see on green plastic.
For a stubborn gouge or a print-splitting seam, spot putty or a two-part epoxy filler goes in before the primer. On ABS and ASA specifically, vapour smoothing is an alternative route to the same place — chemically melting the outer surface flat rather than filling it — but it is a ventilation-and-containment project, not a purchase, and it softens fine detail as a side effect.
3. Acrylic Paint and Clear Coat
Water-based acrylics are the default for good reasons: they do not attack the plastic, they clean up under a tap, they cover well in thin coats over primer, and the miniature-painting world has spent decades refining the range available. A basic set plus black, white and a metallic covers most projects.
How you apply them depends on the part. A brush is fine for anything miniature-scale and is where most people should start. Rattle cans are faster and smoother on large flat surfaces like helmets and enclosures. An airbrush and compressor gives the best finish on detailed work and is the correct second-stage purchase once you know you are painting regularly — not the first.
Then seal it. A matte or gloss clear coat is the step people skip and then regret: unsealed acrylic rubs off a handled part surprisingly fast, and a sealer is the only reliable way to bring a patchwork of sheens from different paints to one consistent finish. Matte reads as a solid object; gloss reads as plastic, which is occasionally what you want. Paint applied to bare, unprimed PLA will peel at the first knock regardless of what you seal it with — the primer is what the paint is actually gripping.
4. Resin Cleanup — Finishing Starts Before the Sandpaper
Resin parts arrive at the finishing bench in better shape than any filament print, but they arrive with a process attached. Wash the part in isopropyl alcohol or water depending on the resin, cure it fully under UV, and only then cut the support nubs flush and knock the white scars back with 400 to 600 grit. ELEGOO's resin and accessory range and Anycubic's post-processing hardware both cover the wash-and-cure end; the wash and cure station guide compares the machines themselves.
The order is not negotiable. Cutting supports before curing distorts a soft green part, and handling uncured resin without nitrile gloves is how people develop a sensitisation they keep for life. Cured resin dust gets wet sanded, always, with no dry-sanding exception. The resin safety and post-processing basics post covers the handling side properly.
5. Respirator and Dust Control — The $30 That Matters Most
Printing is the low-risk part of this hobby. Sanding and spraying are where the actual exposures happen, and both are cheap to control.
An organic-vapour cartridge respirator handles primer, solvent paint and clear coat. A dust mask does not — it filters particles, and the hazard in a rattle can is vapour. Spray outdoors or in a ventilated space with the respirator on, and replace the cartridges on the schedule the manufacturer states rather than when they stop smelling right. Wet sanding covers the particulate side without any equipment at all, which is most of why this guide keeps recommending it. Eye protection during cutting and curing rounds it out.