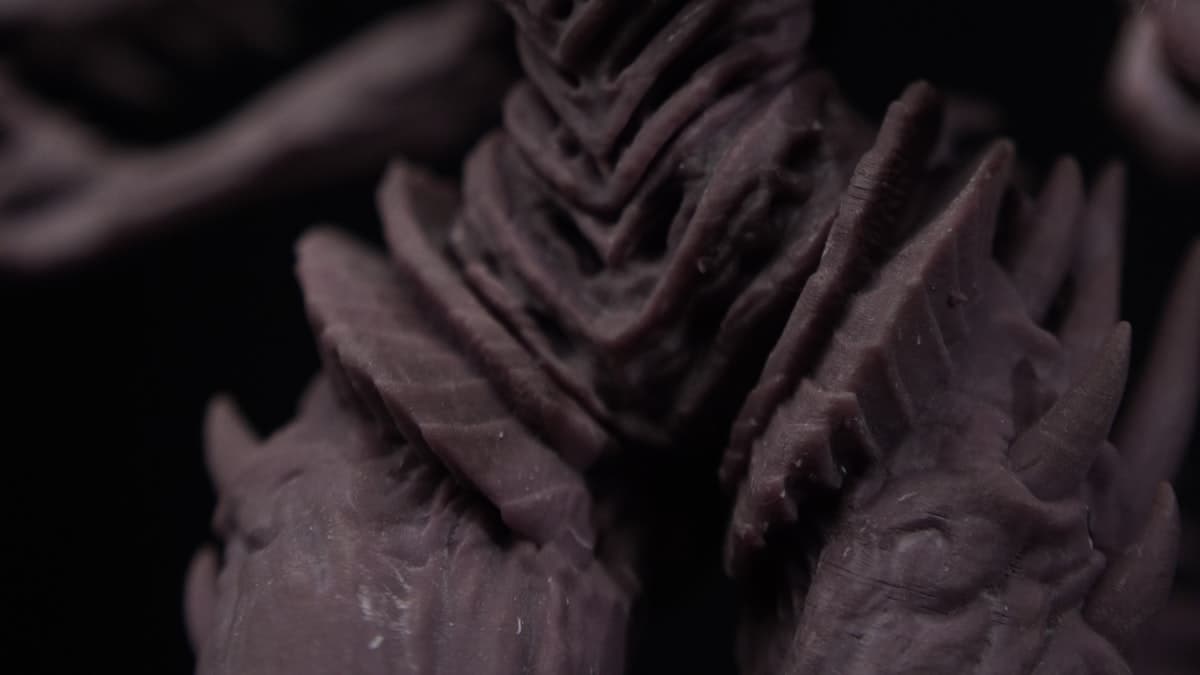
The miniature came off the plate with a set of fine ribs running around the curve of one shoulder, evenly spaced, invisible under the bench light and obvious the moment it goes near a window. Horizontal lines on a resin print are not one defect with one fix. They are four separate faults plus one thing that is not a fault at all, and the spacing between the lines tells you which one you are looking at before you change a single setting. Measure first — every adjustment made blind removes the baseline you need for the next one. Where a desktop machine genuinely cannot hold the surface a part needs, the provider directory is the shorter route.
This post contains affiliate links. If you purchase through these links, 3D Prototyping Hub may earn a small commission at no extra cost to you.
This post also contains Amazon affiliate links. As an Amazon Associate we earn from qualifying purchases.
Measure the Spacing Before You Change Anything
Five patterns cover almost every banded resin print, and they do not share a fix.
| What the lines look like |
Spacing |
What it actually is |
Where to start |
| Steps on shallow slopes, clean on vertical walls |
Layer height ÷ tan(slope) |
Stair-stepping — geometry |
Orientation, then layer height |
| Regular bands, far coarser than the layer height |
2mm or 8mm, constant |
Z lead screw error |
Nut, coupler, grease |
| Bands appearing where the model gets wide |
Irregular, tracks the silhouette |
Plate flexing under peel force |
Lift speed, tilt, hollowing |
| A gradual change in finish up the print |
No period at all |
Dose or resin temperature drift |
Room temperature, screen |
| One hard step at a single height |
Once, never repeats |
Plate slipped, or the print paused |
Plate clamp, power |
Digital calipers turn the first column into the second, which is the whole diagnosis. And run the test on opaque grey model resin rather than on a clear or black bottle — translucent resin scatters the surface you are trying to read and black swallows it.
Stair-Stepping Is Geometry, and Nothing Fixes It But Geometry
Most "banding" questions about resin printers are this, and it is not a machine fault.
Every layer boundary has to emerge somewhere on a sloped surface, and how far apart those emergences land is set by the angle. The step width is approximately the layer height divided by the tangent of the surface angle. At a 50-micron layer height, a 45° face steps every 50 microns and reads as smooth. The same layer height on a 10° dome steps every 280 microns, which is comfortably visible, and on a 3° face it steps every millimetre.
That is why the ribs sit on the shoulder and the chest while the vertical flanks beside them look flawless — a near-vertical wall hides each boundary inside the wall's own thickness. Two things actually help:
- Tilt the model. Rotating a part 20–30° off its natural orientation means no surface sits near-horizontal, so nothing gets the worst of the geometry. This is also the standard advice for peel force, which is the next section, so it buys two fixes with one change.
- Drop the layer height, with your eyes open about the cost. Halving it halves the step width and roughly doubles the print time. Going from 50 to 25 microns on a bust is usually worth it. Doing it on a functional bracket is not.
What does not help is exposure tuning, levelling, tightening anything, or buying a higher-resolution screen. XY resolution sets the pixel size across the plate; it has no say in what happens between layers.
The Lead Screw Is the Usual Cause of True Banding
If the bands repeat at a constant period that is much coarser than the layer height, measure that period and compare it against the pitch of the Z lead screw. Desktop MSLA machines almost always run a T8 screw, commonly with a 2mm lead, sometimes 8mm. A band every 2.00mm, from the plate to the top of the print, regardless of what the model is doing, is the screw telling you it is not turning into motion cleanly.
The causes, roughly in order of how often they are the answer:
- A worn anti-backlash nut. The brass or POM nut riding the screw wears, and the plate settles a fraction differently depending on load. A spring-loaded anti-backlash nut takes the slack out of a worn pairing for a few dollars.
- Dried or contaminated grease. Resin that has crept up the screw, or old grease that has gone gritty, makes the screw bind and release rather than turn. Clean the screw back to bare metal first — adding fresh PTFE grease on top of grit drives the grit in.
- A slipping coupler. The grub screws on the coupler between the stepper and the screw back off under repeated peel load. Check they are tight on the flat of the shaft. If the motor and screw are not perfectly concentric, a flexible coupler absorbs the misalignment that a rigid one transmits straight into the band.
- A bent screw, or a binding rail. Rare, and worth checking last by running the plate the full height of the machine by hand with the motor unpowered. It should take the same effort everywhere.
This is the resin analogue of the fault that produces Z banding on an FDM machine — different hardware, same arithmetic, and the same diagnosis by measuring the period. Resist the urge to tighten everything at once: an over-tightened plate arm binds on the rail, which produces its own banding and leaves you with two faults instead of one.
When the Model Gets Wide, the Plate Bends
Peel force scales with the cross-sectional area being separated from the film, and on a wide flat layer that force is large enough to deflect both the build plate arm and the vat. The film lets go, everything springs back, and the next layer cures at a height nobody asked for. The giveaway is that these bands have no fixed period — they appear exactly where the model's cross-section grows and vanish where it narrows.
Everything that helps reduces the area released at once, or gives the mechanism time to settle:
- Tilt the model, as above. A flat face at 20° off horizontal peels progressively instead of all at once.
- Hollow it and add drain holes. A hollowed bust presents a thin ring to the film instead of a solid disc.
- Slow the lift speed and lengthen the lift distance, and raise the rest time after retraction. Cold or thick resin needs longer to flow back under the plate; starting the exposure before it has is its own banding cause.
- Check the plate is genuinely clamped. A plate that moves perceptibly when you push it with a thumb will move considerably more under a full-area peel.
Tired film belongs in this section too. Film that has lost tension sags and adds an unpredictable amount of travel to every peel, which is why those bands wander between prints instead of landing in the same place — the condition checks are in why resin vat film fails, and replacement FEP and nFEP sheets are cheap enough that swapping one is a legitimate diagnostic step rather than a repair.
A Drifting Dose Leaves a Gradient, Not a Line
If the finish changes gradually over the height of the print with no repeating period anywhere, the amount of light each layer received was not constant.
The LED array heats up. Output falls as it warms through the first half hour, so the bottom of a tall print can cure differently from the top. A machine whose cooling fan has clogged with dust does this much harder.
The screen is ageing or obstructed. Masking LCDs have a stated lifetime in hours and they do not fail cleanly — transmission drops in patches first. The tell is a mark that appears at the same place on the plate across completely different models. Run the printer's built-in LCD test pattern with the vat removed and look at the panel for dim regions. The same test catches a screen protector fitted with a bubble or a dust speck under it, which puts a permanent artefact in the light path.
The resin changed temperature. Viscosity is strongly temperature-dependent, and viscosity decides how fast resin flows back under the plate between layers. A garage printer whose room thermostat cycles overnight produces bands that correlate with nothing on the model and everything with the heating schedule. Keep the machine between 20 and 30°C and keep it there for the whole print — this is the same mechanism behind several of the faults in why resin prints fail.
Masking screens, vats and Z assemblies are model-specific parts, and the part number is unambiguous at the manufacturer rather than in a generic listing — ELEGOO's store and Anycubic's store both list spares beside the machines.
Work Through It In This Order
- Print a plain 60mm column, nothing else on the plate, in opaque grey. A model with sculpted detail hides the evidence; a featureless column shows everything.
- Measure the band pitch with calipers. This is the step people skip and it decides the next four.
- Pitch equal to the layer height, only on slopes? Geometry. Stop here and re-orient.
- Pitch constant at 2mm or 8mm? Z hardware. Clean and re-grease the screw, check the coupler grub screws, then replace the anti-backlash nut.
- No fixed pitch, bands tracking the silhouette? Peel force. Tilt, hollow, slow the lift, lengthen the rest.
- No pitch and no correlation, just a gradient? Dose. Check room temperature first because it is free, then the screen.
- Only now touch exposure. Changing layer exposure first is the most common mistake here: it shifts dimensional accuracy and fine-detail resolution at the same time, so whatever you measure afterwards is against a moved baseline.
What the Hardware Genuinely Changes
Technique fixes most banded prints. Where it does not, these are the specifications that matter, stated from what manufacturers publish rather than from a shootout we did not run:
- Z guidance. A single rail with a cantilevered plate arm deflects more under peel load than dual rails or a dual lead screw. This is the specification most directly tied to banding and it is rarely in the headline list.
- Light-source uniformity. Manufacturers publish a uniformity percentage for the LED array. That figure, not the XY resolution, is what governs whether the dose is the same everywhere on the plate.
- Stated screen lifetime. Monochrome panels are rated in hours and the number varies a lot between machines. It is a consumable cost, and worth reading before buying.
- Release mechanism. Machines that tilt the vat rather than lifting the plate straight up peel progressively, which reduces the peak force that causes the deflection in the first place.
Current machines and what separates them are in our resin printer buyer guide, and formulation differences — which change viscosity, and therefore flow-back time — are covered in the resin buyer guide. If a single blend is carrying most of your printing, Chitu Systems' Conjure resins are sold in bulk sizes, which is the honest economics of running test columns until a machine is characterised.
When to Stop Chasing It
Three situations where another test column is the wrong next step.
The surface is the product. Masters for silicone moulding, show models and anything that will be photographed are judged on finish, and finish is the one thing a marginal machine will not give you repeatably.
The part is due to someone. Three weekends of diagnosis costs more than a quote, and the diagnosis does not come with a delivery date.
The band survived the whole list. If you have measured the pitch, cleaned the screw, replaced the nut, changed the film, re-orientated the model and the band is still there, the remaining candidates are the screen and the light engine — both of which are a repair bill rather than an afternoon.
For everything else, work the order above: measure, then orient, then the screw, then the peel, then the dose, and leave exposure until last. Most "my resin printer has banding" problems are one of those five, and four of them cost under twenty dollars to fix. When they are not, the providers in our directory run resin as a calibrated process with finishing attached, and will send back a part you do not have to sand.
Hero photo by Azeez Maree via Unsplash.