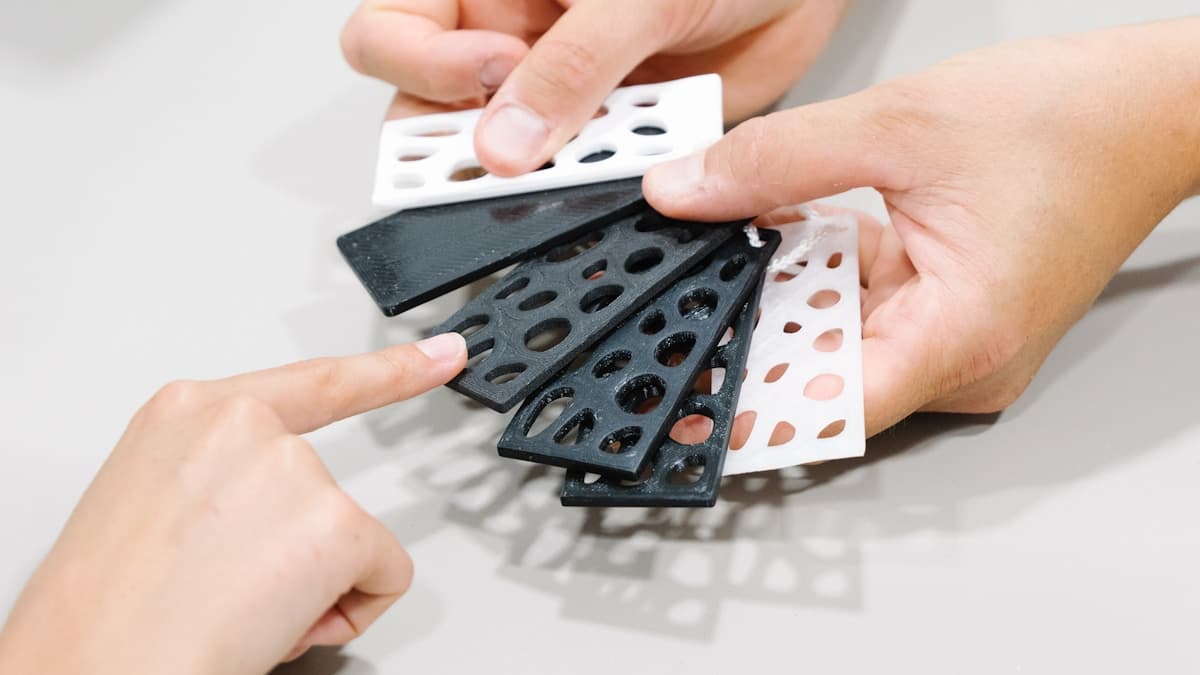
It looked finished. Then a fingernail caught the edge, and a whole panel of colour came away in one piece with the plastic underneath still shiny. Paint peels off 3D prints for reasons that are almost all decided before the first coat goes on — the surface was too smooth, too dirty, too flexible, or the chemistry stacked in the wrong order. Repainting without changing one of those produces the same result a week later.
This post contains affiliate links. If you purchase through these links, 3D Prototyping Hub may earn a small commission at no extra cost to you.
This post also contains Amazon affiliate links. As an Amazon Associate we earn from qualifying purchases.
Read The Failure Before You Strip It
How the coating comes off tells you which step was wrong. Match yours first.
| What you see |
What it actually is |
Where to start |
| Lifts in sheets, plastic underneath still glossy |
No key and no primer |
Scuff everything, prime |
| Peels in a patch the shape of a fingerprint |
Skin oil, bed glue or alcohol residue |
Wash and degrease |
| Chips off corners and raised edges first |
Thin film over a sharp radius |
More coats, lighter; break the edge |
| Cracks along the layer lines |
Film spanning an unsupported valley |
Filler primer, sand back |
| Wrinkles or buckles while wet |
Sprayed inside the recoat dead zone |
Respect the window |
| Flakes off a part that bends |
Rigid coating on a flexible polymer |
Flexible paint, dye, or print in colour |
| Looks fine, then dulls and peels outdoors |
UV and thermal cycling, no clear coat |
Seal it, or reconsider the material |
Plastic Does Not Want Paint
Paint sticks two ways: mechanically, by keying into surface texture, and chemically, by wetting a surface whose energy is high enough to pull the liquid flat instead of letting it bead. A print straight off the plate is weak on both counts. The top surfaces are smooth, sealed and non-porous — nothing for a film to anchor into — and several of the common polymers have low surface energy, so the paint beads fractionally as it lands and dries as a film resting on top rather than bonded in.
Materials are not equal here. PLA, ABS and ASA take primer readily once they are clean and scuffed. PETG is noticeably slicker and benefits from a more aggressive key. Nylon is difficult because it is slightly waxy and absorbs moisture that then escapes through the coating. TPU and polypropylene are the two that defeat ordinary primer outright — PP is used for paint buckets precisely because coatings do not stick to it.
That is what an adhesion promoter is for. It is a thin tie coat, nearly invisible when dry, that bonds to a low-energy polymer on one side and gives primer something to hold on the other. On PLA it is unnecessary; on TPU, PP and stubborn PETG it is the single step that changes the outcome.
Everything You Touched Is On The Part
This is the most common cause and the least visible one. A finger holds enough oil to contaminate a surface in one contact, and a print gets handled repeatedly — off the plate, support removal, test fitting, inspection. Primer does not key through oil. It bridges it, cures, and then lifts in that outline when something flexes the part.
The underside carries a second contaminant nobody thinks about: whatever is on the build plate. Glue stick, hairspray and bed adhesion spray all transfer to the first layer, and a PEI sheet leaves its own release behind. Alcohol used during support removal evaporates but leaves anything it dissolved.
The fix is two steps and five minutes. Wash the part in warm water with dish soap and a soft brush, getting into the corners rather than just over the faces, and let it dry completely — including the layer-line valleys, which hold water longer than the surface does. Then wipe the whole part with 99% isopropyl alcohol on a lint-free cloth and let it flash off. From that moment the part is handled in nitrile gloves or by an internal feature, not by its painted faces — otherwise you have just put the contamination back.
Resin prints fail this step harder than filament ones. A green part keeps a film of uncured monomer that stays faintly oily however it looks, and primer sprayed onto it bonds to the film rather than to the part, so the entire stack lifts together later. Wash in fresh liquid, change it when it goes cloudy, and cure fully before any sanding — the sequence and the safety rules are in our guide to resin safety and post-processing, and a wash and cure station from ELEGOO's range is the hardware that makes it repeatable rather than a bowl of tired alcohol.
Scuff For Key, Not For Looks
Sanding before primer is a different job from sanding for smoothness, and it is the one people skip when a print already looks good. The target is a uniformly dull surface over every face that will be painted, including the ones that are already flat — 320 to 400 grit is enough, and going finer is counterproductive because you are trying to create texture, not remove it.
Three details decide whether it works:
- Break the sharp edges. A film cannot hold a thickness over a knife edge, so corners are where chipping always starts. A couple of passes with wet/dry paper to put a small radius on every outer edge buys more durability than another coat of paint.
- Get the dust off afterwards. Sanding swarf sitting in a layer valley is a contaminant like any other. Blow it out, then wipe with alcohol again.
- Dry it properly if you wet sand. Water hides in the porosity between extrusions and comes out under the primer as blisters. Give it hours, not minutes.
Primer Is The Adhesion Layer
Colour coats are formulated to bond to primer. Primer is formulated to bond to plastic. Treating primer as an optional grey undercoat is what turns a good paint job into a peeling one, and no number of colour coats compensates.
Spray it in several light passes rather than one wet one. A heavy coat traps solvent, cures slowly from the outside in, and stays soft underneath where it is supposed to be gripping. High-build filler primer earns its place on FDM parts for a second reason: it fills the shallow layer valleys, so the colour coat sits on a continuous surface instead of spanning a series of grooves as an unsupported film that cracks along every one of them. Two prime-and-sand cycles is normal on a cosmetic part.
Conditions matter more than the can suggests. Below roughly 10 °C the solvent will not flash properly and the film stays soft; above about 70% relative humidity, moisture condenses into the drying surface and leaves a chalky bloom that nothing adheres to. If the garage is cold and damp, the part is better left unpainted until it is not.
Let The Chemistry Stack In One Direction
Most wrinkling, crazing and lifting that happens during painting is a recoat-window problem. Rattle cans generally specify a second coat within about an hour, or after 48 hours, and the gap between those two numbers is the failure zone: a partly cured layer is still releasing solvent, and a fresh wet coat re-softens it so the surface buckles. Spray on schedule, or wait for a full cure and scuff before continuing.
Mixing families has the same effect more violently. A hot lacquer sprayed over cured acrylic will often lift it, and solvent-heavy enamels can attack bare PLA directly. The reliable stack on a print is a plastic primer, water-based acrylic colour, then a clear coat — and anything outside that is worth testing on a scrap tile before it meets the model. The same reasoning applies to adhesives, where the solvent that bonds one polymer does nothing to another: see why glued 3D prints come apart.
Movement Beats Adhesion Every Time
A coating on a part that flexes is in a losing argument with strain. Rigid acrylic and enamel films tolerate a fraction of a percent of stretch; a TPU strap or a living hinge goes far beyond that in normal use, so the film cracks and then peels outward from the cracks. Adhesion promoter helps it survive handling, but it does not make a brittle film elastic.
The options that actually last are a flexible or fabric-grade paint, a dye that colours the polymer rather than sitting on it, or printing the part in the colour you want and skipping the problem. The same applies at smaller scale to snap-fits and clips, which flex every time they are used.
Heat is the other movement. Do not try to speed a cure with a heat gun or a hot box on PLA — it softens near 60 °C and a part that distorts under a curing film takes the film with it, which is the same mechanism behind parts failing outdoors after a summer on a dashboard.
Seal It, Then Leave It Alone
Paint reaches handling strength in hours and full hardness in days. Most early chipping happens because a part was assembled, bagged or glued while the coating was still soft — a thumbnail that would bounce off a cured surface marks a two-day-old one permanently.
A clear coat is the layer that then takes the wear in place of your colour. On anything that lives outside it is also the only realistic UV protection, because the pigment fades and chalks long before the plastic does. Give the colour its full cure time first, then seal, then give the sealer its own week before heavy use.
Before committing an evening to a part you care about, print a scrap tile in the same material and run the whole sequence on it — wash, scuff, promoter, primer, colour, clear — then cut a shallow cross-hatch grid through the coating, press tape over it and pull it off sharply. If the squares come away on the tape, the stack is wrong and you have lost a tile instead of a model. The full consumable list for all of this is in our guide to 3D print finishing and painting supplies.
When To Hand It Over
There is a point where finishing stops being worth doing yourself. If the painted surface is the deliverable — a client-facing prototype, a display piece, a batch of parts that have to match each other — a shop with a booth, controlled humidity and the right tie coats for your polymer will get there faster and more consistently than a kitchen table can. Finishing is the least scalable stage of 3D printing, and the labour is the whole cost.
Browse 3D printing providers by location and process when the quantity or the finish has outgrown the bench, and read what post-processing and finishing services actually cover before you ask for a quote — specifying the finish you want in their language is most of the job.
Hero photograph by Tom Claes on Unsplash.