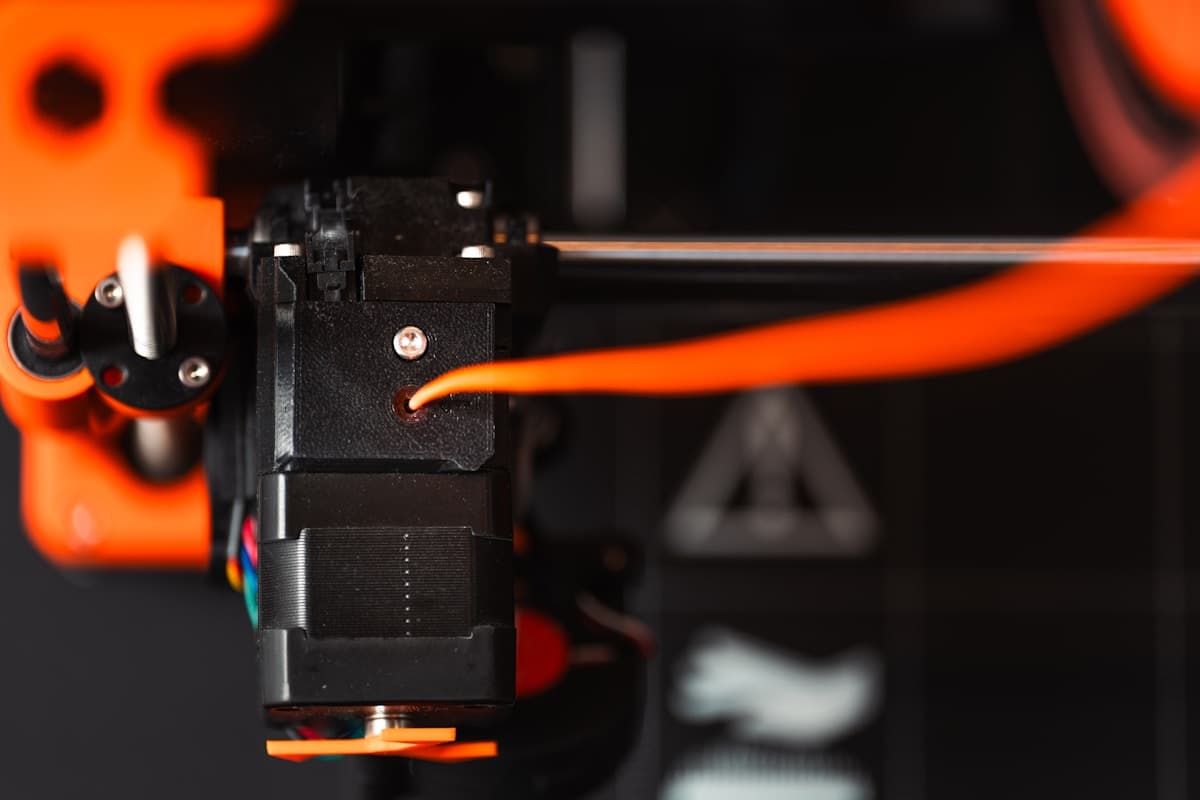
You switched it on for the first time since spring. The first layer will not stick anywhere on the plate, the extruder clicks instead of feeding, and when you pull the spool off the holder the filament snaps in your hand like dry spaghetti. Nothing is broken, and nothing wore out — a 3D printer that has sat unused fails for a completely different set of reasons than one that has been printing every week, and almost all of them are in the consumables rather than the machine.
This post contains affiliate links. If you purchase through these links, 3D Prototyping Hub may earn a small commission at no extra cost to you.
This post also contains Amazon affiliate links. As an Amazon Associate I earn from qualifying purchases.
Read the Failure Before You Start Changing Things
Four distinct failures hide behind "it worked when I put it away", and they want different responses. Find yours here before you touch a setting.
| What you see on the first print |
What it actually is |
| Popping and hissing, rough walls, weak layers, stringing |
Filament that absorbed moisture on the shelf |
| Clicking extruder, no plastic coming out at all |
A plug where the loaded filament cooled in the melt zone |
| Nothing sticks anywhere, including places that always worked |
A contaminated build surface, not a levelling fault |
| Banding, a bind in the first few millimetres of Z, grinding |
Grease that has migrated and stiffened on the screws and rods |
Notice what is not on that list: the hotend, the board, the motors and the frame. Those are the parts that age least in storage, which is why a dormant machine is usually a cheap fix and a well-used one is not. The wear-driven version of this problem — the nozzle, the PTFE liner, the extruder gears and the build surface going quietly out of spec through use — is a different article, why your 3D printer prints worse than it used to.
Start With the Filament, Because Every Other Symptom Looks Like It
PLA, PETG and nylon are all hygroscopic, which means they pull water out of the air and hold it. Months on an open shelf is plenty, and a garage or a basement is faster than a living room.
When that filament hits the melt zone the absorbed water flashes to steam inside the nozzle. You hear it as popping and hissing, and you see it as a rough, fuzzy surface, craters on the walls, stringing that no retraction setting fixes and layers that pull apart in your hands. Every one of those also happens for hardware reasons, which is the trap: diagnose the machine with a wet spool loaded and you will chase a fault that is not there.
Do the two-minute test first. Unload the filament and flex a short length between your fingers. If it bends, it is probably fine. If it snaps cleanly with a dry crack, it has taken on water and gone brittle — the mechanism is laid out in why filament snaps on the spool.
The fix is drying, not buying, for anything that is not physically damaged. A few hours in a heated dryer box at 45–55°C recovers most PLA and PETG; nylon needs hotter and longer. Worth knowing before you spend an evening on it: drying reverses moisture and nothing else, which is the point of why drying filament doesn't fix your prints. And the cheap half of the fix is for next time — spools that go into vacuum bags with fresh desiccant come out of a year's storage printing like they went in. The storage options are compared in our filament dry box guide.
The Filament You Left Loaded Is Now Part of the Hotend
This is the clicking-extruder failure, and it is the one that sends people hunting for a clog that was never caused by printing.
A strand left threaded through the machine cools inside the melt zone and sits there. Over months it bonds to the walls, and the short length above it in the heat break takes a set. Heat the nozzle up and the melt zone behaves normally — but the solid plug above it does not move, so the extruder grinds a flat onto the filament and clicks. Pushing harder polishes the flat and makes it worse.
Work it in this order:
- Unload hot, not cold. Heat to printing temperature, run a short extrusion to loosen the interface, then retract. Cut the deformed, melted tip off before you reload anything.
- Clear the orifice and the break. A cleaning needle and a cold pull lift the softened residue out as a cast of the inside of the hotend, which also tells you what you are dealing with when it comes out dark and crusty.
- Purge what is left. Half a metre of cleaning filament pushes the carbonised remains out instead of printing them into the first layer of the new job.
- Replace the nozzle if it was abrasive material. Carbon-fibre or glow-in-the-dark filament left in a brass nozzle for a season is not worth the hour you will spend saving a part that costs a few dollars.
If it still will not feed after all of that, the cause is the ordinary one rather than the storage one, and the full decision tree is in why 3D printer nozzles clog. The habit that prevents the whole section: unload before the machine goes quiet, every time.
The Build Plate Collected Whatever the Room Had
Adhesion failures after storage read as a levelling problem and usually are not. A plate that sat uncovered for months carries dust, airborne kitchen or workshop grease, and the oil from every time somebody picked it up by the surface to move it. PEI in particular works by surface chemistry, and a fingerprint is a release agent.
Clean before you level. Warm water and dish soap on a removable sheet, dried properly, removes oils that isopropyl alcohol smears around; alcohol is the follow-up, not the main event. Old glue stick or hairspray residue needs warm water and patience — it goes cloudy and loses grip long before it looks worn out. Only once the plate is genuinely clean and still not gripping is a dedicated adhesion spray the right call, because on a contaminated surface it just lays a tacky film over the problem. The rest of the first-layer causes, in order, are in why 3D prints don't stick to the bed.
Then re-tram manually and re-run the probe. A stored machine's mesh is a description of where the plate used to be.
Grease Migrates, Belts Relax, Bearings Sit in One Place
Mechanical storage faults are quieter and show up as print quality rather than as a stoppage.
Lubricant does not evaporate — it creeps away from where it was applied and stiffens where it stays. On Z lead screws that reads as banding, or as a bind in the first few millimetres of travel that disappears higher up the print. A thin re-application of PTFE grease on the screws, and a drop of light oil wiped along the linear rods, is the entire job. Resist the temptation to use whatever spray is on the shelf: anything that attacks plastics gets into the printed parts of the carriage.
Belts lose a little tension as the frame settles, so check both axes by plucking them and compare — a slack belt is a common cause of rounded corners and ghosting on the first print back, which is the territory of why 3D prints have ringing and ghosting. Spin the fans by hand before you power up; a fan that has seized with dust will not announce itself until the hotend cooks. And if the machine spent the winter somewhere cold and damp, give the connectors and the bed cable a look before anything is energised — corrosion and a stiff, kinked cable are the two findings that matter, for the reasons set out in why 3D printers catch fire.
A Dormant Resin Printer Fails Differently, and More Expensively
If what sat idle was a resin machine, the restart is a different list and the consumables are worth more.
Resin left in the vat is the main event. Pigment settles over weeks, so what is at the bottom of the vat is no longer the mixture your exposure profile was calibrated against. Any stray light leaves a partly cured skin on the surface or a cured sheet welded to the film, and the film itself has been under a standing load the whole time. Expect to filter the vat through a filter funnel rather than pour it, and expect to fit fresh FEP film — the symptoms of a film that is past it are catalogued in why resin vat film fails.
Check the screen before the first job, not after. A screen protector film is a few dollars against a mask LCD that is the most expensive part of the printer; run the manufacturer's exposure test image and look for dead regions before you commit a plate of resin to it.
Treat the bottle as a new bottle. Resin has a shelf life of roughly a year, and a bottle that has been sitting needs a thorough shake and a fresh exposure test rather than last year's numbers — which is the same recalibration described in why a new bottle of resin ruins your settings.
The Restart, in Order
Working through it in this sequence means each step is tested before the next one can confuse it.
- Power off. Look for dust bunnies in the electronics bay, chewed insulation, corrosion on connectors, and anything that has nested in the frame. Spin every fan by hand.
- Unload and clear the hotend. Hot unload, cut the tip, cold pull, purge.
- Clean the build surface. Soap and water, then alcohol, then dry.
- Lubricate and check tension. Screws, rods, both belts.
- Re-tram and re-probe. Manual first, mesh second.
- Load known-dry filament. A fresh sealed spool, or one that has been through the dryer. Not the one that was on the machine.
- Print a single-wall calibration cube. It fails fast and tells you about extrusion, adhesion and motion in twenty minutes rather than at hour nine of a real job.
If the cube is clean, the printer is back. If it is not, you now have a one-variable problem instead of a six-variable one, and the symptom maps onto an ordinary fault rather than a storage fault.
When It Is Not Worth Restarting
Do the arithmetic before the weekend, not after it. Add up what the list actually needs: a nozzle, a build surface, a PTFE liner, belts, fresh filament — and on a resin machine, a vat film, a screen protector and possibly the mask LCD. On a five-year-old budget machine that total can reach a large fraction of a current one.
The comparison that matters is not speed. It is that ELEGOO's current printer range, like most machines sold now, ships with automatic levelling, thermal-runaway protection, filament runout detection and power-loss recovery as standard rather than as the upgrades you were planning to fit anyway. If the restart list comes to a nozzle and a spool, restart it — frames and motors age well. If it comes to most of a bill of materials, it is a replacement decision wearing a maintenance costume.
When the Part Is Needed Before the Printer Is Ready
There is one case where none of the above is the right use of an evening: somebody needs a part this week, and the machine in the corner has not run since spring.
A restart is a half-day of work plus however long the first failed print takes to tell you something. If the part is due before that, send it out and restart the printer afterwards with no deadline attached to it — shops with calibrated machines and dry material are listed by location and process in our provider directory, and what a one-off actually costs is broken down in how much 3D printing costs.
Then come back to the bench, unload the filament when you are done, seal the spool, and the next restart is a ten-minute job instead of this one.