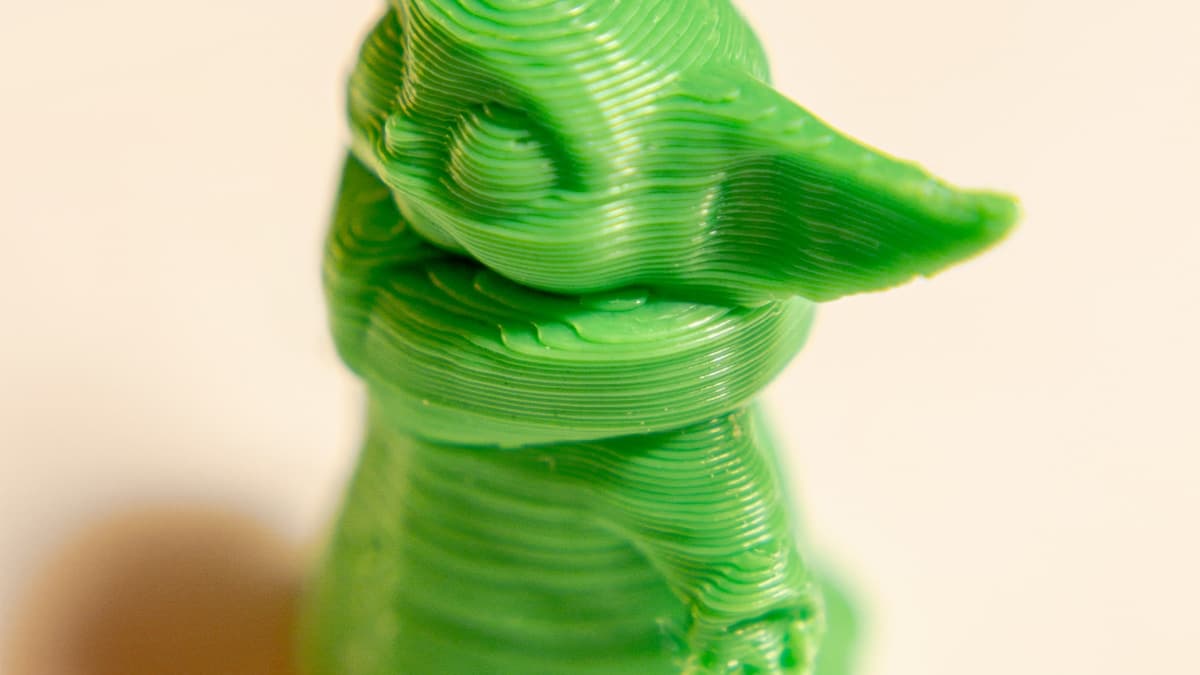
You print a cube with a logo embossed on the front, and to the right of every sharp edge there is a run of faint ripples — the same shape again, weaker, then weaker still, fading out across the wall. Nothing is wrong with the model and nothing is wrong with the filament. What you are looking at is ringing — also called ghosting or echoing — and it is your machine's own vibration recorded into the plastic. The nozzle went where it was told; the print head was still swinging when it got there.
This post contains affiliate links. If you purchase through these links, 3D Prototyping Hub may earn a small commission at no extra cost to you.
This post also contains Amazon affiliate links. As an Amazon Associate we earn from qualifying purchases.
This one is worth diagnosing properly rather than guessing at, because the same ripples can come from a belt, a bench, a bolt or a slicer profile, and four of the five common fixes cost nothing.
First, Confirm It Is Ringing and Not Something Else
Four different surface faults get called ghosting, and they need four different responses.
| What you see |
What it is |
Where to look |
| Ripples immediately after a sharp feature, evenly spaced, fading out |
Ringing — resonance from a direction change |
Acceleration, belts, moving mass |
| One clean sideways step; everything above it is offset |
Layer shift, not a surface artefact |
Pulleys and drive, not vibration |
| Horizontal bands repeating every few millimetres up the Z axis |
Z banding or lead-screw wobble |
Z couplers, bent screw, binding |
| Fine vertical lines all over the wall regardless of features |
VFAs — pulley eccentricity or motor micro-stepping |
Pulleys, drivers, belt path |
The distinguishing feature of ringing is that it is positional: it starts at a corner, travels with the nozzle, and decays. If the pattern covers the whole wall evenly, or ignores where the corners are, you are looking at something else. A single hard offset with a clean edge is a different failure entirely — see why prints shift mid-print, which shares half its parts list with this article and none of its symptoms.
Read the Ripple: Which Axis, and at What Frequency
Two measurements, ten minutes, and you stop guessing.
Which axis. Print a small calibration cube with a raised feature, or one of the free ringing towers, and look at the two vertical faces. Ripples on the face the nozzle printed after reversing along X mean the X axis is ringing; the same on the other face implicates Y. If the two look different, note it — that asymmetry is diagnostic on its own, and on a moving-bed machine it is expected.
At what frequency. This is the number that makes everything else actionable. Measure the distance between two ripple peaks with a pair of digital calipers, then divide the speed the outer wall was printed at by that distance:
- Outer wall at 120mm/s, peaks 2.4mm apart → 120 ÷ 2.4 = 50Hz.
- Outer wall at 60mm/s, peaks 2mm apart → 60 ÷ 2 = 30Hz.
Use the speed the outer wall actually printed at, not the profile's headline number — most slicers run perimeters well below the maximum. Desktop machines commonly land somewhere between 25 and 70Hz. A low figure points at the frame, the table or a heavy moving bed; a higher one usually means the structure is stiff and the remaining energy is in the belts and the carriage.
Write the number down. Every fix below either lowers the amplitude at that frequency or moves the frequency somewhere the machine does not excite.
Cause One: The Profile Is Asking for More Than the Frame Can Do
Ringing amplitude is driven by acceleration and jerk, not by cruising speed. A head that reaches 200mm/s gently rings less than one that snaps to 80mm/s.
The free test: cut acceleration by 40 percent, reprint the same file, change nothing else. If the ripples shrink noticeably, the machine is mechanically fine and the profile is the problem. That is a real result — it tells you the rest of this article is optional.
The proper fix is input shaping, which cancels the vibration instead of avoiding it. Klipper calls it Input Shaper, Marlin 2.1 ships input shaping, RepRapFirmware has dynamic acceleration adjustment, and most current manufacturer firmware has its own version enabled by default. Each one splits an acceleration command into timed impulses that destructively interfere with the resonance the first impulse would have caused — so you keep your speed and lose the ripples.
It only works if it is tuned to your machine's real frequency. Measuring the tower by hand gets you an estimate; an ADXL345 accelerometer bolted to the head measures both axes properly and picks the shaper for you, for about the price of a spool. If the honest answer is that you want production speed out of a frame not built for it, that is a machine decision — our guide to high-speed 3D printers covers which architectures actually hold surface quality at those numbers, and Flashforge's enclosed CoreXY machines are one route to it.
Cause Two: Belts, Pulleys and the Slop Between Them
A belt is a spring. Its tension sets the frequency the carriage bounces at, and everything loose in the drive train adds an impulse the firmware never commanded.
Tension both axes to the same note. Pluck the free span like a guitar string: a definite low note, not a dull thud, and the two axes should sound alike. Hand-tightening produces two different tensions almost every time, which is why an inline GT2 belt tensioner kit is worth the few dollars — it makes tension repeatable rather than a matter of opinion.
Do not over-tighten. Cranking a belt past correct does not remove ringing; it shifts the frequency, loads the stepper bearings and pulls the frame out of square. Two of those are permanent.
Then check what tension cannot fix:
- Pulley grub screws. One should land on the machined flat of the motor shaft. A pulley creeping on a round shaft adds a small lost-motion impulse at every reversal.
- Idler play. Grip the idler and try to rock it. Any movement you can feel by hand is movement the print will show.
- Tooth wear. Rounded tips or frayed cords mean the belt is finished; a fresh length of 6mm GT2 belt is routine service on a machine past its first year.
- Carriage rock. On an i3-style frame, flat-spotted wheels let the head tilt as it stops. A POM V-wheel and eccentric nut kit plus a careful re-set is a one-evening job: snug enough that no wheel spins freely under a fingertip, loose enough that the carriage glides.
Cause Three: The Printer Is Moving the Furniture
This is the one people skip, and on a wobbly bench it dominates everything else.
Put a hand on the table during a fast infill pass. If you can feel it moving, the machine is coupled to a structure with its own low resonant frequency, and belt tension cannot reach that. A hollow-core desk, a wire shelf or a laminate cabinet are all worse than they look; a paving slab, a butcher's block or a stone offcut under the printer is the classic cheap fix, and it works because it adds mass exactly where you want it.
Failing that, decouple: anti-vibration feet for a first attempt, or Sorbothane isolation pads where the printer shares a shelf with something else that matters. Two printers on one surface will drive each other, and the second one is invisible in every test you run on the first. The same treatment quiets the room noticeably — the machines in our quiet 3D printer round-up get part of the way there by damping the same energy.
Cause Four: Too Much Mass Going Back and Forth
Resonant frequency falls as moving mass rises, and a lower frequency both rings louder and is harder to shape out.
On a bed-slinger the Y axis is dragging the heated bed plus the print, so ringing on that axis grows through the job — that is why a tall part is often clean at layer 10 and rippled at layer 200. Print tall parts near the centre of the bed, and slow the outer wall rather than the whole job.
On any machine, audit what you have bolted to the head: cameras, LED bars, a spool holder mounted on the gantry, a cable loom stiff enough to tug at the ends of travel. Every one lowers the frequency. Where a part genuinely needs replacing, manufacturer-direct listings save the guesswork of matching a belt length or a carriage bore by eye — ELEGOO's FDM printer range and Anycubic's FDM machines and parts both list spares by model.
Making It Invisible When You Cannot Make It Go Away
Sometimes the deadline is tonight. Three honest mitigations:
- Slow only the outer wall. Perimeter speed and acceleration are the only settings the visible surface sees. Keep infill fast.
- Fuzzy skin. A deliberate random surface texture hides a regular one completely, and it costs no print time. It changes the look of the part, so it is a choice rather than a fix.
- Finish it. Ringing is shallow, generally well under 0.1mm, so it sands out faster than layer lines — our finishing and painting supplies guide covers the filler-primer route that buries the rest.
What will not help: a smaller nozzle, thinner layers, or a different brand of filament. None of them touch the mechanism. If your walls are also hairy or pitted, that is a separate extrusion problem — see stringing, which is worth fixing first simply because it is easier to judge a surface once it is clean.
The Ten-Minute Sequence
- Confirm the artefact against the table above — positional and decaying, or something else.
- Print a cube or ringing tower and note which axis is worse.
- Measure the ripple spacing and divide outer-wall speed by it. Write the frequency down.
- Drop acceleration 40 percent and reprint. Smaller ripples confirm vibration as the cause.
- Push the table. If the bench moves, fix that before touching the machine.
- Belts to matched tension, then grub screws, idlers, wheels and frame bolts.
- Enable and tune input shaping, measured rather than guessed.
- Reduce moving mass, and only then reach for a hardware upgrade.
When the Surface Has to Be Right the First Time
There is a point where tuning stops being economical. A one-off display model is worth an evening; twenty customer-facing housings that each need an hour of sanding is not, and a machine that needs a new gantry to hold surface quality at speed is a purchase, not a fix.
For appearance parts, a client sample or anything going in front of a buyer, get a comparison quote before you commit a weekend. Service bureaus run machines whose resonance behaviour is a known, tuned quantity, and they hold surface finish as a specification rather than as an outcome. Browse providers by location and process, send the same STL or STEP to two or three, and compare that against what another set of upgrades would cost you.
Hero photograph by Girl with red hat on Unsplash.