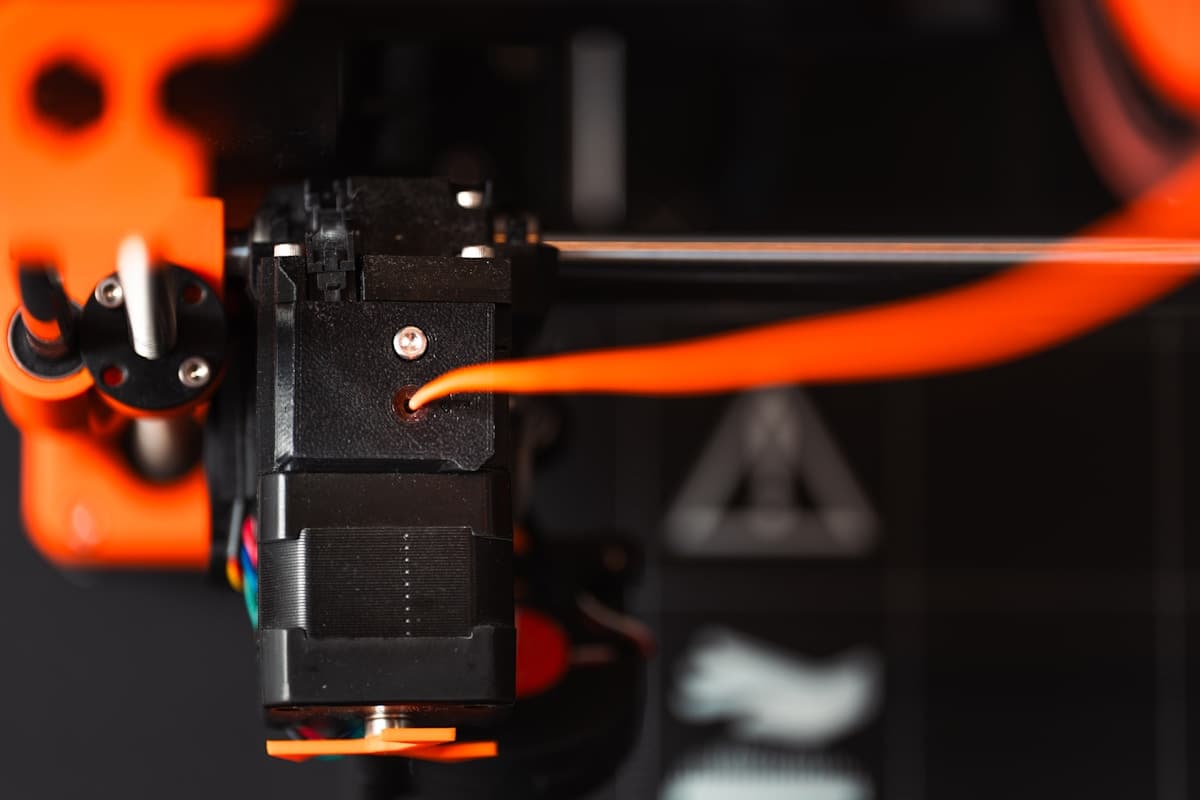
The smell comes first. Hot plastic that is not the smell of printing, somewhere behind the machine, and by the time anyone notices it the connector has already been browning for weeks. A 3D printer fire is rare measured against the hours this hardware runs, but it is not mysterious: a desktop machine holds a heater block at 250°C, pushes a couple of hundred watts through a bed, and does it centimetres from a kilogram of thermoplastic. Three failures cause almost all of them, every one gives warning first, and nothing in this article requires you to buy anything to act on it.
This post contains affiliate links. If you purchase through these links, 3D Prototyping Hub may earn a small commission at no extra cost to you.
This post also contains Amazon affiliate links. As an Amazon Associate we earn from qualifying purchases.
The Three Ways It Actually Starts
| Failure |
What goes wrong |
What you see before it |
| Thermal runaway |
The thermistor stops reporting the heater it is attached to, so firmware commands full power forever |
Temperature readings that jump, drop out, or disagree with reality |
| A loose electrical joint |
A high-resistance screw terminal or crimp heats up under load until the insulation chars |
Browned connectors, melted plastic shells, a hot-plastic smell near the PSU or bed |
| The blob of death |
Plastic escapes the nozzle and engulfs the heater block, wiring and thermistor |
A failed print, cooked plastic on the block, a thermistor that has been pulled |
Everything else — a filament spool on top of the enclosure, a printer on a carpet, a power strip with four heaters on it — turns one of those three into a fire instead of a dead printer. That is the useful split. The first three are failures. The rest is whether the failure has anything to burn.
Thermal Runaway Is The One With A Software Answer
A printer has no idea how hot it is. It has a thermistor taped, screwed or wedged into a heater block, and it trusts what that sensor says completely. If the sensor falls out of the block — which happens because the lead has been flexed at the carriage a few hundred thousand times — it measures air. Firmware reads room temperature, concludes the hotend is stone cold, and commands 100% heater power. The block, with nothing left regulating it, keeps climbing past anything the design anticipated.
The protection is firmware, not hardware: Marlin's THERMAL_PROTECTION_HOTEND and THERMAL_PROTECTION_BED, Klipper's verify_heater. They watch whether the measured temperature actually tracks the commanded one and halt the printer when it does not. Every current mainstream consumer machine ships with this enabled. Where it is missing is older kits, self-compiled firmware, clones running ancient forks, and — the one that should worry you most — machines where somebody disabled the check to stop a nuisance error.
Three things to do with that:
- Confirm it is on. The manual, the firmware configuration, or the manufacturer's spec page. If you compile your own firmware, the setting is in
Configuration.h and you should know which way it reads.
- Never silence a heating error. "Heating failed" and "thermal runaway" are the machine telling you the sensor and the heater disagree. The fault is mechanical and it is in front of you.
- Check the retention screws. Both the heater cartridge and the thermistor are held in the block by small grub screws that loosen with heat cycling. A cartridge that can be wiggled is a cartridge on its way out of the block — and a loose one is also the reason some blocks never reach temperature. Both parts are cheap consumables; a thermistor and heater cartridge kit for your model on the shelf turns the repair into ten minutes rather than a week of waiting.
Protection also has a blind spot worth knowing: it compares a sensor to a heater. If the sensor and the cartridge both sit in a block that is no longer attached to anything, the firmware sees a perfectly healthy hotend. That is the case the next section covers.
Loose Connections Burn Quietly For Weeks
This is the failure that has nothing to do with printing and everything to do with electricity. Current through a loose or corroded joint develops heat at that joint. The heat loosens it further, resistance rises, and the cycle runs away on a timescale of weeks. Nothing on the screen reports it, because nothing in the machine measures it.
The places it happens on a desktop printer are specific:
- The heated bed terminals. The bed is the largest load on the machine, often 100–300W, and on many designs it is wired to a screw terminal somebody tightened once at the factory. Discoloured brown plastic around a terminal is not cosmetic.
- The PSU input and output screws. Mains in, DC out. Both are screw terminals, both vibrate, and on a few well-documented machine generations both have been under-specified for the current they carry.
- The bed cable's flex point. On a bed-slinger the harness bends on every layer. Strands break inside the insulation, the remaining strands carry the whole current, and the cable heats where you cannot see it. Look for a cable that has gone stiff, kinked, or warm along its length rather than only at the ends.
- The mains side of the room. Daisy-chained power strips, an extension lead under a rug, a printer plus a dryer plus a heat gun on one circuit. Printers are not special here; they are just left running longer than most appliances.
The inspection is five minutes with the machine unplugged. Look at every connector for browning, melted shells, or a smell. Feel each cable along its run. Re-torque the screw terminals you can reach — not hard, just properly seated. Anything charred gets replaced, not cleaned. If a repair involves splicing mains wiring and you are improvising it, stop: this is the point to order the correct part, and if a job is due in the meantime, the providers in our directory will print it while the machine is down.
The Blob Of Death Is Where The Other Two Meet
A blob starts as a normal print failure. The part comes loose, or the nozzle gets buried, and extruded plastic has nowhere to go but back up around the heater block. It cools onto the block, the fan shroud, the wiring and the thermistor lead, and keeps growing as the printer dutifully extrudes into it. By the end there can be a fist-sized lump of plastic encasing a 250°C heater.
Two things make that dangerous rather than merely expensive. The blob pulls on the thermistor and heater leads as it grows and contracts, which strips insulation and can drag the thermistor out of the block — restoring exactly the condition the previous section described. And a blob strong enough to bind the hotend can rip the whole assembly off the carriage while the heater is still powered, leaving a live cartridge resting against a printed plastic part.
It is also the most preventable of the three, because it is a consequence of print failures you already care about:
- Fix adhesion before running long or unattended prints — a part that comes off the plate is how most blobs begin, and why prints don't stick to the bed is the first-layer sequence.
- Treat repeated clogs as a hardware fault rather than a setting, because a nozzle that jams mid-print is the second route in: why nozzles clog.
- Fit the silicone sock the hotend was designed with — it keeps plastic off the block — but understand it also hides the early stage of a blob, so lift it when you clean.
- Watch what a stopped print was doing before it stopped. Why printers stop mid-print covers the thermal and power faults that leave a hot nozzle parked in a part.
If you find a blob, power the machine off and let it cool fully before touching anything. Reheating the hotend to peel plastic off is the standard advice and it is fine — but do it with the machine in front of you, not as a background task.
Give The Failure Nothing To Burn
Once the three mechanisms are covered, the rest of the risk is environmental, and it is almost free to fix.
Put the printer on something that does not burn. A steel shelf, a paving slab, a sheet of cement board, a metal cart. Not carpet, not a cardboard box, not directly on a varnished shelf stacked with spools.
Clear the space around it. Printers accumulate paper towel, failed prints, IPA bottles, cardboard spool boxes and bagged filament. Thirty centimetres of nothing around the machine is the cheapest safety improvement available.
Nothing stored on top. The warm flat surface on an enclosure is a filament shelf by instinct, and it is directly above the electronics.
Check what is in the same room. Resin printing brings its own hazard class — the machine is low-power, but IPA is flammable at room temperature and alcohol-soaked towels in a paper bin are a real ignition path. Resin safety and post-processing basics covers the handling side.
Detection, where you will actually hear it. A photoelectric smoke alarm responds faster than ionisation sensing to the smouldering, smoky fires that plastic and insulation produce. Mount it per the manufacturer's instructions for the room rather than directly over the printer, where ordinary printing fumes will nuisance-trip it and get it taken down — which is how most disabled alarms end up disabled.
Suppression within reach. A fibreglass fire blanket on the wall beside the bench smothers a small contained fire without spreading burning debris, and an ABC dry chemical extinguisher covers plastics, solvent and energised electronics in one unit. Cut power at the wall or the breaker first if you can do it safely, and never use water on an energised machine. If it is past the size of the bench, leave and call the fire service — a printer is not worth a decision made in smoke.
Enclosures, Cameras And What Each One Is Actually For
Both get sold as safety and neither does what people assume.
An enclosure contains fumes, holds chamber temperature for ABS and ASA, and buys time before a small fire reaches the rest of the bench. It also traps heat around the electronics, and a plain acrylic or fabric tent is combustible in its own right — containment is not the same as fire resistance. If the printer lives in a shared, carpeted or occupied room, an enclosure built with a flame-retardant outer material is worth the premium over a plain tent — read the material spec, because the claim is the manufacturer's and it is about the fabric rather than a promise. The wider trade-offs, including where the power supply ends up, are in our enclosure guide.
A camera is detection, not protection. It cannot stop anything; it lets you abort a print and, more usefully, lets you see that a part detached two hours before you would otherwise have found a blob. Treat it as the thing that shortens the failure, not the thing that prevents it — cameras and remote monitoring covers what to look for, including remote power cut-off, which is the feature that genuinely matters here.
The smell question comes up constantly and is worth separating: the ordinary warm-plastic odour of printing is a fumes-and-ventilation topic, covered in why 3D printers smell. The smell that matters for this article is different and specific — hot electrical plastic, sharp, localised to a connector or the PSU, and present when the hotend is not even running.
When The Machine Itself Is The Risk
Most of this is maintenance. There is one case where it is not, and it is worth naming plainly: a machine old enough or modified enough that firmware protection is absent, with hand-terminated bed wiring, running unattended in an occupied house. No accessory fixes that stack.
What separates a current machine from a 2017 kit is not print quality. It is that thermal-runaway protection is enabled out of the box, the heated bed and mains wiring are terminated at the factory rather than by whoever built it, and the hotend and electronics are designed as one assembly. ELEGOO's US store and Anycubic's US store both list heater cartridges, thermistors and hotend assemblies per model alongside the machines, which answers the more useful question before you buy: when this part fails, is there a correct replacement to order? For high-temperature work where a heated chamber is part of the design, Qidi Tech's enclosed machines are engineered as enclosures rather than wrapped in one — relevant because where the power supply sits relative to a hot chamber is a design decision somebody should have made deliberately.
And if the printer is down, the deadline is not. The providers in our directory run the same processes on equipment that is inspected on a schedule, which is the right answer to a part due Friday on a machine you have just decided you do not trust.
The Five-Minute Version
Unplug the machine. Look at every connector for browning or melted plastic. Wiggle the heater cartridge and the thermistor in the block, and tighten what moves. Run a hand along the bed cable for stiffness or a kink. Confirm the firmware has thermal-runaway protection and that nobody has turned it off. Move the spools and the paper towel off the top. Check the smoke alarm, and put a fire blanket where you could reach it without crossing the bench.
That list costs nothing, takes five minutes, and addresses every one of the three failures above. The accessories help afterwards — none of them substitute for it.