The machine has not broken. It still homes, still heats, still finishes prints. But the parts coming off it are not the parts it made last spring — the surfaces are rougher, the dimensions are a little off, the first layer needs glue stick it never needed. When a 3D printer prints worse than it used to and nothing in the slicer changed, the cause is almost always a consumable that has quietly reached the end of its life. There are four of them on a desktop FDM machine, they wear at completely different rates, and each one leaves a signature you can read off the print.
This post contains affiliate links. If you purchase through these links, 3D Prototyping Hub may earn a small commission at no extra cost to you.
This post also contains Amazon affiliate links. As an Amazon Associate we earn from qualifying purchases.
Prove It Got Worse Before You Change Anything
Gradual decline is the hardest failure to diagnose because memory is unreliable and there is no moment where it started. Fix that first, and do it with a measurement rather than an impression.
- Print a reference part you have printed before. A calibration cube, a 3DBenchy, or better, the actual part you print most. Use the same filament type and the same profile as the old one.
- Measure both with calipers. Compare a 20mm dimension, a wall thickness and a hole diameter on the old print and the new one. A set of digital calipers is the difference between "it feels worse" and "walls are 0.48mm where they used to be 0.42mm", and only the second one tells you where to look.
- Keep the old print. From now on, the last good print off the machine is your reference sample. It costs nothing and it is the only baseline that is actually yours.
Then check the one thing that genuinely changes without you: the slicer. Profiles ship with the application, and a version bump can move line widths, acceleration or cooling under a profile with the same name. Reslice the reference part and compare gcode rather than memory.
The Four Consumables, and What Each One Does to a Print
| Part |
What the print shows when it is worn |
How to confirm it |
| Nozzle |
Soft detail everywhere, walls wider than commanded, over-extrusion that calibration will not fix |
Single-wall test, measured with calipers |
| PTFE liner (non-all-metal hotends) |
Intermittent under-extrusion, stringing that got worse, clogs that clear and return |
Pull the tube and look at the hotend end |
| Extruder gear and tension |
Clicking, filament that grinds flat, flexibles that stopped feeding |
Look at the gear teeth for packed dust and polish |
| Build surface |
First layers that need glue on a plate that never did, adhesion good in some spots and not others |
Clean it; if cleaning fixes it, it was dirt |
The order is deliberate. Those are roughly the rates at which they wear, and it is also the order in which they are cheap to eliminate.
The Nozzle Goes First, and Only Because of What You Print
A nozzle wears from the inside. The bore opens up, the flat at the tip rounds off, and the machine keeps extruding to a diameter it no longer has. That produces exactly what a gradually-declining printer looks like: detail softening across every model, walls measuring wider than the line width you asked for, and a flow calibration that used to be correct now over-extruding.
What decides the rate is the filament, not the hours. Plain PLA, PETG and ABS are not abrasive, and a brass nozzle printing those can run for hundreds of hours with no measurable change — brass is the correct material for them and is cheap enough to treat as disposable. Carbon-fibre-filled, glass-filled, glitter, metal-filled and glow-in-the-dark filaments are abrasive by composition, and they can open a brass bore measurably inside a spool or two. That is why manufacturers specify hardened steel nozzles for those materials rather than suggesting them. Fit one before the first abrasive spool, not after the symptoms, and raise the nozzle temperature a few degrees afterwards — steel conducts heat less readily than brass.
One caution: a partially blocked nozzle and a worn nozzle produce different symptoms and get confused constantly. Blockage is intermittent and gets worse with flow rate; wear is consistent and reproducible. The separation is in why nozzles clog, and a cleaning kit with needles and cold-pull filament settles it in ten minutes.
The PTFE Liner Retreats Before Anything Looks Broken
If your hotend is not all-metal, a short length of PTFE tube runs down to the top of the nozzle, and that tube is a wear part with a service life. Heat cycles shrink and char it, and the end nearest the nozzle slowly retreats. What it leaves behind is a small annular gap above the nozzle where molten plastic collects, cooks and restricts flow.
The signature is the frustrating one: under-extrusion that comes and goes, stringing that has got worse over months, and clogs that clear with a cold pull and return a week later. People chase temperature and retraction for weeks on this. Pull the bowden tube, look at the hotend end, and if it is brown, deformed or no longer square, cut a fresh square end or fit new PTFE tube and seat it hard against the nozzle while the hotend is at temperature. If you are printing above roughly 250°C regularly, the liner is being asked to do something it is not rated for, and an all-metal hotend removes the part instead of replacing it — at the cost of more sensitivity to heat creep. The print-side version of all of this is in why prints under-extrude.
The Extruder Stops Gripping Long Before It Stops Working
Extruder wear is gradual and almost invisible. The drive gear teeth pack with plastic dust and polish over, the idler spring loses tension, and the lever arm on cheaper plastic extruders develops a hairline crack at the pivot. None of that stops the machine — it just means less filament reaches the melt zone than the firmware believes, which is under-extrusion that scales with flow rate: fine on slow outer walls, thin on fast infill.
Disengage the filament, open the idler and look at the gear. Packed teeth clean out with a brass brush and a pick. Polished, rounded teeth do not come back. Flexible filament is the canary here: TPU needs consistent grip and a short unsupported path, so it is the first material to stop feeding on a tired extruder — why TPU jams covers the geometry side. If the gear is done, a dual-drive extruder kit grips from both sides rather than pressing filament against a bearing, which is a genuine improvement rather than a like-for-like replacement.
The Build Surface Is a Consumable Too
Build plates are sold like hardware and behave like consumables. Textured PEI loses grip as the peaks flatten under hundreds of heat cycles and as residue fills the texture; smooth PEI loses it faster, because there is no mechanical key underneath once the chemical grip goes. Scraper strikes, gouges and a bright polished patch where you always print are all the same story.
Clean before concluding. Isopropyl alcohol removes finger oils, and warm water with dish soap removes the film that repeated alcohol wiping leaves behind — that two-step is worth doing before any purchase, because a dirty plate and a worn plate look identical. If adhesion comes back, it was dirt. If first layers now need glue stick on a plate that never needed it, fit a fresh textured PEI spring steel sheet, which replaces independently of the magnetic base. The full first-layer sequence, including the Z-offset that gets blamed for this, is in why prints don't stick to the bed.
Note the opposite failure exists too: an old plate that has been scored and glued for a year can grip too well in places, and that is prints getting stuck on the build plate rather than an adhesion problem.
Motion Wear Leaves a Pattern, Not a Texture
Everything above degrades the surface and the dimensions evenly. Motion-system wear does something different — it puts a repeating pattern on the part, and the pattern names the cause.
Ringing that echoes after every corner is belt tension or a worn belt, and a 6mm GT2 belt with rounded teeth needs replacing rather than tightening — the diagnosis is in ringing and ghosting. Horizontal bands at a regular Z interval are lead screw or Z-axis, usually a screw running dry or binding, and PTFE grease on a cleaned screw fixes a surprising number of them; the rest are in why prints have Z-banding. And if parts have drifted dimensionally in one axis only rather than getting generally rougher, that is a calibration or mechanical issue rather than wear — why prints are the wrong size works through it.
If the machine also sounds different from how it sounded a year ago, the noise is a useful second reading on the same hardware: what each new noise means maps sounds to the specific part making them.
Half of These Cases Are Not the Printer at All
Before buying parts, eliminate the two things outside the machine that drift at the same slow pace.
The filament. PETG, nylon and TPU absorb moisture from room air over weeks, and PLA is not immune in a humid space. A spool that printed perfectly when opened will print with fuzz, popping and weak layer bonding six months later in the same machine with the same settings. That is a filament problem wearing a printer problem's clothes. A heated dryer box distinguishes the two in a few hours, and why filament snaps on the spool covers the storage end.
The room. Machines get colder as the year turns. A garage or an unheated workshop in October is a different printing environment from the same room in June, and profiles tuned in summer warp in autumn — why cold garages ruin prints has the fixes. If the decline is seasonal rather than monotonic, this is almost certainly it.
A Service Interval Worth Following
Most people maintain a printer reactively, which guarantees that every service happens after a failed print rather than before it. A short schedule, tracked by print hours rather than by calendar, removes most of that:
- Every few prints: clean the plate properly, and clear plastic off the nozzle tip while the hotend is warm.
- Monthly, for a machine in regular use: check belt tension, spin each wheel or feel each rail by hand, look at the extruder gear, wipe and re-grease the lead screws.
- By material, not by date: fit a fresh nozzle when you finish a run of abrasive filament, or the moment a single-wall test measures wide.
- Annually, or when symptoms say so: replace the PTFE liner, replace the build sheet, and reslice your reference part to catch profile drift.
- Keep the consumables on the shelf. A spare nozzle, a metre of PTFE and a spare sheet cost little and turn a lost weekend into a ten-minute job. The day you need them is the day you discover you have none.
When the Repair List Says Buy a Machine
Repairs are worth doing right up to the point where the list gets long or the parts stop existing. A nozzle, a liner, a sheet and a set of belts is a modest bill on any printer and restores a machine that was fundamentally fine. A hotend assembly plus a bed plus a mainboard, on a model whose spares are no longer listed anywhere, is throwing money at a machine whose next failure has no part behind it.
Two specifications are worth reading on any replacement, and both are published rather than something anyone needs to test for you: what the motion system runs on — linear rails hold their geometry longer than POM wheels on extrusion, which wear by design — and whether spare nozzles, hotends and plates are listed for that specific model. Parts availability is the specification people skip and the one that decides whether you are buying a repairable machine or a disposable one. ELEGOO's US store and Anycubic's US store both list spares alongside the machines, which is the fastest way to check that before buying rather than after.
The other honest answer is that the machine is fine and the job has outgrown it. If what you actually need is one part, to a tolerance, by Friday, maintenance is not the fastest route to it — the providers in our directory run the same jobs on equipment that is serviced on a schedule, and a quote usually costs less than the third evening spent chasing a print that used to work.
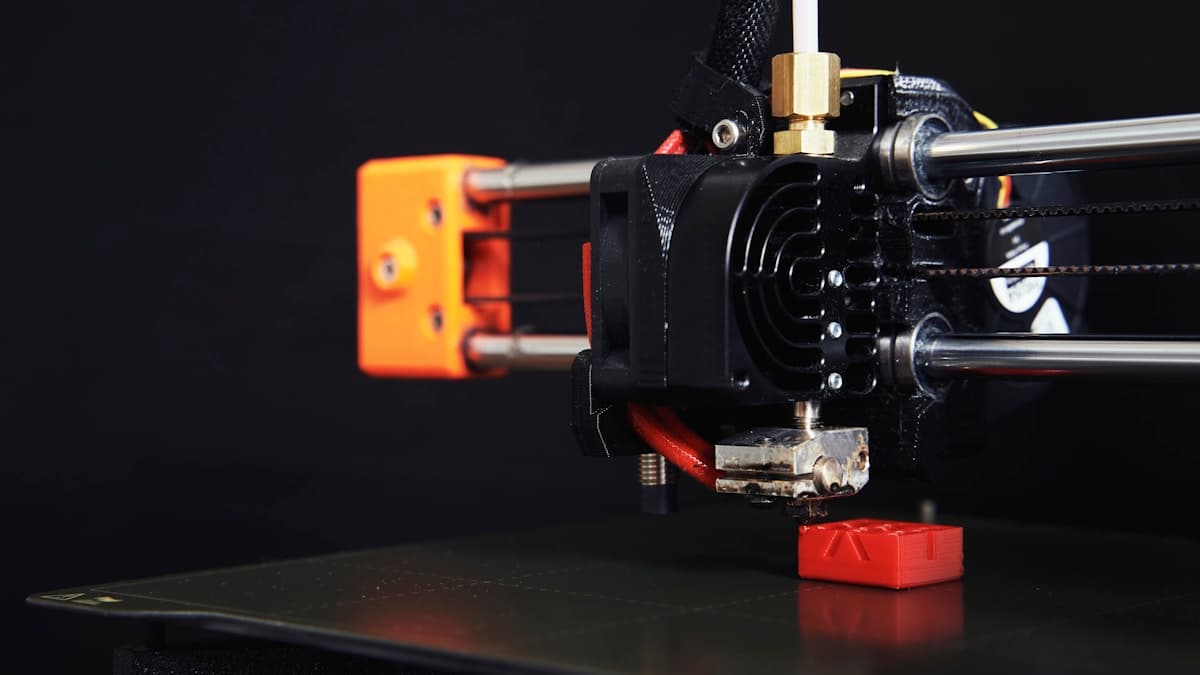
Hero photograph by Christian Englmeier via Unsplash.