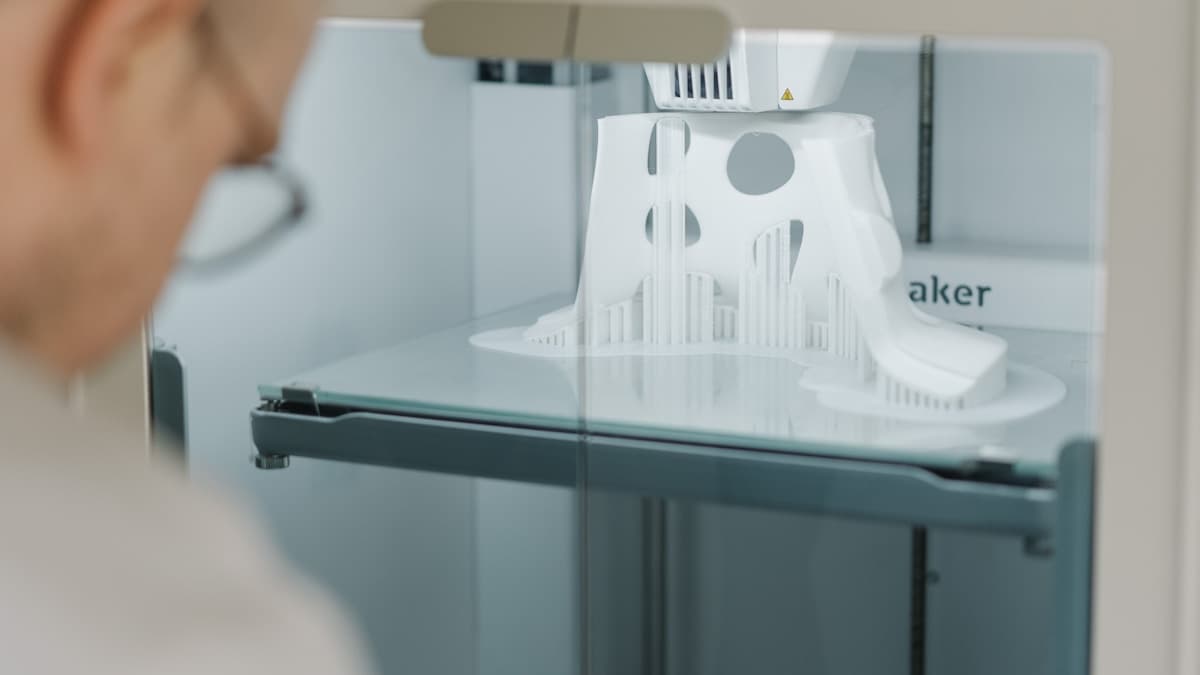
Thermoforming is the cheapest way to make a few hundred plastic shells, and the reason people do not do it more often is the mold. A block of tooling board has to be cut, sanded, drafted and drilled before you can pull the first part, and if the shape is wrong you start again. 3D printing services for vacuum forming molds short-circuit that: the mold is a solid one-off shape with no cosmetic requirement of its own, which is exactly what additive manufacturing is good at, and the vent holes come out of the machine already in it. The catch is that a mold is not an ordinary printed part — it gets a sheet of plastic at 150 °C or more laid against it, under the weight of the atmosphere, over and over. This guide covers how to design one so it survives that, what to send a shop, and the point at which you should stop printing and cut aluminium. When you are ready to price the job, start with the 3D printing provider directory.
Male or Female, and Why It Changes Everything
A vacuum forming mold is either a male tool that the sheet drapes over, or a female cavity that the sheet is pulled down into. Most printed molds are male, because they are simpler to print, cheaper in material and easier to vent.
The difference is not cosmetic. As the formed sheet cools it shrinks — and shrinking onto a male mold means gripping it harder, while shrinking inside a female cavity means pulling away from the walls. That single fact drives the whole specification:
| Male (positive) | Female (cavity) | |
|---|---|---|
| Detail lands on | The inside of the part | The outside of the part |
| Draft needed | 3–5°, more on tall features | 1–2° is usually enough |
| Release | The part grips as it cools | The part shrinks free |
| Wall thickness | Thickest at the top, thins down the sides | Thickest at the rim, thinnest in the corners |
| Print cost | Lower — less material, less time | Higher — you print the surrounding block too |
Choose the male tool when the inside face is the one that has to fit something. Choose the cavity when the outside face is the one people see or when the part has a rim that must be crisp. If you are not sure, say so on the quote request — a provider that does tooling work will pick for you and explain why.
The Three Things That Kill a Printed Mold
Almost every failed printed mold fails for one of three reasons, and all three are decided before anything is printed.
Not enough draft. A vertical wall on a male mold will not release. The sheet cools, shrinks, and locks on, and you end up levering a part off and damaging both. Three degrees is the working minimum, five is comfortable, and anything tall or textured wants more. Sharp internal corners cause the companion problem — webbing between features and a thin, weak radius — so put generous fillets everywhere the sheet has to turn.
Nowhere for the air to go. Vacuum forming works by evacuating the air between the sheet and the mold. Air that cannot escape holds the sheet off the surface and you get a soft, rounded, under-formed feature exactly where you wanted a crisp one. Vents belong at every inside corner, at the bottom of each recess and anywhere the sheet lands last. Keep them in the 0.5–1 mm range: big enough to flow, small enough that they do not pull a visible dimple into the sheet. This is the part printing does better than any other tooling route, because the holes are modelled in rather than drilled afterwards by someone guessing where the air will be trapped.
Not enough heat tolerance, and not enough bulk. The sheet arrives hot and the mold absorbs that heat. On the first pull the mold is a heat sink and copes easily; by the sixth it is warm all the way through and much closer to its softening point. Damage is cumulative, which is why a mold that worked fine on Monday has mushy corners by Friday. Bulk matters for a second reason: atmospheric pressure is about 14.7 psi, so a 200 × 300 mm mold face is carrying well over half a tonne every cycle. A hollow shell with 15% infill deflects or crushes. Ask for thick walls and high infill, or a solid part.
Material: Match It to the Sheet, Not to the Budget
The sheet material sets the temperature the mold has to survive, so specify that first and let the mold material follow.
| Mold material | Realistic use | What to watch |
|---|---|---|
| PLA | Shape and fit checks, 3–5 gentle pulls | Softens around 60 °C — it will lose its corners |
| PETG | Light use with thin, cool-forming sheet | Around 80 °C; better than PLA, still marginal |
| ABS / ASA | Short runs, dozens of pulls | Near 100 °C; sand and seal it for a clean surface |
| Polycarbonate | Repeated pulls with hotter sheet | High temperature resistance; harder to print well |
| Filled nylon (PA-CF, PA-GF) | The printed-tooling answer for real runs | Highest usable temperature and the least creep |
| SLS PA12 | Production-grade printed tooling | Tough, no support scars, and slightly porous — which helps venting |
| Standard SLA resin | Fine detail, very few pulls | Most general-purpose resins soften early and go brittle |
SLS 3D printing services is the route worth pricing if you need the mold to last, and carbon fiber 3D printing services covers the filled-nylon option and what reinforcement actually buys you. If the sheet you are forming runs genuinely hot, read high-temperature 3D printing services before choosing — and treat how to choose a 3D printing material as the wider map.
Surface Finish Transfers, Including the Bits You Did Not Mean
A thermoformed part is a copy of the mold's surface. Layer lines transfer. Support scars transfer. A blob from a retraction error transfers, and it transfers onto every part you pull for the life of the tool.
That does not mean the mold has to be polished. A lightly textured matte mold face often releases better than a glossy one, because a mirror surface lets the cooling sheet seal itself down. What it does mean is that the finish has to be deliberate and even. Two practical routes:
- Seal and smooth it. Filler primer, a skim of epoxy, or sanding down through grits gives a consistent face and closes the print's porosity so your vacuum goes where you designed it to go. Post-processing and finishing services covers what a shop can do to a printed surface and what it cannot.
- Orient the print so supports never touch the forming face. Worth saying explicitly on the order, because a shop quoting a generic prototype will orient for speed, not for which surface is cosmetic.
One related trap: FDM parts leak air through their walls. Some makers exploit that and pull vacuum straight through the mold, which works until it does not — the draw becomes uneven and varies between tools. Sealing the mold and venting it on purpose is the version that repeats.
What This Is Actually For
Printed molds earn their keep where the quantity is small, the shape is specific to you, and nobody is going to tool up for it.
- Packaging, blisters, clamshells and trays — the largest single use. See 3D printing services for packaging prototypes for the broader packaging workflow.
- Protective shipping trays and assembly-line dunnage — formed inserts that hold a part in a fixed position, a close cousin of jigs, fixtures and manufacturing aids.
- Cosplay armour and prop shells — lightweight, repeatable, and the reason a lot of people buy a forming machine at all. 3D printing services for cosplay props and costumes covers the printed-part side.
- Interior trim and housing mock-ups — form a shell in a day to check fit before anyone commits to a mold.
Keep the draw sensible. As a recess gets deeper than it is wide, the sheet thins badly at the top corners and the part becomes transparent where it should be strong. If a deep draw is unavoidable, that is a conversation about plug assist, not a mold you can solve with more draft.
Getting a Quote That Comes Back Right
Send these five things and the first number you get will be close to the last one:
- The shape you want formed, as STEP where possible. You do not need to have modelled the mold — say what you have and ask the provider to draft and offset it.
- Sheet material and gauge. This sets the mold material, and it is the question a shop that has done this work will ask first.
- Your machine's frame and platen dimensions. The mold has to fit inside the frame with clearance for the sheet to pull down around it.
- Expected number of pulls. Five and five hundred are different purchases.
- Whether the formed part is cosmetic, so the mold's forming face is treated as a finished surface rather than a back face.
How to prepare files for a 3D printing quote covers the file side, and tolerances and accuracy in 3D printing sets realistic expectations — a mold does not need tight tolerances, but the features that locate it in your frame do. How much does 3D printing cost explains why a solid, high-infill mold prices differently from a hollow prototype of the same size: you are buying material and machine hours, and a mold is deliberately heavy.
Large molds hit the build volume wall quickly. A 500 mm buck is either a large-format 3D printing job or it gets printed in sections and bonded — and a bonded seam in a forming face shows up on every part, so get it filled and sanded flat before the first pull.
When to Stop Printing the Mold
- You need hundreds of parts at a steady cycle. Machined aluminium with drilled vents and water cooling runs all day without cooling breaks. The printed tool was the bridge, not the destination.
- You are pressure forming, not vacuum forming. Different loads, different tooling.
- The part has undercuts. Thermoforming does not do undercuts without a split or collapsible tool, and that is a tooling design problem rather than a printing one.
- You need the part in a real engineering thermoplastic at volume. At that point the comparison is with moulding — rapid tooling services covers bridge molds, and injection molding vs 3D printing covers where the crossover sits.
Get Your Mold Quoted
Decide four things first: male or female, sheet material and gauge, how many pulls, and the inside dimensions of your forming frame. Everything on the quote follows from those answers.
Browse 3D printing providers and favour shops that ask about the sheet before they ask for a file. Ask for the mold plus one test pull as a single job — a shop that will do that has formed sheet before, and the first pull tells you more about the tool than any inspection report. How to choose a 3D printing service covers the general qualifying criteria.
Related Resources
- 3D Printing Services for Packaging Prototypes — the biggest single use for formed sheet
- Rapid Tooling Services — the injection-moulding side of fast tooling
- 3D Printing Services for Investment Casting Patterns — the other printed-pattern workflow
- SLS 3D Printing Services — PA12 tooling that survives a real run
- 3D Printing Services for Jigs, Fixtures and Manufacturing Aids — formed trays and dunnage belong here too
- Low-Volume 3D Printing Services — when forming beats printing the part outright
- Browse 3D Printing Providers — send the job out
Hero photo by Tom Claes.