It ran for eight months as background noise you stopped hearing. Now there is a rattle on every travel move, or a whine that rises and falls with the gantry, or a knock you can feel through the desk two rooms away. A 3D printer that suddenly got loud is not a printer that has generally aged — it is one component telling you it has worn out, and each sound points at a different one. Work out which noise you have before you buy anything, because half the fixes on this page are free and the other half are wrong if you pick them by guesswork.
This post contains affiliate links. If you purchase through these links, 3D Prototyping Hub may earn a small commission at no extra cost to you.
This post also contains Amazon affiliate links. As an Amazon Associate we earn from qualifying purchases.
Match the Sound First
Eight noises cover nearly everything a desktop machine does. Two of them mean stop the print now; the rest can wait for a maintenance session.
| What you hear |
What it actually is |
Where to start |
| Rattle or ticking that rises with fan speed |
A worn fan bearing, or a cable in the blades |
Identify the fan, replace it |
| Whine that changes pitch with movement speed |
Stepper drivers and motor resonance |
Speed, acceleration, driver current |
| Rhythmic click from the extruder |
The extruder is skipping — under-extrusion |
Clog, temperature, tension |
| Knock or clunk at direction changes |
Slack belt, worn wheel, or backlash |
Tension and inspect the motion system |
| Chirp or squeal only on Z moves |
Dry or dirty lead screws |
Clean, then grease |
| Low rumble felt through the furniture |
Structure-borne vibration into the desk |
Decouple the machine |
| Grinding or scraping during travel |
Something is touching that should not be |
Stop the print |
| Everything louder since the enclosure went on |
Panels resonating, noise reflected back |
Damp the box, keep the airflow |
Fans Are the Most Likely Culprit and the Cheapest Fix
Most machines carry three or four fans, and every one of them is a small bearing spinning at five figures of RPM. That is where new noise comes from first.
Identify them by what switches them on:
- The hotend heatsink fan starts when the nozzle passes roughly 50°C and then runs flat out. Heat the hotend with everything else idle and you have isolated it.
- The part-cooling blower is driven by the slicer profile, so it is the one that ramps up and down mid-print. You can usually command it from the control menu at 0, 50 and 100 percent.
- The power supply and mainboard fans often run whenever the machine is powered, which makes them the noise that is there before a print starts.
A sleeve-bearing fan that has done a few hundred hours develops a rattle, a tick, or a whirring that changes as the bearing loads and unloads. Dust packed into the blades adds an imbalance on top. Power the machine down before you touch anything inside the frame — do not stop a spinning fan with a finger to test which one it is.
Replacing one is a ten-minute job, and the rules are narrow. Match the voltage — a 24V machine kills a 12V fan, and a 12V machine spins a 24V fan too slowly to cool anything. Match the size and the connector, and check whether the fan is two-wire or four-wire PWM before buying a quiet one that the board cannot control. Noctua's 40mm fans are the usual upgrade on the 40mm slots because they are specified for airflow and noise at a given voltage rather than just RPM, and a 5015 blower is the standard part-cooling replacement.
One warning that costs people a hotend: do not trade airflow for silence on the heatsink fan. That fan exists to stop heat creeping up the throat and softening filament above the melt zone. Starve it and you buy a quiet machine that jams, which is a slower and more expensive problem than the noise — see why nozzles clog for what that failure looks like from the print side.
Knocks and Squeaks Come from the Motion System
If the noise is mechanical and happens at particular moments in the toolpath rather than continuously, it is the motion system, and it is worth fixing for reasons beyond the noise: the same slack that knocks also puts artefacts on the print.
Belts. A slack belt takes up its play at every direction change, which is an audible knock and a visible pattern of ringing and ghosting in the same instant. Tension it until a plucked span gives a firm low note rather than a slap, and no tighter — over-tensioning loads the motor and idler bearings and creates a whine of its own. A GT2 tensioner makes that repeatable instead of a thumb-and-hope adjustment, and a belt with rounded teeth or visible fraying is due for replacement 6mm GT2 belt rather than more tension. Check the idler pulley too: a dry idler bearing ticks once per revolution and is frequently mistaken for a fan.
Wheels and rails. POM V-wheels develop flat spots, and a flat-spotted wheel thumps at a fixed interval that scales with travel speed. Spin each one by hand with the motor disengaged — it should turn with light resistance, neither locked nor loose. Adjust with the eccentric nut until the wheel just grips, or fit a fresh set of wheels and eccentric nuts. Linear rods squeak when they are dry or dirty: wipe the old grease and dust off, then re-lubricate with a light grease. Never use a penetrating spray lubricant on a rod or a screw — it washes the grease out and leaves the surface effectively dry.
Z screws. A chirp that happens only on layer changes is a dry lead screw, and a clunk at the start of a Z move is usually a loose grub screw in the flexible coupler between motor and screw. Clean the screw with a rag rather than a brush, apply PTFE grease to the thread, and run the axis its full travel to distribute it. If the noise came with a positional problem rather than on its own, read why prints shift mid-print — slipping couplers and loose pulleys produce both at once.
A Whine That Tracks Speed Is the Drivers
Continuous whine that rises and falls with how fast the head is moving is not a wear problem at all. Stepper motors are driven by a chopper circuit, and both the chopper and the motor's own resonances are audible.
Two things follow from that. First, a machine can be quiet at one speed and loud at another — TMC drivers run a quiet chopping mode at low speed and switch to a louder, higher-torque mode above a configured threshold, so a printer that whispers at 60mm/s can whine from 200mm/s upward. Second, every axis has narrow speed bands where the motor excites the frame. Changing print speed by 10 or 20 percent frequently removes a noise that no hardware change would.
What is worth doing, in order:
- Drop acceleration before you drop speed. Most of the racket on an infill-heavy print is direction changes, not straight-line travel, and acceleration is what governs those.
- Check driver current. Set too high, motors buzz, run hot and whine; set too low, they skip. If someone raised it to fix a skipping problem, the noise probably arrived at the same time.
- Cool the drivers. Hot drivers get noisier and eventually fault out. A driver heatsink kit plus some airflow over the board is a few dollars.
- Measure before tuning, if your firmware supports it. An ADXL345 accelerometer finds the resonant frequencies of your specific machine so input shaping can work around them, rather than you sweeping settings by ear.
Older boards running legacy A4988 or DRV8825 drivers have a hard floor here. No tuning makes them quiet, because the chopping frequency is inside the audible band by design.
Clicking at the Extruder Is Not a Noise Problem
The one noise on this page that is a print failure rather than a nuisance is a rhythmic tick or clack from the extruder motor, usually once or twice a second. That is the motor giving up and slipping backwards against filament it cannot push, and every click is a small amount of plastic that did not reach the nozzle.
Stop the print and look for the cause, which is almost always one of four: a partial clog, a nozzle temperature too low for the flow rate being asked, extruder idler tension set wrong in either direction, or filament that is binding on the spool. A nozzle cleaning kit with needles and cold-pull filament covers the first one. The full diagnostic sequence is in why prints under-extrude, and if the filament is fighting you before it even reaches the extruder, why filament snaps on the spool covers that end of it.
Half the Noise Is the Furniture
This is the fix people skip and the one with the largest effect. A 3D printer is a vibration source bolted to whatever it stands on, and a hollow desk, a laminated cabinet or a shelf is an efficient soundboard — which is why the machine is often louder in the room below than in the room it is in.
In order of effect per dollar:
- Put it on mass. A concrete paving slab or a stone offcut on the desk gives the vibration something that does not want to move. This alone frequently does more than every part swap on this page.
- Then decouple. Sorbothane pads under the feet, or a set of anti-vibration feet, break the path between the frame and the surface. Mass and decoupling work together; either alone is half the job.
- Get it off shared structure. A machine on a wall-mounted shelf, or on a floor above a bedroom, is coupled into the building. Moving it to a ground-floor bench is free.
- Then consider the box. An enclosure blocks airborne noise — fan hiss, driver whine — and does nothing for what travels through the feet. A thin acrylic panel can also resonate and add drumming of its own, so line it or brace it. The trade-offs are in our enclosure guide, including the one that matters most: an enclosed machine still needs its own cooling airflow.
When the Machine Itself Is the Ceiling
Technique and maintenance get most machines back to where they were. What they cannot do is move the floor, and the floor is set by the design: an open frame with legacy drivers and a constantly-running power supply fan has a noise level you cannot tune out of it.
If you are replacing rather than repairing, two specifications decide most of it, and both are published per model rather than something anyone needs to test for you: whether the frame is enclosed, and which stepper drivers the board runs. A third is worth checking on the product page — whether the power supply fan is temperature-controlled or simply always on, because that is the noise a machine makes while doing nothing. ELEGOO's US store and Anycubic's US store both list those on the model pages, and the current machines compared on exactly this basis are in our quiet printer guide.
When Quiet Is Worth More Than Owning the Machine
There is a case where none of this works: the print takes 30 hours, the machine lives where someone sleeps, and slowing it down turns 30 hours into 50. Running a loud machine at half speed to keep the peace is the most expensive way to own one.
Work the free fixes first — find the fan, tension the belt, grease the screw, put the thing on a slab. They account for most complaints and cost an evening. When the answer is that this job should not be running in this room at all, the providers in our directory run the same parts on production equipment in a workshop, priced per part, and nobody has to listen to it.
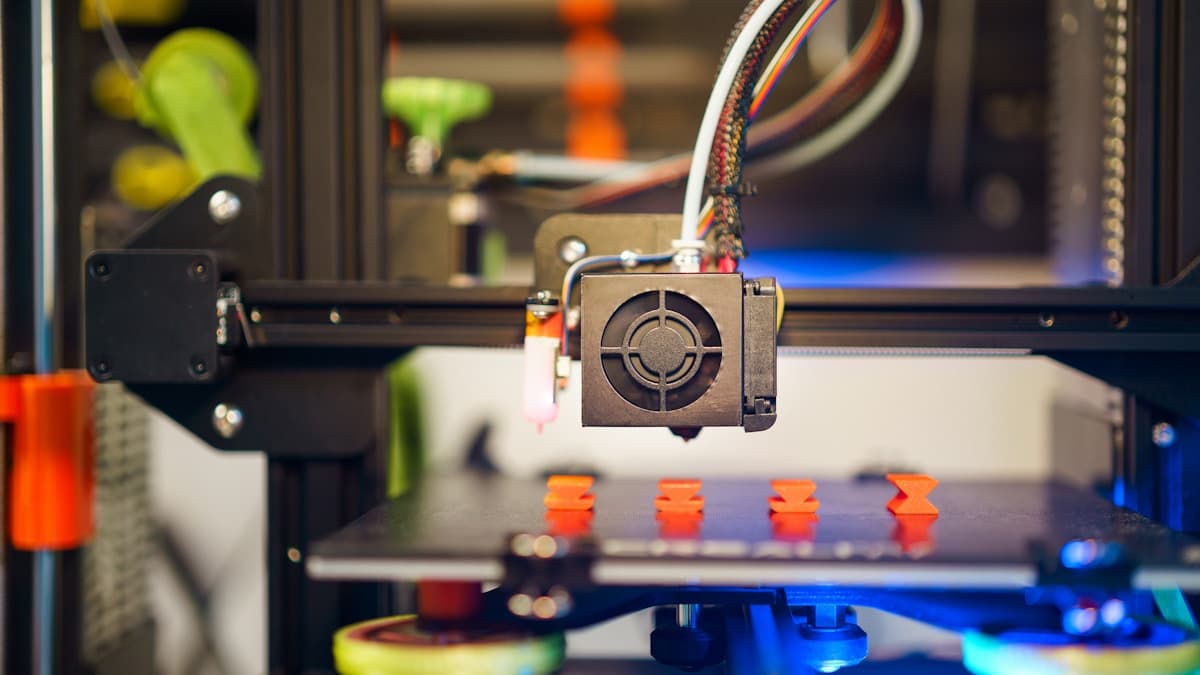
Hero photograph by Jakub Żerdzicki via Unsplash.
Ready to find a 3D printing service provider?
Browse 2,000+ verified providers across the United States and submit your quote request free.
Browse Providers