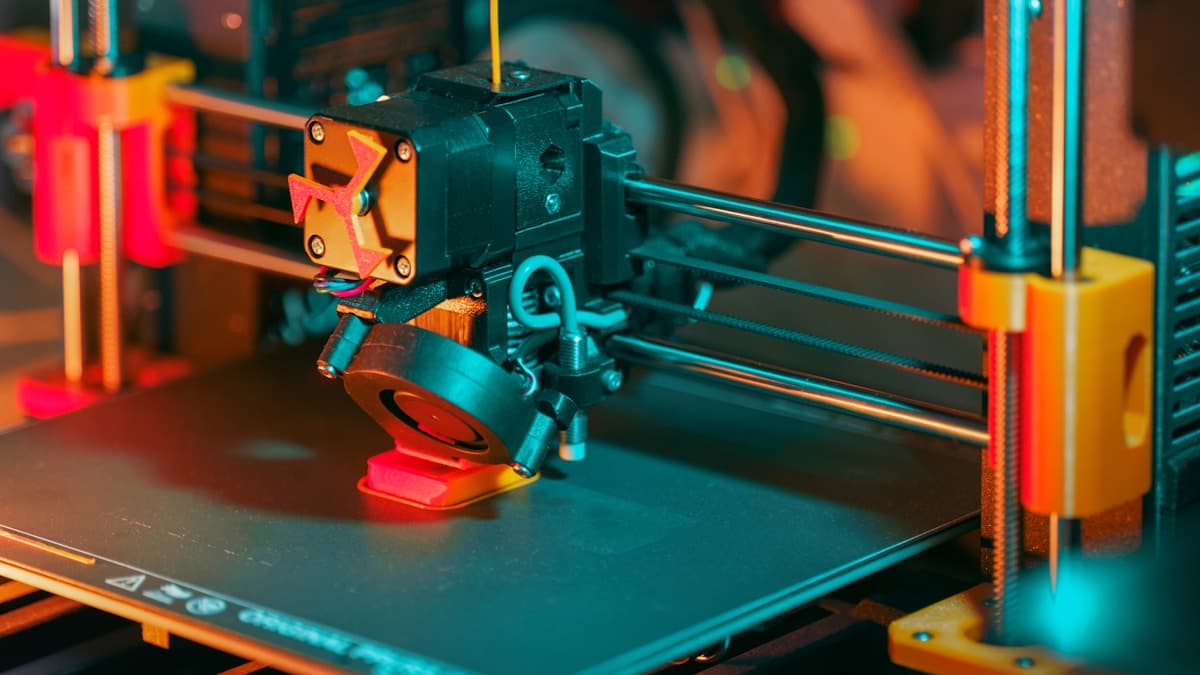
The print finished perfectly and now it will not come off. You have flexed the sheet until it bowed, worked a scraper under one corner, and the part finally let go — taking a coin-sized piece of the plate's coating with it. Prints stuck to the build plate are the failure nobody warns beginners about, because every guide is written about the opposite problem, and the fixes for the two are mirror images of each other.
This post contains affiliate links. If you purchase through these links, 3D Prototyping Hub may earn a small commission at no extra cost to you.
This post also contains Amazon affiliate links. As an Amazon Associate we earn from qualifying purchases.
Read the Bond Before You Lever Anything
Five distinct faults all look like "the print is stuck". They need different fixes, and two of them are made worse by the obvious response, so work out which one you have first.
| What you see |
What is happening |
Section |
| The plate's coating lifts off with the part |
Chemical bond between material and surface |
1 |
| Nothing moves hot, releases on its own once cold |
Normal adhesion, removed too early |
2 |
| Only large flat-bottomed parts are stuck |
Contact area with no edge to start a peel |
3 |
| Edges welded down, middle of the part free |
First layer squashed too thin |
4 |
| Everything sticks since you fixed a lifting problem |
Adhesion promoter still on the plate |
5 |
The one-minute test that separates the first from the rest: let the plate cool completely to room temperature and try again with no tool at all. Adhesion that is doing its job releases at that point or very close to it. Adhesion that does not care about temperature is a chemical bond, and no amount of cooling, flexing or scraping is the fix for it.
1. When the Material and the Surface Are Chemically Compatible
PEI is the surface on almost every modern plate, and it is excellent because it grips well at temperature and lets go when cold. That property does not hold for every polymer. PETG, TPU, nylon and polycarbonate all bond to smooth PEI by fusing rather than by keying into it, and a fused joint does not release on cooling — it fails in whatever part of the stack is weakest. That is the coating, which is microns thick and permanently bonded to the steel beneath it.
The damage is not the scraper's fault. By the time you reach for a tool, the joint is already stronger than the plate.
Three fixes, in order of how permanently they solve it:
- Put a barrier between the two surfaces. A thin layer of PVA glue stick is the standard answer and it is sacrificial by design: the glue gives way instead of the PEI. One thin, even pass, reapplied every few prints, and washed off with warm water when it builds up.
- Change the geometry of the contact. A textured PEI spring steel sheet touches the part only on the high points of its powder coating, so there is a fraction of the bonded area there would be on a smooth sheet. It is also far more tolerant of being flexed, which is how parts should come off.
- Change the surface entirely, if the material demands it. Nylon is the clear case: it bonds to PEI hard enough that people give up on the material rather than on the plate. A garolite G10 sheet holds nylon at temperature and releases it cold, and it does not degrade at the bed temperatures nylon needs.
Bed temperature is the other lever, and it moves in the direction most people do not expect. For PETG, running 70–80°C instead of 85–90°C reduces the bond materially with no cost to adhesion during the print. TPU wants 40–50°C rather than 60°C for the same reason — the detail is in why TPU and flexible filament jam, which deals with the feed-path half of the same material's reputation.
2. Temperature Does the Work a Scraper Shouldn't
A part and a plate contract at very different rates as they cool. That difference in shrinkage is what breaks a mechanical bond, and it does it across the whole footprint at once rather than at whatever corner you happen to be prying. Left alone, most PLA parts release themselves somewhere below 30°C; many make an audible click as they go.
So the first tool is patience, and the second is a freezer. Ten minutes with the whole removable sheet in a freezer exaggerates the contraction difference and frees parts that nothing else would. Let the plate return to room temperature before printing on it again, and dry off any condensation.
When a part still needs help:
- Flex the sheet if it is spring steel — bow it away from the part along one axis, then the other. No tool touches the print.
- Start at a corner with a bevelled plastic removal tool, pushed flat along the plate. Never towards your other hand: a blade under a part that suddenly lets go keeps going in the direction it was pushed, and that is how people end up in an emergency room over a 40-cent benchy.
- Wick something under the edge. Warm water dissolves a PVA glue layer; isopropyl alcohol creeps under a part on bare glass or PEI and breaks the bond from underneath. Give either a minute to work.
- Slide dental floss or fishing line under a wide flat part and saw it along the joint. This is the method for the case in section 3.
Metal blades, chisels and craft knives are how coated plates die. Glass plates chip instead, and a chipped glass plate is finished.
3. Big Flat Bottoms Are a Geometry Problem
A 150mm square base sticks in a way a 20mm one does not, and it is not because the adhesion per square millimetre changed. Release force scales with area, but the force you can apply is limited by where you can get a tool in — and on a part with no overhanging edge there is nowhere to start the peel. On a very smooth surface, a well-sealed flat face adds a degree of suction to the problem.
The fixes are design decisions, taken before the print:
- Chamfer the bottom edge by 0.5–1mm. It gives the scraper somewhere to enter and removes the sharp elephant-foot lip that catches — the same lip discussed in why 3D prints have elephant foot.
- Print flat panels on a textured sheet, where the reduced contact area matters most.
- Use the floss method rather than a scraper for anything wider than about 100mm.
- Reconsider the orientation. A part standing on a smaller face has less bonded area and usually better cosmetic surfaces anyway.
4. A First Layer That Is Too Good
An over-squished first layer forces molten plastic sideways into every feature of the plate texture, which is exactly what you want for adhesion and exactly what you do not want for release. The signature is an edge that is welded down while the middle of the part lifts free, plus a visible skirt of flash around the base.
Raise the Z-offset by 0.02–0.05mm at a time and print a single-layer test square. The first layer should look like uniform, lightly joined lines with no gaps and no translucent squashed sheen. The same measurement in the other direction is the opening section of why 3D prints won't stick, so if you have been tuning against that article, this is the point where you have overshot.
Two settings people forget: a first layer height below 0.2mm leaves very little margin for error on either side, and a first-layer flow above 100% adds squish that the Z-offset then has to absorb.
5. The Adhesion Fix You Forgot to Undo
Hairspray, bed-adhesion sprays, painter's tape, a thick glue layer applied to beat a warping problem — all of them work, and all of them are still there on the next print. Adhesion promoters build up unevenly, and old layers grip harder than fresh ones.
Wash the plate properly before you conclude the surface has changed: warm water and dish soap for PVA and most sprays, then dry it fully, then isopropyl alcohol for grease. Skin oil is the one contaminant that reduces adhesion rather than increasing it, so the IPA pass goes last, and handle the clean sheet by its edges afterwards.
Match the Surface to the Material
This is the table to own. Bed temperatures are starting points from material datasheets, not tuned values, and the right-hand column is what actually prevents a torn plate.
| Material |
Bed temp |
Releases well from |
Needs a barrier on |
| PLA |
55–60°C |
Smooth PEI, textured PEI |
Glass above ~65°C |
| PETG |
70–80°C |
Textured PEI with glue |
Bare smooth PEI |
| TPU |
40–50°C |
Textured PEI with glue |
Smooth PEI |
| ABS / ASA |
95–110°C |
Smooth PEI, glass with glue |
Bare glass |
| Nylon (PA) |
60–80°C |
Garolite G10 |
PEI of any finish |
| Polycarbonate |
100–110°C |
Glue on PEI or glass |
Bare PEI |
A smooth PEI sheet earns its place for PLA and for parts whose bottom face has to be glassy, which a textured sheet cannot give you. It is best owned as the second side of a double-sided sheet rather than as the only surface on the machine. Borosilicate glass is the flattest cheap surface available and releases beautifully on cooling, with the caveat in the table: run PLA hot on bare glass and the chip comes out of the plate, not the part. The wider comparison of surfaces and their trade-offs is in our guide to the best 3D printer build plates.
If the machine has a fixed, non-removable bed, that is the real constraint. Flexing is the only removal method that never touches the print with a tool, and it requires a magnetic base and a spring steel sheet. Retrofit kits exist for most open-frame machines; on a machine that is already awkward in other ways, the upgrade is usually the printer.
What to Change on the Next Print
- Bed temperature down 5–10°C for PETG, TPU and PC.
- Z-offset up in 0.02mm steps until the first layer stops looking squashed.
- A glue-stick pass for anything on the "needs a barrier" list.
- A 0.5mm chamfer on any bottom face wider than about 80mm.
- Plate washed with soap and water, then IPA, then handled by the edges.
- Removable sheet cooled to room temperature — or to freezer temperature — before anything touches it.
Work down that list in order rather than changing three things at once. Every item on it is independently testable with a 20mm square, and a stuck part tells you nothing about which change was the one that mattered if you made them all together.
When to Hand the Part Over
There is a case where none of this is worth solving. If the bottom face is the face that matters — a sealing surface, a mating flange, something that has to be flat and unmarked — you are asking for perfection from the one part of the print that is bonded to a plate, and every technique above is a compromise between holding it during the print and letting go afterwards. Industrial machines with managed build surfaces, and processes like SLS that have no build plate contact at all, simply do not have this trade-off.
The same applies once the arithmetic turns: a ruined spring steel sheet costs more than a short run of parts from a shop. The provider directory lists shops by location and process, so you can put a real number against the next evening of scraping.
Hero photograph by Jakub Żerdzicki via Unsplash.