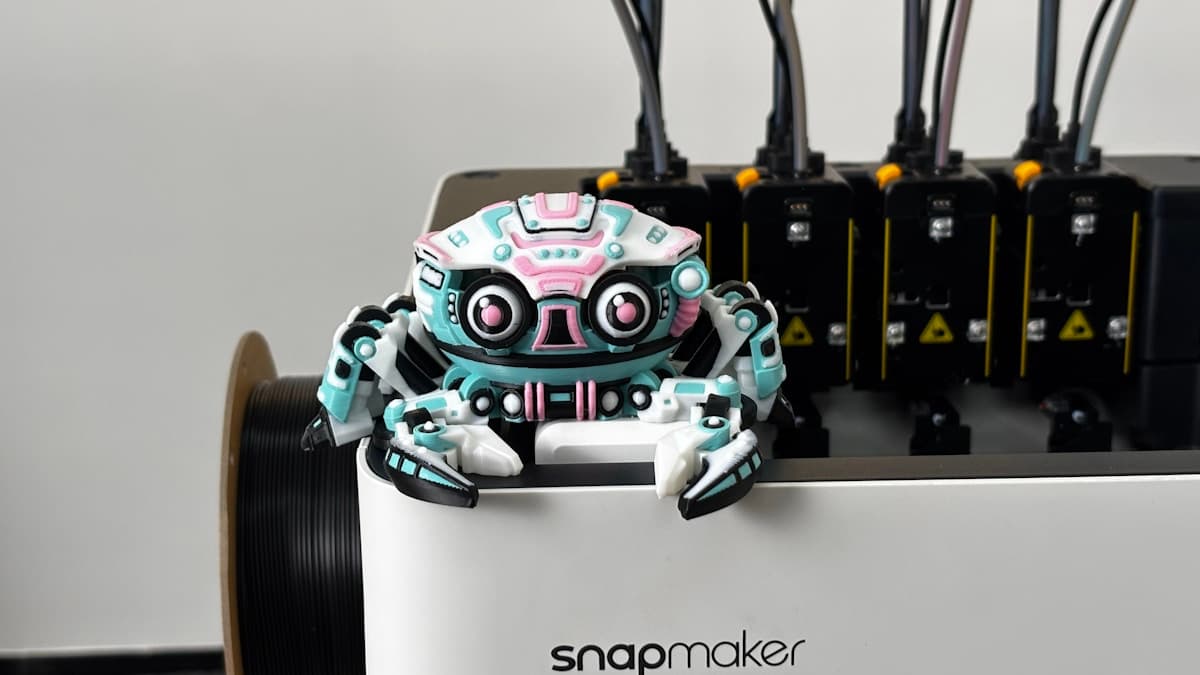
The model looked right on screen and came off the plate dirty. The white has a pink cast to it, the sharp boundary between two colours is a smear an eighth of an inch wide, and somewhere up the wall there is a streak of a colour that should not be anywhere near that face. Multi-color 3D prints bleed for a small number of specific reasons, and almost all of them come back to one piece of physics: on a single-nozzle machine, four spools share one melt zone, and that melt zone does not empty cleanly.
This post contains affiliate links. If you purchase through these links, 3D Prototyping Hub may earn a small commission at no extra cost to you.
This post also contains Amazon affiliate links. As an Amazon Associate we earn from qualifying purchases.
Read The Defect First
Four different failures get called "bleeding" and they do not share a fix. Match yours before you change a setting.
| What you see |
What it actually is |
Where to start |
| Light colours arrive tinted by the previous one |
Flush volume too low for that pair |
Raise the dark-to-light cells |
| Purge tower clean, model dirty |
Purge is being flushed into infill or into the part |
Send purge to the tower only |
| Streaks of the wrong colour away from any boundary |
Ooze during swaps and travels — usually wet filament |
Dry the spools, then retune retraction |
| A colour reappearing hours after you stopped using it |
Residue clinging in the hotend or a worn nozzle |
Cold pull, cleaning filament, new nozzle |
| Ragged, fuzzy boundary in the same layer |
Seam and wipe placement, plus under-flushing |
Move the seam, raise the flush |
One Nozzle Means One Mixing Chamber
A filament changer — the four-slot units sold as AMS, ACE, MMU and similar — does not give a printer four nozzles. It gives it four feed paths into the same hotend. Switching colour means retracting one filament out of the melt zone and pushing the next one in behind it.
That melt zone is a few cubic millimetres of molten polymer with walls, and molten plastic moving through a small channel does not move at one speed. The material in the middle is quickest; the material in contact with the wall is slowest. So the new colour arrives as a front that cuts through the middle and leaves a film of the old colour clinging around the outside, which then bleeds out over the next several millimetres of extrusion. The transition is a gradient, not a step — which is precisely why a fixed "purge once" instruction never works and why every slicer makes the flush volume a number you can change.
It follows that the required purge is proportional to the melt-zone volume, not to the size of the part. A tiny two-colour keychain with forty swaps wastes far more filament than a large single-colour print. The waste maths behind multi-colour printing is the first thing to get straight, because some of the fixes below are about accepting more waste, not less.
Flush Volume Is The Main Dial, And It Is Per Pair
Slicers expose purge as a matrix: a volume in cubic millimetres for every from-colour to to-colour combination. The defaults are a reasonable mid-tone guess, and they are systematically too low in one direction.
Contamination is asymmetric. Leftover black in white is obvious at a fraction of a percent; leftover white in black is invisible at several times that. So the useful edit is not "increase the flush" — it is increase the cells where a dark colour precedes a light one, and leave the rest alone. On most models that is a handful of cells out of sixteen.
Tune it with a ladder rather than by feel. Print a small swatch that performs the same problem swap five or six times at rising flush volumes, look at the first one that comes out clean, and then add roughly 20% as margin for a dirtier day. That takes one print and it settles the number for that filament pair permanently — and it is a far better use of an evening than raising every cell globally, which just converts the whole spool into purge blocks.
Two filament properties change the answer. Translucent and silk filaments show contamination badly, because light travels into the part and finds the tinted layer underneath; matte and opaque filaments hide it. And strongly pigmented reds and blacks cling more than pastel shades. Running a bundle of matched colours in the same brand and base polymer removes one variable from this entirely — the swap then only has to deal with pigment, rather than with two filaments that melt and flow differently.
Check Where The Purge Is Actually Going
If the prime tower is crisply striped and the model is the dirty one, the flush volume is probably fine and the destination is wrong.
Most slicers can flush into the model's infill, into support material, or into a separate sacrificial object instead of the tower. Flushing into infill is genuinely clever and saves a lot of filament, but it is only invisible while the flushed material stays buried. A sparse top layer closing over contaminated infill will show it; so will a thin wall; so will any surface where the infill is one perimeter away from daylight. Flushing into another object fails the same way, with the added complication that the sacrificial object has to be positioned where the toolhead will not drag across the real one.
While you are diagnosing, send everything to the prime tower. It is wasteful and it is unambiguous. Once the transitions themselves are clean, move purge back into infill and see whether it survives.
Design The Colour Boundary, Don't Just Slice It
Some bleed is a modelling problem wearing a slicer costume.
- Band colours by height where you can. A colour change that happens at a flat horizontal boundary needs no changer at all — every slicer can insert a pause and you swap the spool by hand, at zero purge and zero contamination. In-layer colour is what forces the flush.
- Put the transition on a geometric edge. A boundary that lands in the middle of a smooth face shows every millimetre of gradient. The same boundary tucked into a fillet, a step or a corner hides it.
- Avoid thin light features sitting on dark ones. A 0.8mm white stroke on a black panel is asking for a pink stroke: the feature is finished before the melt zone is. Thicken it, or print it in the opposite order.
- Climb from light to dark through the print. Where the model's colour sequence is yours to choose, the cheap direction is the one that needs little flush.
Raised lettering and logos are the worst case of all three at once, and they have their own failure modes on top of the colour ones — covered in why 3D printed text and logos come out mushy.
Dry Filament, Because Ooze Looks Exactly Like Bleed
Moisture in the filament flashes to steam in the nozzle. The melt foams and hisses, extrusion becomes inconsistent, and the hotend oozes between moves. On a single-colour print that produces stringing and rough surfaces. On a multi-colour print the material that oozes is whichever colour was last retracted, and it lands on the model as a streak of the wrong colour somewhere nowhere near a transition.
No flush volume fixes that, which is why it belongs in the diagnosis before the tuning. The tell is that the contamination is random and near travel moves rather than clustered at colour boundaries. Four spools sitting loaded in a changer for a month is the normal cause — they are exposed the whole time, not just while printing. A multi-spool dry box keeps them usable in place; the wider comparison is in our guide to filament dry boxes, and the general mechanism is the same one behind stringy prints.
When It Is The Hotend, Not The Settings
If a colour you have not loaded for days keeps reappearing, the melt zone has somewhere for material to hide. The usual suspects are a nozzle with a scored or partly blocked orifice, a degraded PTFE liner that has pulled back and left a gap, and carbonised material baked onto the inside of the heat break. All three create dead volume — a pocket that the normal flow path does not scour, which fills with one colour and then sheds it minutes later.
Run cleaning filament through hot and then cold-pull it; repeat until what comes out is one colour. If that does not clear it, change the nozzle. Multi-material printing swaps filament hundreds of times in a single print, so a hotend that was adequate on single-colour work wears into a visible defect surprisingly quickly — a cleaning kit with fine needles and spare 0.4mm nozzles are consumables at this duty cycle rather than spares. The broader pattern of a machine quietly degrading is in why 3D printers get worse over time.
The Hardware Ceiling
Everything above manages a shared melt zone. The alternative is not to share one.
An IDEX machine carries two independent toolheads, and a toolchanger carries several. Switching colour means parking one nozzle and bringing another in — nothing is flushed, because nothing was mixed. That removes purge waste almost entirely and it is the only way to run two genuinely different polymers, such as a dissolvable support alongside the model, without them contaminating each other. The trade is price, a cap of two materials on most IDEX machines, and nozzle-to-nozzle calibration that matters a great deal. Dual-extruder and IDEX printers is the comparison to read if the purge block has become the main cost of the hobby.
If you are shopping a single-nozzle changer instead, the specifications that decide how much of this article applies to you are where the unit puts its purge, whether the flush volume is adjustable per pair, and how fast the machine completes a swap. Both Anycubic's US store and ELEGOO's range publish those details per model; read them before the colour count, because four slots on a machine with a fixed flush is a worse buy than two on one you can tune.
When To Hand It To Someone Else
There is a point where colour stops being worth printing at all. If the part is cosmetic, the swaps are frequent and the purge block outweighs the model, a single-colour print and an evening with primer and paint gives a better finish for less filament. If it is a batch rather than a one-off, that calculation moves further: dyed MJF parts and painted SLA parts come back from a bureau consistent across the run, which hand-tuned flush volumes never quite are.
Browse 3D printing providers by location and process when the job has outgrown the machine on your desk. Send the model with the colour breakdown called out as separate bodies — that is the form a shop can quote from without a conversation.
Hero photograph by Snapmaker 3D Printer on Unsplash.