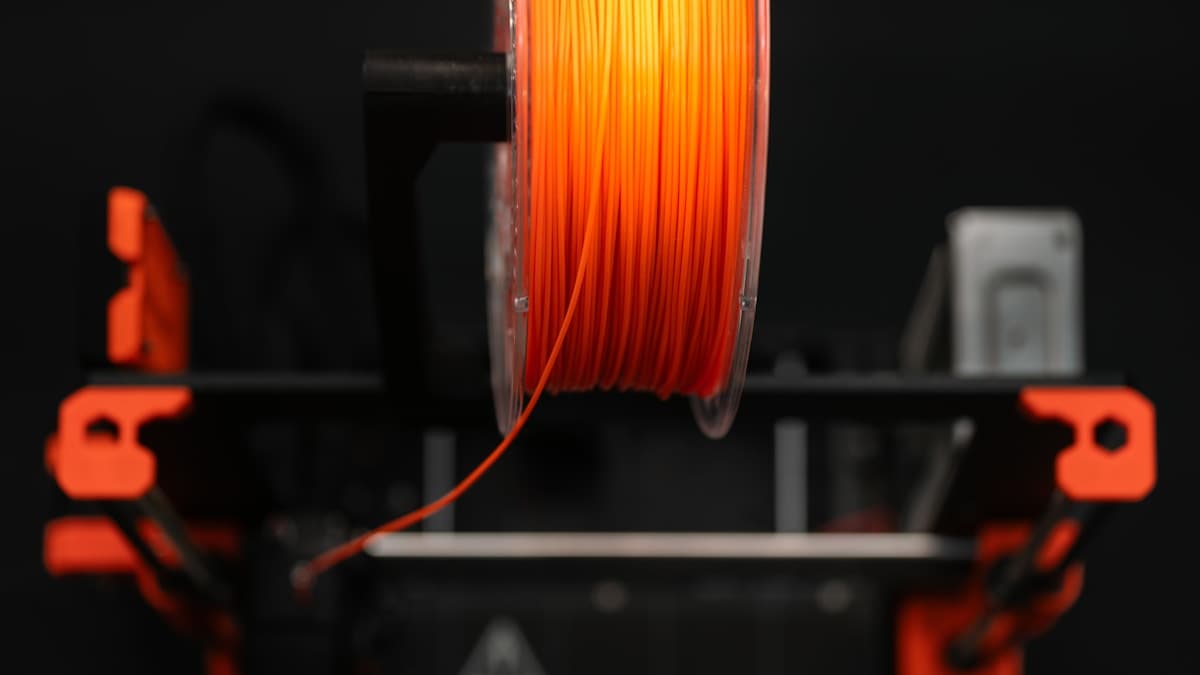
You bought ten spools, costed the job at 42g a part, and expected something close to 230 parts. You shipped 150. Nothing was obviously wrong — no catastrophic failures, no clogs worth remembering — and yet a 1kg spool never yields a kilogram of finished parts. The gap is not one mistake. It is six or seven small, predictable losses that nobody puts on the same page, and once they are on the same page most of them turn out to be decisions rather than accidents.
This post contains affiliate links. If you purchase through these links, 3D Prototyping Hub may earn a small commission at no extra cost to you.
This post also contains Amazon affiliate links. As an Amazon Associate I earn from qualifying purchases.
Where the Kilogram Actually Goes
Find your workflow in the right-hand column. The losses that dominate a single-colour workshop are not the ones that dominate a multi-material machine.
| Line item |
Typical cost per 1kg spool |
Who it hits hardest |
| Net weight tolerance on the label |
0–30g |
Everyone, slightly |
| Prime line, skirt and brim |
1–10g per job |
Short-job, high-count workflows |
| Supports and rafts |
10–40% of what the part itself uses |
Overhang-heavy and tall models |
| Multi-colour purge |
100–700 mm³ per tool change |
Multi-material machines, by a distance |
| Failed and reprinted parts |
failure rate × part weight |
Anything tall, thin or unattended |
| The tail you cannot print |
5–15g |
Everyone, once per spool |
| Absorbed moisture |
up to ~3% of label weight on nylon |
Hygroscopic materials in open storage |
1. The Label Is a Net Weight, and It Has a Tolerance
A 1kg spool means a kilogram of plastic, not a kilogram of object. The reel adds roughly 150–250g for a plastic spool and rather less for cardboard, so a full spool lands on the scale somewhere around 1.15–1.25kg. Marketplace listings that advertise "1.2kg" are usually quoting gross weight and selling you exactly what everyone else is.
Manufacturing tolerance on the plastic itself is small but real — a couple of percent either way is normal, and a spool that arrives 25g light is within spec rather than defective. That is not worth arguing about. What is worth doing is weighing one spool per brand after you empty it and writing the tare weight on the reel in marker. From then on, a 0.1g kitchen scale tells you exactly how much is left on any part-used spool, which is the number that decides whether a 14-hour job will finish.
Diameter is the quieter version of the same issue. The slicer converts the volume it wants into millimetres of filament to feed, using the nominal 1.75mm. A spool that genuinely averages 1.72mm carries about 3% less plastic per millimetre fed, so every part comes out slightly light and slightly under-filled. Ten measurements along a metre with a set of calipers settles it in two minutes, and the consequences for the part — not the ledger — are the subject of why 3D prints under-extrude.
2. The Slicer's Gram Figure Is a Calculation
The slicer does not weigh anything. It computes extruded volume from your geometry and settings, then multiplies by the density stored in the filament profile. Both halves can be wrong.
Density is material-specific and the profiles are routinely left on a default. PLA is about 1.24 g/cm³, PETG about 1.27, ABS about 1.04. Print ABS through a profile that still says 1.24 and the estimate overstates the weight by close to 20% — the parts get cheaper than you planned, which is a pleasant error, but the same mechanism runs the other way when you move to a filled filament that is denser than its base plastic.
Flow multiplier moves it the other way and nobody adjusts the estimate for it. At 103% flow the machine deposits 3% more plastic than the slicer planned for every line of every layer. Over a spool that is 30g.
And the estimate is per-job, computed before anything happens. It does not know that the job failed at layer 400, that you printed it twice, or that a tool change dumped two grams into a purge tower. Use it to plan and use the scale to account.
3. On a Multi-Colour Machine, Purge Is the Largest Item
This is the one that surprises people, because it is invisible in the gram figure next to the preview.
A single-nozzle multi-material system changes colour by flushing the old filament out with the new one. The volume required depends on how far apart the colours are — dark to light is the expensive direction — and lands somewhere between about 100 and 700 mm³ per change. A kilogram of PLA is around 806 cm³ of plastic, so 400 tool changes at 400 mm³ is 160 cm³, or roughly 200g: a fifth of the spool, before the model gets anything.
Four hundred changes is not an extreme figure. A four-colour model sliced at 0.2mm with colour detail distributed through its height can pass that easily, which is why multi-colour prints frequently generate a purge tower heavier than the object next to it.
What actually reduces it: fewer colour changes per layer rather than fewer colours, grouping colour by height where the model allows, and setting flush volumes per colour pair instead of leaving one global number that pays dark-to-light prices for every transition. The quality side of the same trade-off — what happens when you flush too little — is in why multi-color 3D prints bleed.
4. Supports, Brims and Prime Lines Are Small, Constant and Yours
Every job starts with a prime line and usually a skirt: under a gram, but it is per job, so a workshop running twenty short jobs off one spool has spent twenty grams before any of them printed a part. A brim is a few grams more, and a raft considerably more than that.
Supports are the big one in this group, and the range is enormous — from nothing on a well-oriented part to 40% of the part's own volume on something printed in a difficult orientation. This is the line item most under your control, because it is set by orientation first and settings second. Rotating a model to put its overhangs where the machine can bridge them changes the material cost of that part permanently, on every copy you ever print.
5. Failures Are Material, Not Just an Evening
A 10% failure rate on a 200g part is not a 10% inconvenience. It is 20g of plastic added to the average cost of every successful part, and failures cluster on exactly the parts that use the most material to begin with — tall, thin, long-running, unattended. The mechanics of that clustering are in why tall, thin 3D prints fail.
Two practical consequences. First, a failure rate is part of your material budget and belongs in your per-part cost whether or not you write it down. Second, the cheapest thing that reduces it is usually not a setting — it is knowing the job stopped. A runout sensor turns "the spool ended at 3am and the machine air-printed for five hours" into a pause and a spool change, and that single conversion is worth more plastic than any slicer tweak in this article.
6. The Tail You Will Never Print
The last few metres of every spool are written off, for three reasons that stack.
The filament end is taped or clipped into a hole in the reel, so the final turns carry a hard set that fights the extruder. The tight winding radius near the core increases unwinding drag at precisely the point where there is least filament inertia to help. And a runout sensor, by design, trips while there is still filament between it and the nozzle. Between them, 5–15g per spool is normal — about 1.5% of what you paid for.
You can recover part of it. A bearing spool holder cuts the drag that makes the core turns unprintable, and it earns its keep most on the segment of the spool you would otherwise bin. Splicing the end of one spool to the start of the next recovers nearly all of it on long jobs, with a joint that occasionally fails inside the hotend as the price. Brittleness in those last turns is also a storage symptom rather than a geometry one — see why filament snaps on the spool.
7. Moisture Is Weight That Isn't Plastic
Hygroscopic filament absorbs water from the air, and it does so by mass. Nylon can take on a few percent of its own weight at ordinary room humidity; PETG and PLA are well under one percent. So a nylon spool that has lived open on a shelf has quietly sold you some water.
The grams are the small half of this. The large half is the spool you abandon at 600g remaining because it foams at the nozzle, strings across every travel and produces parts that delaminate — which is a 60% loss on that spool, not a 3% one. That is what storage is actually protecting: a sealed dry box with indicating desiccant in it for the spools in rotation, and vacuum bags for the ones that are not. Indicating beads matter more than the container: they are the only way to know the box has been doing anything. And drying a wet spool is a recovery, not a guarantee — why drying filament doesn't fix your prints covers what it does not undo.
Measure Your Own Yield in Ten Minutes
Adopting someone else's number is pointless when supports and colour changes dominate the result. Get your own:
- Weigh a full spool. Subtract the tare weight you wrote on an empty one of the same brand. That is your starting plastic.
- Run that spool to the end as you normally would, changing nothing.
- Weigh every finished part you kept — not the failures, not the purge, not the supports you snapped off.
- Divide. That ratio is your real yield, and it is the only number that belongs in a quote.
Most single-colour workshops land between 82% and 90%. Multi-colour work with frequent changes lands between 50% and 65%. If you come in materially below the band for your workflow, the ledger above tells you which line to look at first — and for a shop, that number interacts with throughput in ways that why your 3D printer can't keep up with orders works through.
What Actually Moves the Number
In the order that pays:
- Orientation before settings. Supports are the largest controllable item on a single-colour machine, and orientation sets them before any slicer value does.
- Per-pair flush volumes. On multi-material, one global flush number charges dark-to-light prices for every transition in the job.
- Storage for anything hygroscopic. It protects whole spools, not grams.
- A runout sensor and a bearing holder. Together they address the two failure modes that cost material at the end of a spool rather than the start.
- Buying by the kilogram. Once you know your real yield, bulk multi-packs are the straightforward way to price input rather than packaging — check the listing quotes net plastic weight, since that is the thing being compared.
- The machine, if purge dominates. This is a hardware property, not a setting. If your ledger says purge is the biggest line, the question is how a machine handles tool changes, not which slicer you run. ELEGOO's current printer range and Anycubic's current printer range are the two worth comparing on that specification — and a second single-colour machine is often cheaper per part than extracting more from one multi-material one.
When the Spool Is the Wrong Thing to Optimise
There is a point where this stops being a material problem and becomes an arithmetic one.
If a part nominally uses 42g of a $20 spool, the tempting figure is 84 cents. With supports, your measured yield, and a failure rate attached to a tall part, the honest figure is closer to $2 — and that is before electricity, before the hour you spent slicing it, and before the evening the second attempt cost you. Set that against a quote. The shops in our provider directory are already running calibrated machines in the material you need, and what 3D printing actually costs lays out how a quoted part is priced so you can compare like with like.
Otherwise: weigh a spool, weigh what you keep, and let the ratio tell you which of the seven lines above is yours. Almost nobody is losing a kilogram to one dramatic problem. Everybody is losing it to six small ones at once.
Hero photograph by Jakub Żerdzicki on Unsplash.