Woodworking is the hobby with the longest list of parts nobody sells. The dust hose that fits your sander does not fit your shop vac; the shelf-pin jig you want is 32mm and the one in stock is 1 1/4"; the knob that snapped off your crosscut sled was moulded in 1998. That is the case for owning a printer, and it is why the best 3D printers for woodworking are chosen on different grounds than the ones people usually argue about. Print speed and 0.05mm layers barely matter here. What matters is a machine that survives airborne dust, runs PETG without drama, and holds a 250mm jig flat and square so it registers against a fence. This guide covers what shop work demands from a machine, the picks by category for 2026, the hardware that turns a printed part into a real tool, and where to stop printing and order the fixture from a provider.
This post contains affiliate links. If you purchase through these links, 3D Prototyping Hub may earn a small commission at no extra cost to you.
This post also contains Amazon affiliate links. As an Amazon Associate I earn from qualifying purchases.
What Shop Work Demands From a Printer
Four things, roughly in the order they will cost you something:
- An enclosure, mostly for the dust. This is the requirement people get wrong. In most hobbies an enclosure is about warping; in a woodshop it is about keeping fine dust off linear rails, out of the hotend heatsink fan and off the build surface. Dust plus rail grease makes a grinding paste, and a dust-clogged heatsink causes heat creep, which reads as a random mid-print jam a week later.
- PETG reliability, not PLA speed. Shop parts get clamped, dropped, levered and left in a hot shop. PETG is the default material here, so buy a machine with a well-sorted extruder and part cooling rather than one tuned for fast PLA benchmarks.
- Dimensional repeatability across the plate. A drill guide that is 0.3mm off does not guide anything, and a dust fitting that is 0.3mm off leaks air where you need suction. Consistency from corner to corner matters far more than minimum layer height.
- Unattended reliability. Shop parts are printed while you do something else. A machine that needs supervision is a machine you stop using — auto bed levelling, a filament runout sensor and a camera you can check from the bench are worth more than an extra 50mm of Z height.
Match the Material to the Jig
Most jig failures are material choices, not print quality. The service temperatures below are the numbers worth committing to memory:
| Shop part |
Material |
Service limit |
Why |
| Fit-check mockups, indoor knobs, layout blocks |
PLA |
~55–60°C |
Cheap and stiff; shatters on impact and creeps in a hot shop |
| Dust fittings, drill guides, jig bodies, cleat hooks |
PETG |
~75–80°C |
Tough not brittle, stable, survives an unheated shop's swings |
| Outdoor fixtures, lumber-rack parts, sunlit windowside jigs |
ASA |
~95–100°C |
UV-stable; will not chalk or go brittle in sunlight |
| Push-block faces, bench-dog pads, gasket rings |
TPU |
~80°C |
Grip and compliance; seals a hose joint without a clamp |
| Sled runners, bushings, anything that rubs constantly |
Nylon / PA-CF |
~110–140°C |
Wear and fatigue resistance where PETG polishes and loosens |
For the two you will buy most often, our PETG filament picks cover the shop default, and the ABS and ASA round-up covers outdoor and sunlit parts. If you are still deciding between materials in general, start with how to choose 3D printing filament.
Our Picks by Category for 2026
Best all-round: an enclosed machine that lives in the shop
If the printer will sit in the same room as a table saw, buy enclosed. The Bambu Lab P1S is the default recommendation at this tier: enclosed against dust, fast enough that a revised jig is ready before the glue-up is dry, and dependable enough to run overnight without a babysitter. Flashforge's enclosed desktop machines cover the same ground with a well-sealed chamber and a long track record in school and shop environments where machines take abuse. The wider comparison at this tier is in our enclosed printer round-up.
Best budget entry: prove the workflow before you spend
Most woodworkers do not know which parts they will actually reprint until they have printed for a season. Anycubic's Kobra FDM range handles PETG fittings, knobs and drill guides at an entry price and extends into large-format and enclosed models when your parts outgrow it. ELEGOO's FDM line is the other long-running value pick and prints the same parts perfectly well. If the machine will live in the house rather than the shop, an open-frame Bambu Lab A1 is the cheaper route to reliable auto-levelled printing — just keep it out of the dust stream. Our picks under $1,000 and under $500 cover this tier in detail.
Best for templates, fences and long jigs
Router templates, fence faces, wide featherboards and big cyclone transitions are where plate size decides the machine. A glued seam in a template is both a weak point and an alignment error, and a jig that has to stay flat is the worst place to accept one. If long parts are your main use case, prioritise plate area and frame rigidity together — start with the large-format printer picks.
Best for wear parts and heavy-duty fixtures
For sled runners, bushings and fixtures that get clamped daily, the material chain matters more than the machine: a hardened nozzle, a dry spool and an enclosure. Any of the enclosed machines above will run carbon-fibre nylon; what will not work is a brass nozzle and a spool that has been sitting open on a shop shelf since spring. Sizes and materials are covered in our nozzle guide.
The Extras That Turn a Printed Part Into a Tool
- Heat-set threaded inserts — the highest-value few dollars in this whole list. Brass threads pressed in with a soldering iron take a bolt or a star knob indefinitely; printed threads strip inside a month of real use.
- PETG filament — buy it by the multi-pack. It is what nearly every shop part should be printed in.
- TPU, 95A — one roll lasts years and covers push-block faces, bench-dog pads and gaskets for dust fittings.
- A filament dryer — an unheated shop swings through humidity all year and PETG drinks it. Wet PETG strings badly and prints a jig that is weaker than it looks. See our dry box round-up.
- A basic finishing kit — deburring tool, flush cutters, calipers. Calipers especially: every part in this article is dimensioned off something you already own. Our tool kit guide covers the set.
Design Rules for Jigs That Survive the Shop
- Design around hardware you already stock. 1/4-20 bolts, T-track hardware, star knobs, 8mm shelf pins. A jig built around standard hardware gets reprinted in an evening; one built around a printed thread gets thrown away.
- Print flat faces on the plate. The face that registers against your fence or workpiece should be the one that touched the build surface — it is the flattest surface the machine can make.
- Orient against the load. Layer adhesion is the weak axis by a wide margin. A hold-down that flexes across layer lines will snap along them; rotate the part so stress runs along the layers instead.
- Walls, not infill. Five perimeters at 20% infill beats two perimeters at 50% for nearly every jig, and it prints faster.
- Press steel where steel is needed. Drill guides get a hardened bushing. Router templates get a steel guide bushing or pin. Printed plastic never touches a spinning cutter.
- Add 0.2mm clearance and test one small part first. Hose fittings and pin holes are all about fit. Print a 20mm test ring before committing four hours to a full cyclone transition.
What Not to Print
Printed plastic has no place in a machine's safety chain. Do not print blade guards, riving knives, splitters, guard springs, saw-arbor hardware or anything whose failure puts a body part near a blade. Do not use a printed edge as the bearing surface a router bit rides against — it burns and fails in one pass, and it fails while a cutter is spinning at 20,000rpm. Do not clamp a printed fixture in a way that puts your hand inside the cut line if it breaks.
Everything else — hold-downs, dust hoods, hooks, gauges, knobs, templates with steel bushings — is fair game, and this is where a shop printer earns its bench space.
When to Print It and When to Order It
Print the fittings, the one-offs, the knobs and the jig revisions. The advantage of a shop printer is the loop: measure the port on Saturday, print the adapter that night, fit it Sunday, tweak the clearance and reprint it. Nobody sells that part, and buying the nearest wrong size costs you the afternoon anyway.
Order the fixtures that are too big for the plate, need an industrial material, or have to be identical across a batch — a full-length template, a glass-filled nylon fixture that gets clamped every day for years, or ten matching jigs for a shop crew. Our guide to 3D printing services for jigs, fixtures and manufacturing aids covers how to spec that work, and large-format 3D printing services covers the parts that no desktop plate will ever hold.
When the part has crossed that line, browse 3D printing providers in the directory and send the same file to three shops. Low-volume fixture work is quoted more inconsistently than almost anything else on this site.
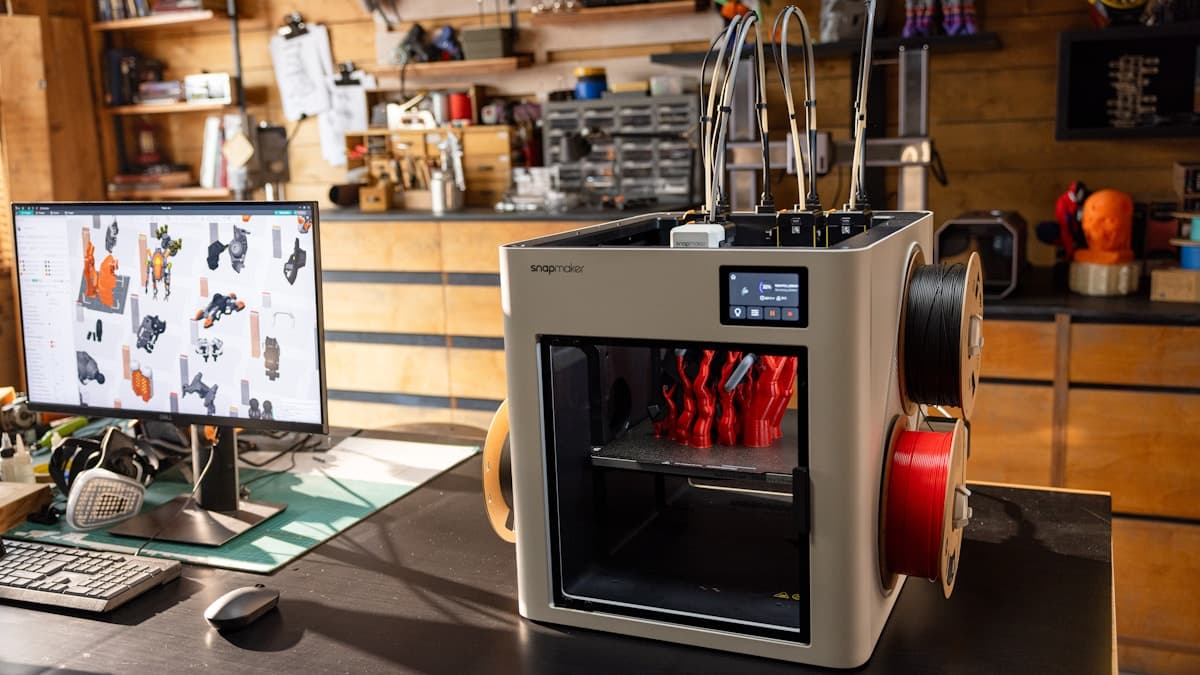
Hero image: Snapmaker 3D Printer, 3D Prototyping Hub image library.
Ready to find a 3D printing service provider?
Browse 2,000+ verified providers across the United States and submit your quote request free.
Browse Providers