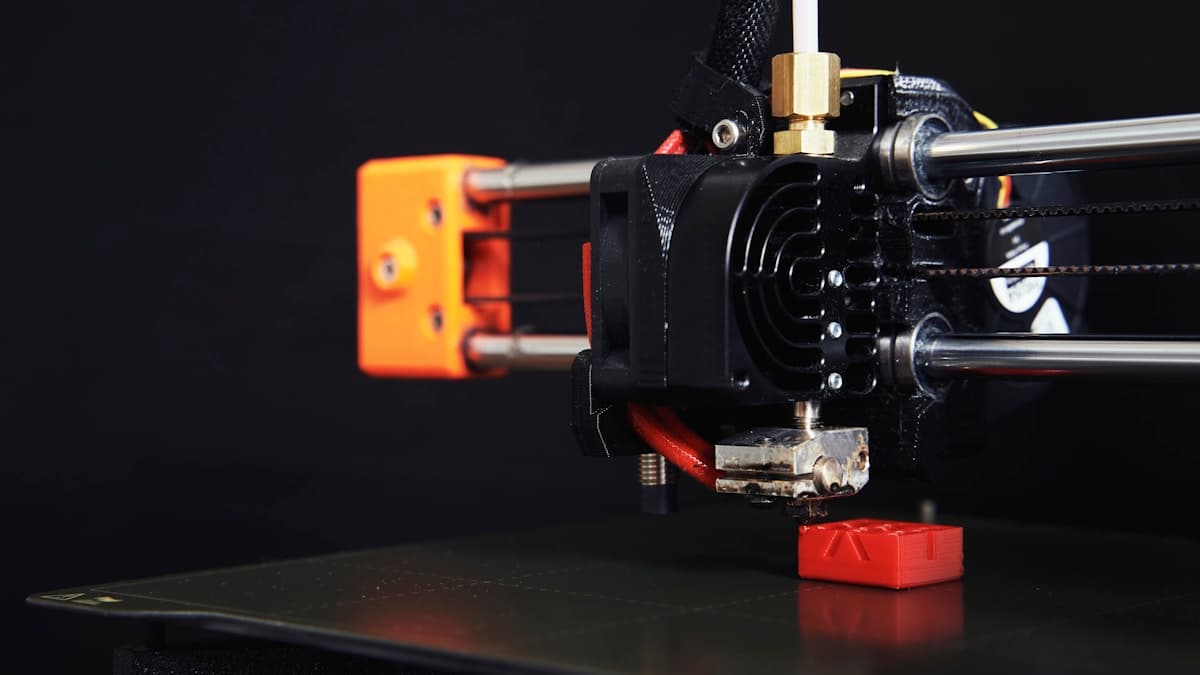
The nozzle is the smallest, cheapest part of your 3D printer and one of the most consequential. It's the last thing the filament touches before it becomes your print, so its size sets your detail and speed, its material determines what filaments you can run, and its condition quietly governs your print quality. Most people never think about it until prints start looking worse — by which point a two-dollar part has been sabotaging every job for weeks.
This guide explains nozzles in plain language: what the sizes actually do, the difference between brass and hardened steel, when it's worth upgrading, and how to swap one without making things worse. No jargon you don't need.
This post contains affiliate links. If you purchase through these links, 3D Prototyping Hub may earn a small commission at no extra cost to you.
This post also contains Amazon affiliate links. As an Amazon Associate we earn from qualifying purchases.
Nozzle Size: Detail vs Speed
The number stamped on a nozzle — 0.4mm, 0.6mm, and so on — is the diameter of its opening, and it's the main lever between fine detail and fast, strong prints.
- 0.2–0.3mm (fine): Thinner lines, crisper small features, and smoother curves on tiny models. The cost is time — prints can take two to three times longer — and a higher clog risk, because a small opening is easier to block. Reach for these only when detail on a small part genuinely matters.
- 0.4mm (standard): The right default for almost everyone. It balances detail, speed, and reliability, and every stock slicer profile is tuned around it. Keep this on the machine unless a specific job says otherwise.
- 0.6–0.8mm (wide): Thicker lines lay down far more plastic per pass, so big and functional parts print dramatically faster and come out stronger, thanks to better layer bonding. The trade-off is coarser detail. For brackets, jigs, vases, and drafts, a wide nozzle is a huge time-saver.
The practical setup for most people: run 0.4mm most of the time, and own one small nozzle for the occasional detailed model and one large nozzle for big functional prints. A cheap assorted brass nozzle set covers all three for the price of a coffee.
One critical step people forget: after changing nozzle size, update the nozzle diameter in your slicer (and re-run a flow/temperature check). The printer has no idea you swapped nozzles — if the slicer still thinks it's a 0.4mm, your prints will be wrong.
Nozzle Material: Brass, Hardened Steel, and Ruby
Size gets the attention, but material is what protects your print quality over time.
- Brass — the default. Brass conducts heat beautifully and is cheap, which makes it the right nozzle for every ordinary filament: PLA, PETG, ABS, ASA, and TPU. If you're not printing anything abrasive, brass is all you need, and you should keep spares.
- Hardened steel — for abrasive filaments. Carbon-fiber and glass-fiber filled filaments, glow-in-the-dark, glitter, wood-fill, and metal-fill all contain hard particles that grind a brass nozzle's opening wider within a few spools. That wear is invisible until your prints degrade. A hardened steel nozzle resists it. Its slightly lower heat conductivity is irrelevant for home printing — just run a few degrees hotter if needed.
- Ruby / hardened-tip specialty nozzles. A ruby-tipped nozzle combines brass's heat conductivity with a wear-proof tip. It's the premium option for people who print abrasives constantly and want the best of both. For most people it's overkill; hardened steel is the sensible abrasive-filament choice.
The simple rule: brass for normal filament, hardened steel the moment you load anything abrasive. Printing carbon fiber through a brass nozzle is the single most common way people quietly wreck their print quality without knowing why.