3D printing without a CAD file is the normal starting point, not a disqualifier. The part broke and nobody has drawings for it. The idea exists on the back of an envelope. The original supplier went out of business in 2004. Print shops see all three every week, and most of them have a route for it — but the route costs money and time that the printing quote does not include, and buyers who assume otherwise get a surprise on the invoice. This guide covers what you can send instead of CAD, which of the three routes fits your situation, what the modelling step actually costs, and how to ask for it so the first quote is a real one. When you are ready to put the job out, start at the 3D printing provider directory.
First, Work Out Which Situation You Are In
Four very different problems get described with the same sentence, and they have different answers. Decide which one is yours before you contact anybody.
The part exists, physically. You have the component — whole, worn or in pieces. This is the most common case and the most tractable, because the geometry is in the room with you and can be measured. Everything in the reverse-engineering route below applies.
The part does not exist yet. You have a function, a space it has to fit and maybe a sketch. Nothing can be measured because there is nothing to measure. This is a design job, and the shop is being hired to decide geometry, not to reproduce it.
Somebody else's part exists, but not in your hands. A catalogue photo, a PDF drawing, an exploded parts diagram with a part number. You can often buy the real thing, measure it and work from that — and where you cannot, be careful: copying a currently sold part can be a design-rights problem as well as an engineering one.
You have a file, but not a usable one. A downloaded STL, a scan mesh, a screenshot of a model, a DXF from a laser cutter. You have geometry, but not geometry anyone can edit. That is a conversion problem rather than a blank page, and it is covered further down.
What You Can Send Instead of CAD
| What you have | What a shop does with it | What it costs you | The usual failure |
|---|---|---|---|
| The physical part, intact | Measures or scans it, rebuilds clean CAD | Modelling time; shipping time both ways | Reproducing wear as if it were design intent |
| The part, broken in pieces | Same, reconstructed across fragments | Slightly more modelling time | Sending one half and keeping the other |
| Calipers readings plus a hand sketch | Models straight from your numbers | Cheapest route by a wide margin | Missing the dimensions that actually mate |
| Square-on photos with a rule in frame | Uses them for shape, your numbers for scale | Little, if the numbers come too | Perspective shots with nothing for scale |
| A 2D drawing or old blueprint | Builds a solid model from the views | Low, if the drawing is dimensioned | Undimensioned views, or a drawing of a variant |
| A downloaded STL | Prints it, or rebuilds it if it needs edits | Low to print, high to modify | Licence terms, and a near-miss fit |
| A 3D scan mesh you made | Rebuilds it as parametric CAD | Depends entirely on scan quality | Assuming the mesh can be printed as-is |
The pattern across every row: shape is easy to communicate and dimensions are not. Photographs, sketches and scans all convey what the thing looks like. What decides whether the finished part fits is a short list of numbers — hole diameters, hole spacing, shaft and bore sizes, wall thicknesses, the overall envelope — and those have to come from a caliper, from a drawing, or from a metrology-grade scan. A shop that receives shape without numbers has to quote for the risk, which is why that quote comes back high and hedged.
Route 1 — Reverse Engineering From a Physical Part
Two methods, and the geometry chooses between them rather than your budget.
Measure it by hand when the part is prismatic and man-made: brackets, plates, spacers, housings, clips, flanges, anything built from flats, holes, bosses and simple radii. A set of calipers, a square-on photo of each face and a sketch with the numbers written on it is genuinely enough for a competent modeller, and it is by far the cheapest path.
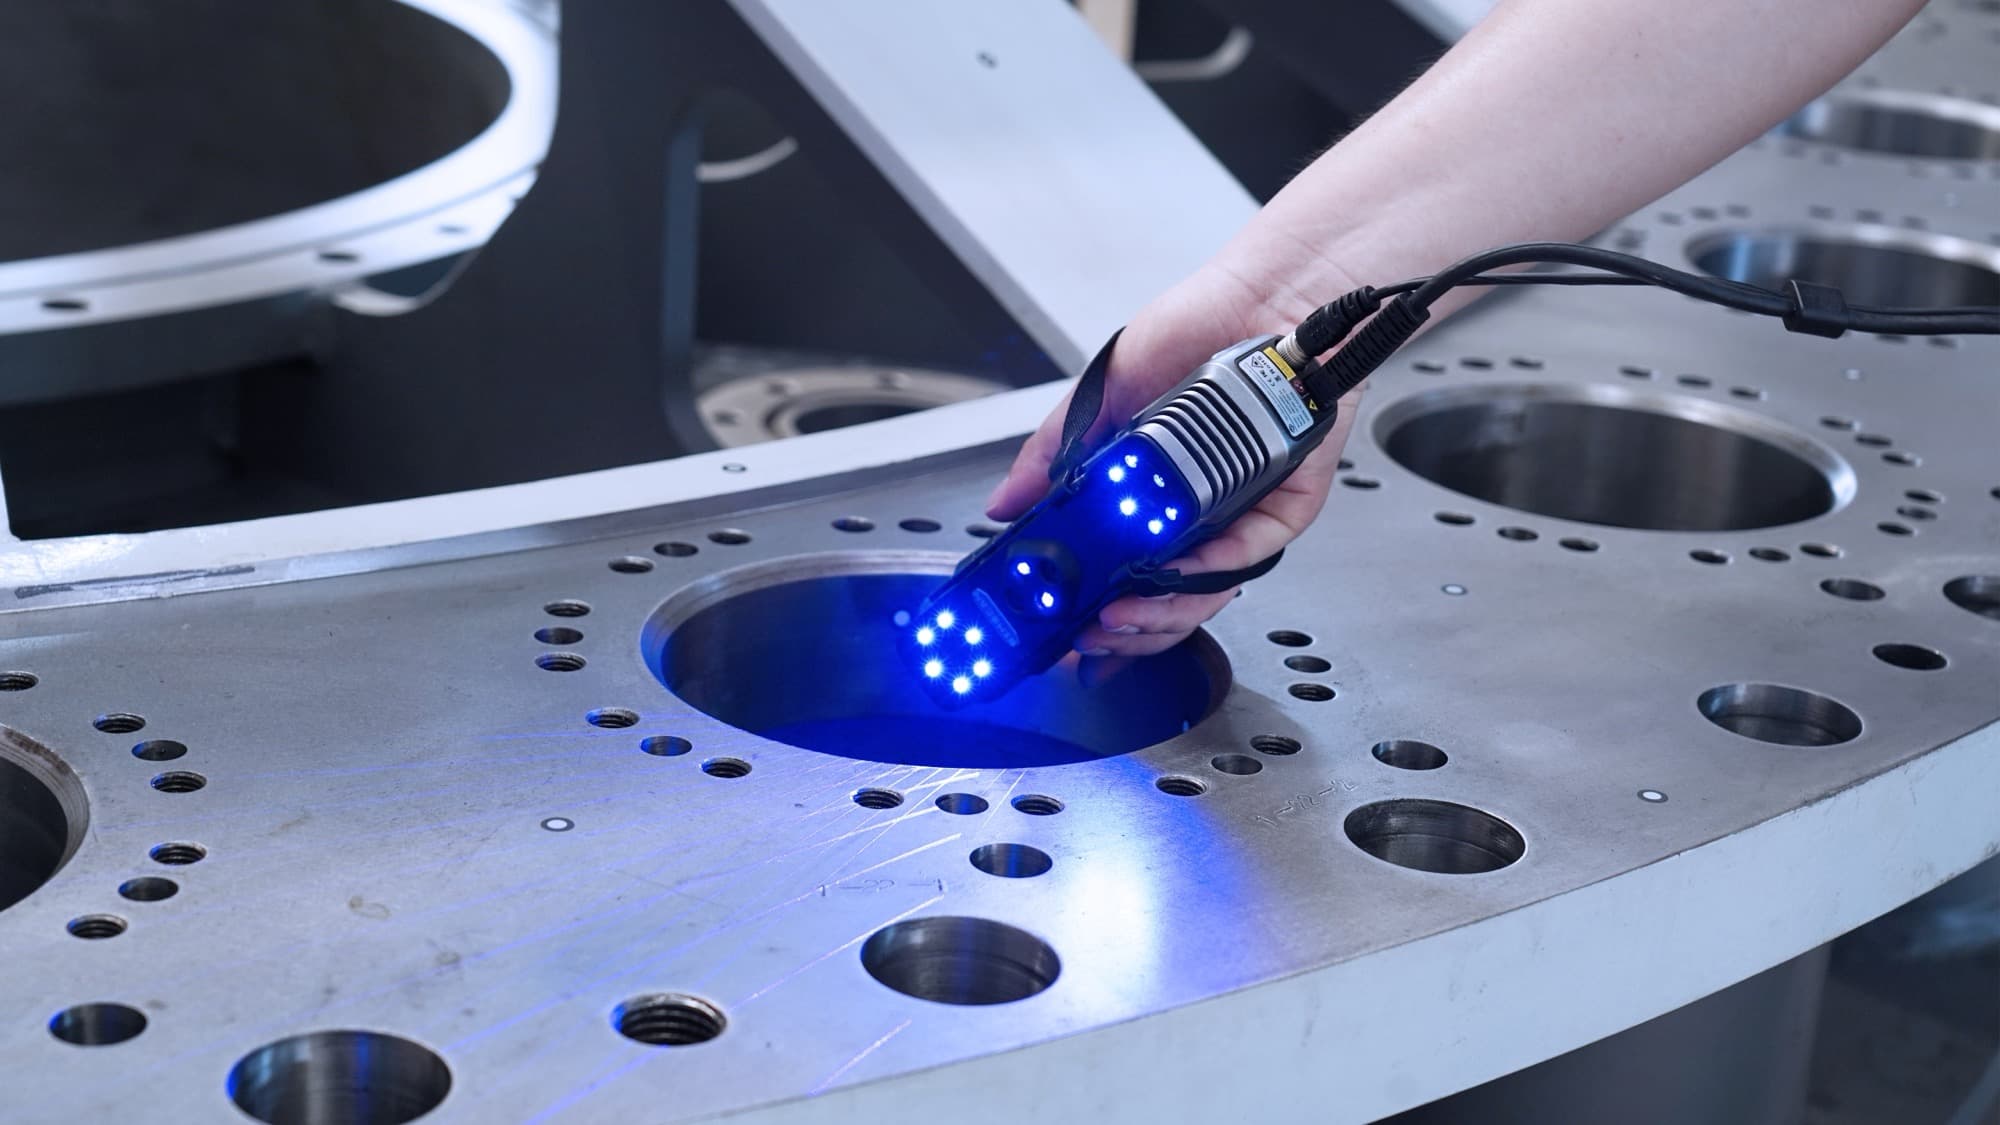
Scan it when the shape is sculpted, organic, worn, or has surfaces you cannot reach with a measuring tool: castings, moulded trim, ergonomic grips, impellers, turbine and vane profiles, carved detail, anatomical shapes. Handheld structured-light and laser scanners capture those in minutes, and scanning services for reverse engineering sets out how that work is scoped and priced.
Then the step that first-time buyers skip: the scan is not the deliverable. A raw mesh records the surface exactly as it is today — including corrosion, a dent from the last disassembly, and the scanner's own noise and dropouts, the causes of which are covered in why 3D scans come out noisy or full of holes. Print it and you have reproduced a worn part, with holes that are slightly oval and faces that are not quite flat. The professional route is scan, rebuild as clean parametric CAD, then print from the model.
Two habits that separate a part that fits from one that nearly does:
- Take mating dimensions from what the part fits, not from the part. If the bore is worn oval, measure the shaft. If the bracket has spread, measure the hole spacing in the chassis it bolts to. The broken component is evidence of the design, not a record of it.
- Send every fragment. Two halves of a snapped clip often reconstruct one whole geometry; one half plus a guess reconstructs half a geometry plus a guess.
Route 2 — Design From a Brief
When nothing physical exists, you are buying design hours. Plenty of print bureaus have a CAD seat in-house and will quote it; plenty do not and will refer you, which is a perfectly good answer as long as they say so.
What a designer needs from you, in rough order of how much it changes the outcome:
- What the part has to do, in one plain sentence. Not the shape you imagine — the job.
- What it mates with. Send the mating hardware, the bolt pattern, the shaft, the panel, the enclosure it lives in, or measurements of all of them. This is the single largest source of second revisions.
- The envelope it must fit inside, and which faces are allowed to touch something.
- Loads and environment. Does it carry weight, get pulled on, sit in a hot car, live outdoors, contact food, get wiped with solvent? This chooses the material as much as the geometry, and how to choose a 3D printing material covers the trade-offs.
- Quantity, now and later. One prototype and two hundred a year lead to different designs, not just different prices.
Expect the design fee to exceed the printing on a single small part, and expect that to be correct rather than a markup. The model is the asset; the first print is the proof it worked.
Route 3 — Start From a Model That Already Exists
Free and paid model repositories are a legitimate shortcut for generic items — a hose adapter, a common camera mount, a standard project box. Two cautions apply.
Licences vary and shops do ask. A substantial share of popular models are released for non-commercial or personal use only, and having a bureau print one for a business can exceed those terms.
Near-miss fit is the norm. The model was drawn to somebody else's mounting pattern and somebody else's tolerances. Because it almost always arrives as a mesh, adjusting it is sculpting rather than editing — and past a couple of changes, modelling from your own measurements is both faster and better.
Why an STL Is Not a CAD File
This distinction causes more confusion than any other in the category, and it decides what any future change will cost you.
An STL or OBJ is a surface mesh: a shell of flat triangles approximating the shape, with no memory of which triangles used to be a hole, a boss or a fillet. It slices and prints perfectly well. It just cannot be meaningfully edited — there is no "make this wall 3mm" in a triangle soup.
A STEP file is solid geometry with features, and changing a dimension in it is a thirty-second job for anyone with CAD. STL vs STEP files for 3D printing goes through the practical consequences. The buying implication is short: if you are paying someone to create your model, the STEP is a deliverable and you should name it in the purchase order. Take delivery of STL only, and the second revision is a fresh engineering job at full price.
Settle Ownership Before The Work Starts
Shops split on this, and both positions are defensible. Some treat a model built to your brief as your property and hand it over without discussion. Others treat it as their own tooling — you can order parts from it forever, but you cannot take it to a cheaper supplier, and the quote for re-creating it elsewhere is the original fee again.
Ask two questions in writing before work begins: who owns the resulting model, and will a released STEP file be delivered at handover. NDAs and IP protection with 3D printing services covers the wider confidentiality question, including who may see your geometry and whether any step is subcontracted.
What It Costs and How Long It Takes
Nobody can price this from a description, but the drivers are consistent, and knowing them lets you read a quote:
- Geometry class. Prismatic and man-made is fast. Free-form, worn or organic is slow, and usually needs scanning first.
- Quality of the evidence you supply. Good caliper readings and square-on photographs can remove most of the uncertainty — and therefore most of the padding — from a modelling quote.
- Whether scanning is needed, and whether it is in-house. Subcontracted scanning adds a handoff, a margin and usually a week.
- Revisions. Ask how many are included. "One free revision" and "we bill hourly from the first change" are very different deals on a part that has to fit.
- Shipping the sample. Two transit legs sit inside your lead time, and a fragile original needs packing accordingly.
For the printing side of the bill, how much 3D printing costs sets out the five drivers that move a per-part price.
Choosing a Provider for a No-File Job
Not every print shop wants this work, and the ones that do not are better at saying so than at doing it badly. Six questions sort them quickly:
- Do you model in-house, or refer it out? Either answer is fine; an unclear answer is not.
- Do you scan in-house? Only matters if your part actually needs scanning.
- Is design quoted separately from printing? A single bundled number hides which half is growing.
- How many revisions are included?
- Do I receive a STEP file, and do I own the model?
- What do you need from me to quote? A shop that answers this precisely — "three square-on photos, caliper readings on every hole, and the part it bolts to" — is a shop that has done it before.
How to choose a 3D printing service has the general qualifying checklist, and online vs local 3D printing services is worth reading here specifically: no-file jobs iterate physically, and a local provider you can hand a sample to often beats a cheaper quote three states away.
The RFQ That Gets a Real Quote Without a File
Send all of this at once and most shops can price the job the same day:
- What you have — the part, the fragments, a sketch, a drawing, a downloaded mesh, nothing.
- Photographs, square-on to each face, with a steel rule or calipers in frame on the same plane as the part.
- The numbers that must be right — hole diameters, hole spacing, bore and shaft sizes, thicknesses, overall envelope. Call these out explicitly rather than tolerancing the whole part.
- What it fits, and ideally the mating hardware itself.
- The job the part does, and what happened to the last one — a part that failed tells the modeller which feature to strengthen.
- Environment and loads — heat, sunlight, chemicals, weight, impact, skin or food contact.
- Quantity now, and likely repeat.
- Whether you need the model delivered, and who owns it.
How to prepare files for a 3D printing quote covers the equivalent checklist for when you do have geometry to send.
Get the Model Made Once
The buyers who handle this well treat the missing file as the actual deliverable. They pay for the model once, take the STEP, record the material and the print settings alongside it, and file it where purchasing can find it. The next failure — and on a fleet, a matched set or a production line there is always a next failure — becomes a reprint against an existing file rather than a repeat of the whole exercise. That is the same discipline that makes replacement and spare parts work as a strategy instead of an emergency.
Photograph the part, measure what has to fit, write down what the part is for, and send that. Browse 3D printing providers and ask two or three what they would need to quote it. The one that asks what it bolts to before it quotes is the one to send the sample to.
Related Resources
- STL vs STEP Files for 3D Printing — why the file type decides what a change costs
- 3D Scanning Services for Reverse Engineering — how the scanning route is scoped
- How to Prepare Files for a 3D Printing Quote — the checklist for when you do have geometry
- 3D Printed Replacement and Spare Parts — the obsolete-part case in full
- NDAs and IP Protection With 3D Printing Services — ownership and confidentiality
- How Much Does 3D Printing Cost — the drivers behind the printing half of the bill
- Browse 3D Printing Providers — send the job out
Hero photo by Kelly No.715 via Wikimedia Commons, licensed CC BY-SA 4.0.