3D printing services for veterinary clinics have quietly become ordinary in referral practice, and for a reason that has nothing to do with novelty: veterinary medicine treats patients whose anatomy varies more between individuals than human anatomy does between most adults. A plate bent to fit a Labrador tibia will not fit a Dachshund, and nothing off a shelf fits a macaw, a tortoise or a Shire horse. Every solution is a batch of one, which is precisely the work additive manufacturing is good at. This guide covers what veterinary work is genuinely worth outsourcing to a print shop, which process and material each job calls for, what to send, and how to qualify a provider when there is no regulatory clearance number to hide behind. When you are ready to source, browse the 3D printing provider directory.
What Veterinary Practices Actually Get Printed
Five categories cover nearly all of it, and identifying which one a job belongs to settles process, material and cost before price comes up.
Surgical rehearsal and client-communication models. A printed replica of the patient's own fractured tibia or deformed radius, built from the CT series. The surgeon pre-contours the plate on the bench instead of in theatre, which shortens anaesthesia time, and the owner can hold the thing being repaired — which does more for consent and for estimate approval than any diagram. This is the highest-value entry point for most practices and the sensible first order to place with a new shop.
Patient-specific osteotomy and drill guides. A guide that seats on a unique bone surface in exactly one position and carries the drill or saw in the planned trajectory. This is where printing stops being a visual aid and starts changing outcomes: angular limb deformity corrections, complex TPLO revisions, pedicle screw placement in the spine. The guide is only as good as the surface it locks onto, so the CT and the design review matter more than the printer.
Patient-specific implants. Titanium plates, cages, cranial and maxillofacial reconstruction pieces and limb-sparing endoprostheses, printed by laser powder bed fusion in Ti-6Al-4V. This is the smallest category and the highest-stakes one, and the list of providers who should be doing it is short.
Prosthetics, orthoses and hoof work. External devices — canine limb prosthetic sockets and braces, TPU therapeutic hoof shoes and cuffs, carapace repair for chelonians, beak prostheses. These start from an external scan rather than a CT and share a workflow with human prosthetics and orthotics work, including the same lesson about ventilation and patient compliance.
Teaching specimens, practice models and clinic hardware. Anatomical teaching sets for veterinary schools, suture and ultrasound phantoms, replacement knobs and brackets for ageing equipment, kennel and lab fixtures. None of it touches a patient, so a general-purpose shop is fine — this is the same brief as printing for labs and custom labware.
Where Printing Is Not the Answer
Being specific about the boundary is what makes the rest credible.
Standard orthopaedic hardware. Locking plates, screws, pins, external fixator clamps and interlocking nails are tested, certified, mass-produced components available in veterinary sizes. Print the guide that places them; buy the hardware.
Anything load-bearing in an unvalidated material. A printed polymer will not replace a plate carrying the weight of a horse or an active working dog. Polymer prints do structural work in veterinary medicine only where load is genuinely low, and the honest test is whether the provider can state what they have tested rather than what the datasheet claims for the material in general.
Sterile-field parts in a material that cannot take the cycle. This is the most common preventable failure. A beautiful guide printed in PLA is a guide that warps in the autoclave and no longer fits the bone it was made for. Decide the sterilisation route before the material.
Jobs where the CT will not support the geometry. Thick slices, heavy metal artefact from existing implants, or a soft-tissue reconstruction kernel will all produce a mesh that looks convincing and is wrong at the millimetre scale that a seating surface depends on. A provider who asks hard questions about your scan protocol is protecting you.
Process Selection
| Process | Best for in veterinary work | Materials | Watch for |
|---|---|---|---|
| FDM | Rehearsal models, teaching specimens, clinic hardware, low-cost braces | PLA, PETG, PA6-CF, TPU | Cheapest and fastest; not for the sterile field, and layer adhesion is the weak axis |
| SLA / DLP resin | Surgical and drill guides, high-detail dental and skull models | Biocompatible guide resins, model resins | The only realistic route to an autoclavable printed guide; demands documented ISO 10993-1 data |
| SLS / MJF | Prosthetic sockets, orthotic braces, tough functional parts | PA 11, PA 12, TPU powders | No supports, good fatigue life for worn devices; lead time follows build nesting |
| Metal powder bed fusion | Patient-specific implants, cages, endoprostheses, equine hardware | Ti-6Al-4V, cobalt-chrome | Real implant capability; ask about alloy grade, HIP treatment and surface finish for bone contact |
Two of these carry the bulk of the clinically meaningful work. Guides come from resin because resin holds the fine seating detail and a handful of grades survive steam sterilisation; implants come from metal 3D printing services because titanium is the only material on the list that belongs inside an animal for years. Everything else is FDM, and it is worth having in the building.
Materials and the Sterilisation Question
The material list is short once you sort jobs by where they sit relative to the patient.
Outside the animal entirely — models, teaching pieces, clinic parts — takes PLA or PETG and no further thought. PLA for detail and rigidity, PETG where something gets dropped or cleaned with alcohol.
Sterile field, short-term contact — guides — takes a purpose-made biocompatible resin with ISO 10993-1 evidence for limited tissue contact and a stated autoclave cycle, or a single-use guide sterilised by ethylene oxide or gamma if the provider offers it. Get the cycle in writing: some guide resins are rated for 121°C steam and not 134°C, and the difference is a ruined guide on the morning of surgery.
Long-term implanted — titanium, in the medical grade, from a provider who can trace the powder lot and state the post-processing. Surface condition matters as much as alloy for bone integration.
Worn on the animal — PA 11, PA 12 and TPU, for the same fatigue and skin-contact reasons the human O&P world settled on them. The wider trade-offs are laid out in how to choose a 3D printing material.
From CT to Part
Capture. A helical CT with thin slices and a bone kernel, exported as DICOM. For external devices, a handheld structured-light scan of the limb, hoof or shell instead, which takes minutes and avoids sedation in a cooperative patient.
Segmentation. Converting DICOM into a watertight mesh, separating bone from soft tissue and cleaning artefact. This is the step that consumes the labour and the step where accuracy is won or lost. Some providers do it; some expect a finished STL. Establish which at the first conversation, because it is most of the cost on a single model.
Design review. The surgeon and the engineer agree the osteotomy plane, the guide seating surface, the implant contour. Budget real time for this on anything that goes near a patient — it is not an approval formality.
Print, finish, verify. Supports removed, guides sterilised, implants post-processed and inspected. Ask what dimensional check the provider performs on the seating surface, and read tolerances and accuracy in 3D printing before agreeing a number, because a tolerance you cannot verify is a tolerance nobody is holding.
Send DICOM for anything derived from a scan rather than an exported STL where you can — it lets the provider re-segment if the mesh is poor. Keep the source data, not just the final part.
Equine and Large-Animal Work
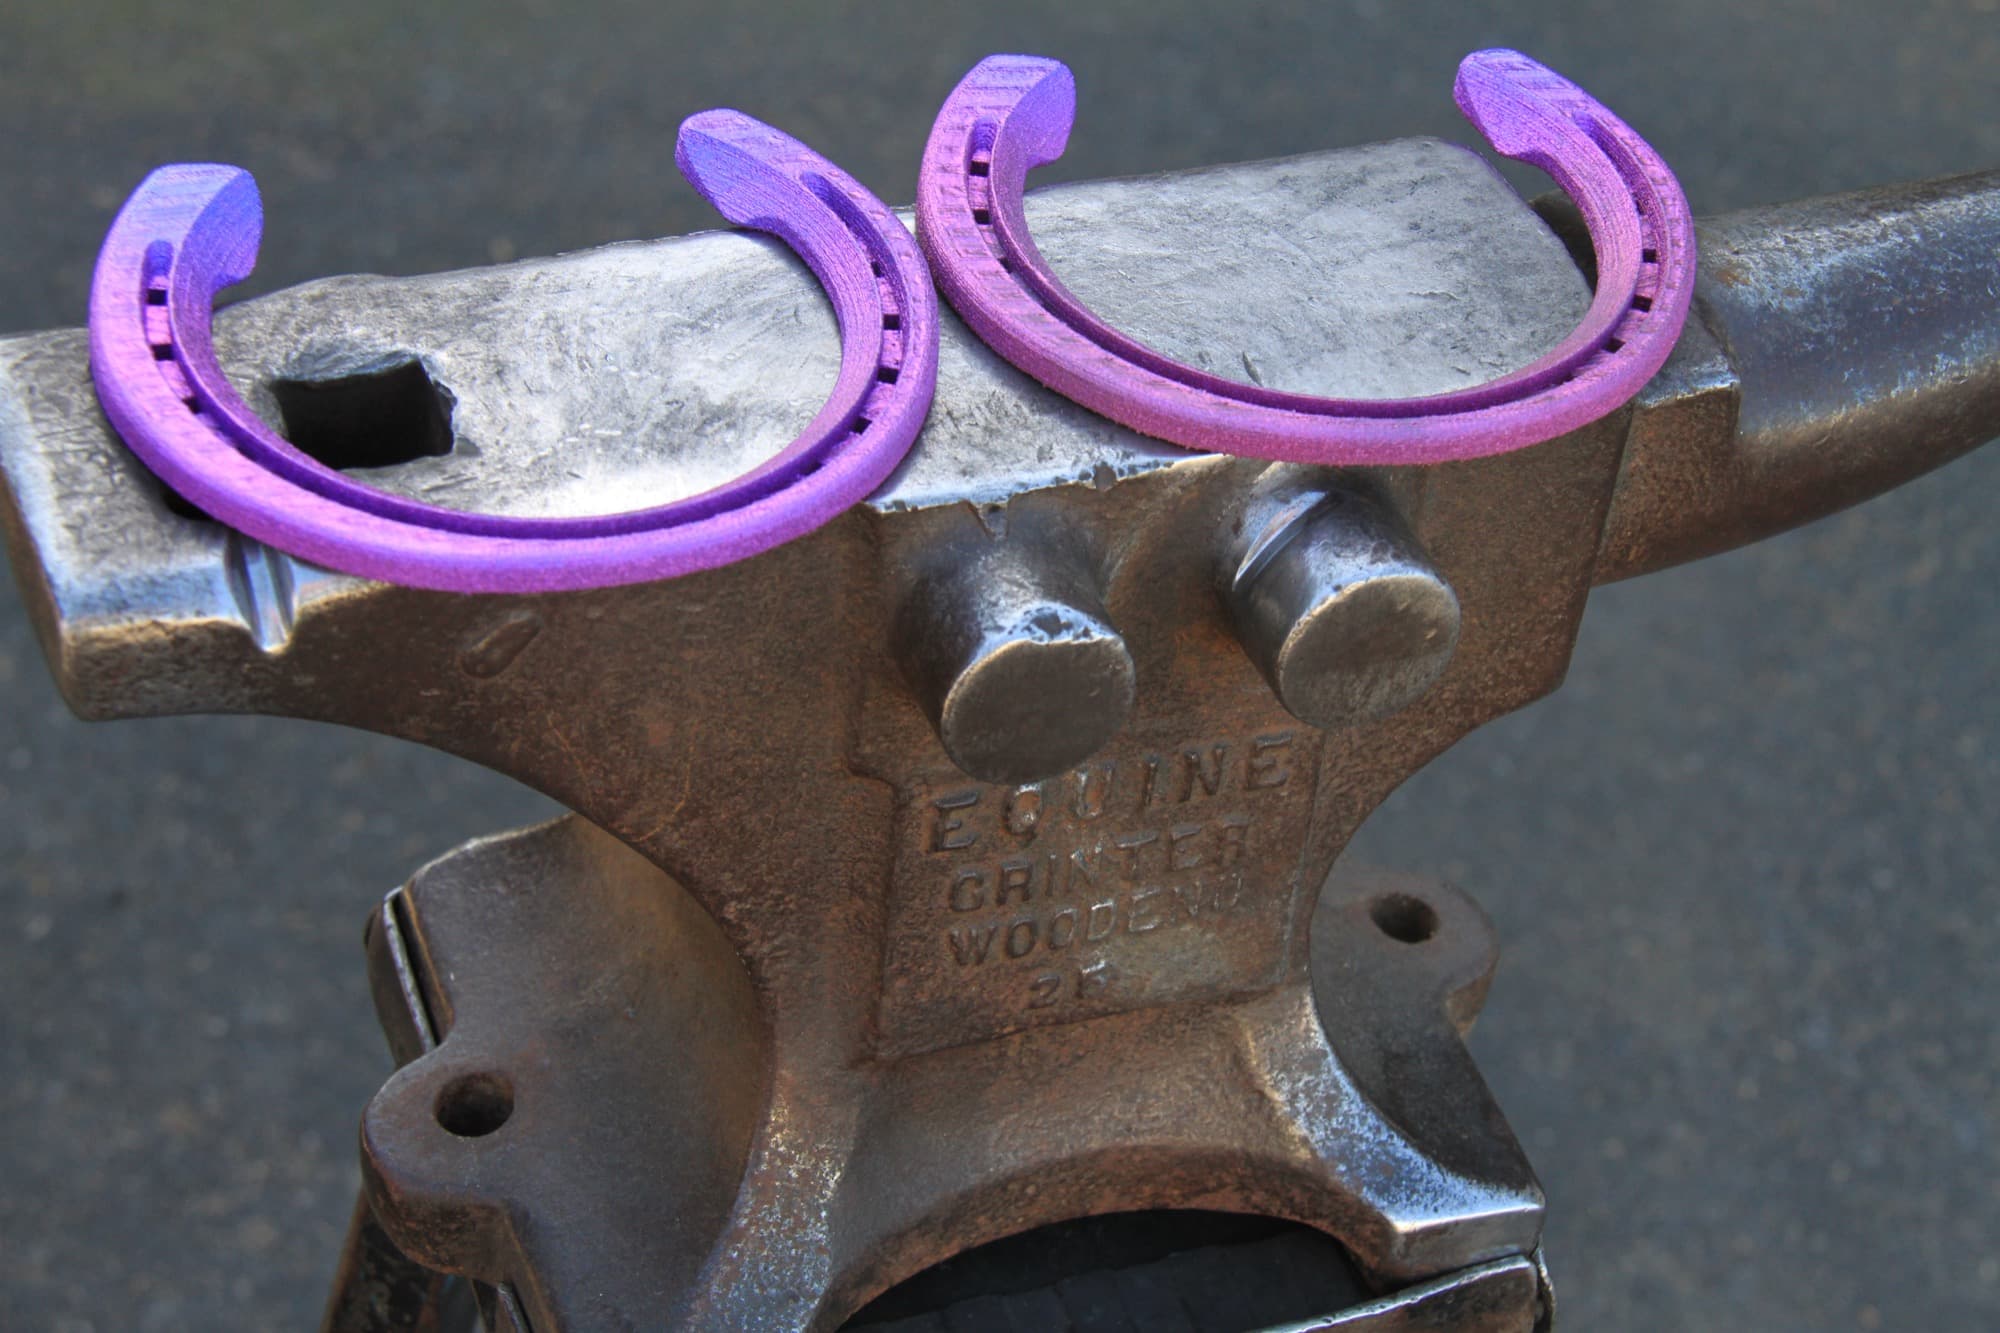
Horses deserve their own paragraph because the loads and the economics are different. Custom therapeutic shoes and hoof cuffs printed in TPU or nylon are used in laminitis and hoof-capsule pathology, where a shape tuned to one damaged foot cannot be forged from stock. Titanium shoes have been printed from hoof scans since CSIRO demonstrated the workflow — the hero image above is that work — and the interesting part was never the metal but the scan-to-fit loop that produced a shoe matched to one horse's gait. At the other end, large-animal practices print perfectly mundane things: replacement handles, gate fittings, syringe holders and dosing jigs that no longer have a supplier.
Qualifying a Provider
For models and teaching aids, any competent shop will do, and price and turnaround are the whole decision. For anything in the sterile field or inside a patient, ask five questions and get written answers.
- What biocompatibility evidence do you hold for this exact material in this process? ISO 10993-1 for the grade and machine, not a generic datasheet.
- What sterilisation cycle is this part validated for? Temperature, method and number of cycles.
- Can you trace the material lot? Resin batch, or titanium powder lot and refresh ratio.
- Who owns the segmentation, and how accurate is it? Ask what they do about metal artefact and how they verify the mesh against the original series.
- What happens to my imaging data? Veterinary imaging is not human health data, but it is client data and often commercially sensitive for a breeder or a racing yard. The commercial half of that conversation is covered in the NDA and IP protection guide.
A provider who answers these quickly has done veterinary work before. One who treats them as unusual has not, which does not disqualify them from printing your teaching models.
Get Veterinary Work Quoted
Decide first which of the five categories the job belongs to, because that single answer sets the process, the material and how much evidence you need. Then send the DICOM series or scan, the species and approximate patient weight, the surgery date you are working back from, and your sterilisation requirement. Browse 3D printing providers and ask two or three — what they ask you about slice thickness, seating surfaces and autoclave cycles will separate the shops that can serve a clinic from the ones that can only serve a workshop.
Related Resources
- 3D Printed Anatomical Models from CT Scans — the segmentation workflow in detail
- 3D Printing Services for Prosthetics and Orthotics — the scan-to-fit brief for worn devices
- 3D Printing for Medical Devices — the human-side regulatory spectrum, for contrast
- Metal 3D Printing Services — the process behind patient-specific titanium
- 3D Printing Services for Labs and Custom Labware — teaching aids, phantoms and bench fixtures
- How to Choose a 3D Printing Material — sterilisation, skin contact and fatigue trade-offs
- Browse 3D Printing Providers — send the job out
Hero photo: CSIRO via Wikimedia Commons (CC BY 3.0).