3D printing services for prosthetics and orthotics exist because O&P has always been custom manufacturing pretending to be a product category. Every socket, brace and insole is a batch of one, fitted to one body, and the traditional route to it — cast the limb, pour a positive, modify it by hand, thermoform over it — is slow, hard to reproduce and impossible to revise without starting again. Scanning and printing replace the plaster with a file, which is what changes the economics: a fit that was previously a remake becomes a revision. This guide covers what O&P work is genuinely suited to printing, which process and material each device calls for, what to send a provider, and how to qualify one for patient-worn parts. When you are ready to source, browse the 3D printing provider directory.
What O&P Work Actually Gets Printed
Five groups cover nearly all of it, and knowing which one a device belongs to settles process, material and regulatory burden before price comes up.
Diagnostic check sockets. The highest-value entry point for most clinics. Print a transparent or translucent test socket, fit it, mark the pressure areas through the wall, adjust the digital model, print again. The gain is not the cost of one socket — it is that iteration two starts from a file rather than a new cast, and the marked-up geometry is a record rather than a memory.
Definitive sockets and frames. Worn, load-carrying prosthetic sockets and their frames, generally printed in nylon by SLS or Multi Jet Fusion rather than filament. This is the highest-stakes category on the list and the one with the shortest list of qualified providers, because it is where structural testing and process control stop being optional.
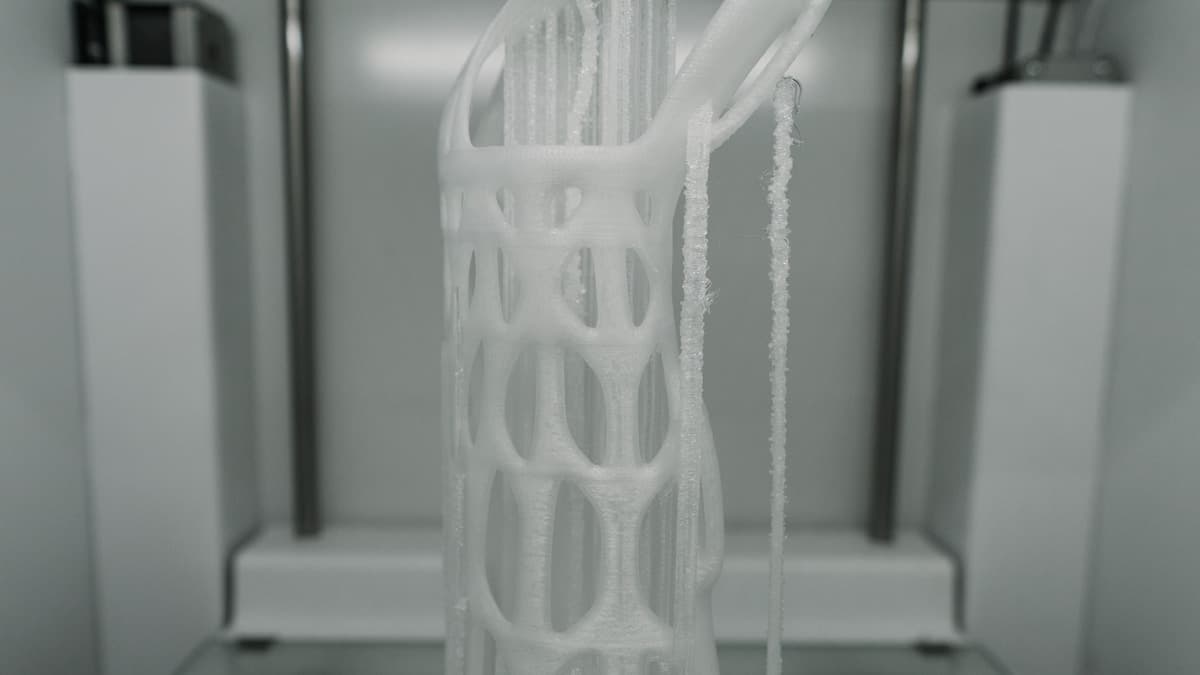
Orthoses and braces. Ankle-foot orthoses, wrist-hand orthoses and splints, knee braces, spinal and scoliosis braces, cranial remolding helmets. This is where printing looks most obviously better than what it replaced: a latticed, ventilated brace is lighter, cooler and far more likely to be worn, and patient compliance is the whole game in scoliosis and cranial work.
Custom insoles and foot orthoses. Printed in TPU from a foot scan or a pressure-mapped gait capture, usually the highest-volume printed device a clinic touches. Lattice density can be varied zone by zone to tune cushioning and support in a way that milled EVA cannot match.
Models, tooling and clinic aids. Positive models for thermoforming, trim guides, alignment jigs, fitting mock-ups, patient-education models and casting formers. Not worn by anyone, so a general-purpose provider is fine — this is the same job as 3D printed anatomical models from CT scans, and it is a sensible first order to place with a new shop.
Device manufacturers have a sixth: pre-production prototypes and short-run components for products whose annual volume never justified a mould. That is ordinary functional and end-use part production that happens to be shaped like a brace.
Where Printing Is Not the Answer
Being specific about the boundary is what makes the rest of the argument credible.
Structural connectors and the load-carrying hardware below the socket. Pyramid adapters, tube clamps, pylons, knee and ankle units, bolts. These are tested, certified, mass-produced metal components and there is no benefit to reproducing them. Print the socket; buy the hardware that bolts to it.
Anything you cannot test to the load it will see. A definitive lower-limb socket carries a person's full body weight through thousands of gait cycles a day, in a material whose weakest axis is the build direction. It is printed successfully every day — by providers who have tested that specific material, wall thickness, orientation and machine to ISO 10328. "PA 12 is strong" is not that evidence.
Skin-contact parts in an unverified material. A resin or filament with no biocompatibility data behind it is not a candidate for something worn for eight hours a day against skin, regardless of how well it prints. This is a documentation question, not a printing question, and it is covered in more depth in the medical device sourcing guide.
High-volume identical parts. If you genuinely need five hundred of the same strap buckle, printing has stopped being the cheap option. Print the prototype, mould the production run.
Process Selection
| Process | Best for in O&P | Materials | Watch for |
|---|---|---|---|
| FDM | Check sockets, splints, positive models, clinic tooling, low-cost braces | PETG, PA6-CF, PP, PLA (models only) | Layer adhesion is the weak axis; wall thickness and orientation matter more than in any other process |
| SLS / MJF | Definitive sockets, AFOs, spinal and cranial orthoses | PA 11, PA 12, TPU powders | Best strength and fatigue life for worn devices; needs a service bureau, and lead time follows build nesting |
| TPU (FDM or powder) | Insoles, liners, cushioning lattices, soft interfaces | TPU 85A–95A | Shore hardness and lattice density are the two dials; specify both |
| SLA / resin | Positive models, insole moulds, high-detail fit models | Rigid and tough resins | Excellent surface, but check biocompatibility claims carefully before any skin contact |
Two of these carry the majority of patient-worn work. SLS printing services and the closely related Multi Jet Fusion process produce nylon parts with no support structures, isotropic-enough properties and the fatigue resistance a brace flexed thousands of times a week actually needs. FDM printing earns its place on speed and cost for everything that is iterated, tested or thrown away.
Materials, and Why PLA Keeps Appearing Anyway
The material list for O&P is short and unforgiving, because devices are worn against warm skin, flexed constantly and cleaned regularly.
PA 11 and PA 12 are the default for definitive orthoses and sockets. PA 11 is the tougher of the two under repeated flexing, which is why AFOs and spinal braces gravitate to it. Both absorb some moisture, so ask how the provider stores and conditions powder.
Polypropylene suits labs that want the failure behaviour they already know from thermoforming — it flexes rather than cracks, and it is forgiving of a hinge printed thin.
Carbon-filled nylon and PETG cover stiffer FDM work: check sockets, trim guides, splints that need rigidity more than fatigue life.
TPU does everything soft. Shore 85A–95A covers insoles, liners and pads; below that it becomes difficult to print reliably and above it stops feeling like cushioning.
PLA is the one to be firm about. It prints beautifully, every shop has it, and it belongs on positive models and fit mock-ups only. It creeps under sustained load at temperatures a car interior reaches in an afternoon and it is brittle at the thin sections braces need. Material choice for worn devices is a durability and safety decision, not a price one — the trade-offs are laid out in how to choose a 3D printing material.
The Scan-to-Fit Workflow
The printing is the easy part. The workflow around it is what a provider is actually selling.
Capture. A handheld structured-light scanner takes a residual limb, torso or foot in a few minutes. Speed matters more than headline accuracy here because soft tissue moves — a scan taken over four minutes of a patient shifting their weight is not one geometry. Clinics that scan well tend to use a consistent capture protocol and a marked reference, not a better scanner.
Rectification. The digital equivalent of modifying a plaster positive: relieving over bony prominences, building up load-tolerant areas, setting trim lines and flare. This is skilled clinical judgement encoded in CAD, and it is where a printed device is won or lost. Some providers do it, some expect a finished model from you. Establish which before the first job.
Design and lattice. Wall thickness, reinforcement ribs, ventilation pattern, strap and padding interfaces, closure hardware. Ventilation is the single most-noticed feature by patients and the most common reason a printed brace gets worn when a solid one did not.
Print, finish, fit. Depowdering, bead blasting, optional dyeing or vapour smoothing, edge rolling and padding. Then the fitting, and whatever revision it triggers — which is now a file edit and a reprint.
Two practical notes. Send STL or OBJ for organic scanned geometry and STEP for any hard interface that bolts to something; dimensional expectations for the latter should be agreed explicitly, and tolerances and accuracy in 3D printing covers what is realistic per process. And keep the source scan, not just the exported mesh — it is the asset that lets you remake the device in two years.
How to Qualify a Provider
For models and tooling, any competent shop will do. For anything a patient wears, ask six questions and get the answers in writing.
- What is your quality system? ISO 13485 or a documented equivalent, with change control and batch records.
- What biocompatibility evidence do you hold for this material, in this process? ISO 10993 skin-contact data for the specific grade and machine, not a generic datasheet.
- Can you show material traceability? Powder lot, refresh ratio for SLS and MJF, and how many times that powder has been recycled. Refresh ratio quietly drives mechanical properties.
- What structural testing backs load-bearing parts? ISO 10328 for lower-limb prosthetic structures, and on the configuration you will actually receive.
- How do you handle patient data? A business associate agreement, a secured transfer route and a stated retention policy. Scans are health data; the NDA and IP protection guide covers the commercial half of the same conversation.
- What is your repeat accuracy? If the same file six months later does not fit the same patient, none of the above matters.
A provider who answers all six quickly has done this before. One who treats the questions as unusual is telling you something useful.
In-House or Outsourced
Most clinics end up doing both, and the split is fairly predictable. Bring in-house the work that is high-volume, low-risk and fit-iterative — check sockets, positive models, trim guides, fit mock-ups, simple splints. A desktop FDM machine and a scanner pay for themselves quickly on that work alone, and same-afternoon iteration is a genuine clinical advantage.
Send out the work that needs a process you will not buy, a material you cannot certify or evidence you cannot generate: SLS and MJF nylon devices, definitive sockets, anything requiring documented structural testing, and volume overflow. That division is stable, and it is why most O&P printing relationships are ongoing rather than one-off — see online vs local 3D printing services for how proximity affects that decision when fittings are involved.
Get O&P Work Quoted
Decide first which of the five categories your device belongs to, because that single answer sets the process, the material and how much evidence you need from a supplier. Then send the scan or model, the device type, patient weight and activity level for anything load-bearing, your material preference, and the fitting date you are working back from. Browse 3D printing providers and ask two or three — what they ask you about rectification, powder refresh and biocompatibility will separate the medical-capable shops from the merely competent ones faster than their prices will.
Related Resources
- 3D Printing for Medical Devices — the regulatory spectrum in full
- 3D Printed Anatomical Models from CT Scans — the scan-to-model half of the workflow
- 3D Printing Services for Dental Labs — the adjacent patient-specific, high-volume brief
- SLS 3D Printing Services — the process behind most definitive printed orthoses
- How to Choose a 3D Printing Material — skin contact, fatigue and heat trade-offs
- 3D Printing Post-Processing and Finishing Services — dyeing, smoothing and edge finishing for worn devices
- Browse 3D Printing Providers — send the job out
Hero photo by Tom Claes via Unsplash.