You cut, you twist, you get the pliers under the last pillar, and it finally lets go — along with a coin-sized patch of the part's surface. Or the opposite: the support column snaps off the plate in one satisfying piece and leaves a shelf of interface welded to the underside of your part that no tool will reach. 3D print supports that will not come off cleanly are not a strength problem or a technique problem. Almost always they are one number in the slicer, and the failed part tells you which one.
This post contains affiliate links. If you purchase through these links, 3D Prototyping Hub may earn a small commission at no extra cost to you.
This post also contains Amazon affiliate links. As an Amazon Associate we earn from qualifying purchases.
First, Name the Failure
Four different things get described as "supports won't come off", and they have four different fixes. Look at the part before you change a setting.
| What happened |
What it means |
Where to look |
| Supports and part are one solid object; no seam to start at |
The gap is too small, or zero after rounding |
Support Z distance, layer height |
| Supports snap off but leave a rough shelf or torn patches |
Interface too dense, or fused at the roof |
Interface density and pattern, temperature |
| Supports come away easily but the overhang above is a mess |
Removal is fine — the overhang failed |
Cooling and angle, not support settings |
| Supports fell over or detached mid-print |
A stability problem, not a removal problem |
XY distance, tree branch width, adhesion |
Row three is the one people misdiagnose most. If the down-facing surface is rough and stringy but the supports themselves came away in your fingers, the supports did their job and the problem is above them — that is a cooling and geometry question, covered in why overhangs sag.
The Number That Decides Everything
On an FDM machine, support removal is settled almost entirely by one setting: the vertical gap between the top of the support and the bottom of the part. Cura calls it Support Z Distance, PrusaSlicer calls it contact Z distance, Bambu Studio calls it top Z distance. Same thing.
Set it to exactly one layer height. Not a round number you like — a whole multiple of the layer you are printing at:
| Layer height |
Top Z distance for easy removal |
Same, for the best down-facing finish |
| 0.12mm |
0.12mm |
0.12mm |
| 0.20mm |
0.20mm |
0.20mm |
| 0.28mm |
0.28mm |
0.28mm |
The reason it has to be a multiple is that the slicer puts support roofs on the same layer grid as everything else. Ask for 0.15mm on a 0.2mm layer and it cannot give you 0.15 — it rounds, usually downward, and a gap that rounds to zero is a weld. That single mismatch explains most "my supports are impossible" posts, and it is why copying a number out of someone else's profile without copying their layer height so often makes things worse.
If one layer still fuses, go to two layers before touching anything else. You pay for it with a rougher down-facing surface and you get the part back in one piece, which is the right trade on a functional part.
The horizontal setting matters less but is not free. Support XY distance around 0.8mm — roughly two extrusion widths — keeps the support walls from rubbing against vertical faces. Tighten it below one extrusion width and supports start fusing to the sides of the part, which is far harder to clean than a fused roof.
Interface Layers: the Trade You Are Actually Making
The interface (the "roof" of the support, directly under the part) is a genuine trade rather than a setting to max out.
- Dense interface, high percentage: better down-facing surface, much harder removal. At 90 percent and above you have effectively printed a solid plate under your part.
- Sparse or no interface: the support touches in lines rather than across a plane, so it peels away — at the cost of a rougher, more scalloped underside.
- Interface pattern matters as much as density. Lines or zigzag peel as a sheet. Concentric and grid patterns lock into the part surface and come away in fragments.
A good starting point on PLA is interface enabled, density around 50 to 70 percent, pattern set to lines, and roof only — the floor interface underneath the support does nothing for your part and doubles what you have to cut.
Temperature, Material and Why PETG Is the Worst Offender
Hot plastic bonds to plastic. Everything that raises the temperature at the support boundary makes removal harder:
- Nozzle temperature. Ten degrees off the top of the workable range is the cheapest experiment in this article.
- No part cooling on the interface layer. If your profile disables the fan for the first few layers or for slow perimeters, the roof gets laid onto warm material and welds.
- A hot enclosed chamber. ABS and ASA need one, so expect supports to fight back and budget a larger gap from the start.
PETG is the notorious case, and it deserves its own line. PETG bonds to PETG so well that a correct-for-PLA setup can produce a part that is genuinely inseparable from its supports. Raise the top Z distance to 0.25–0.3mm, turn the interface off so only sparse lines touch, and drop the nozzle temperature. If that still is not enough, the honest answer is that PETG wants a different material as its support, which is the section below.
Change the Geometry Before You Change the Settings
The cheapest support to remove is one you never printed.
- Rotate the part. Forty-five degrees of overhang prints unsupported on most machines. A model that needs a forest of supports lying flat often needs none stood on end, and you are trading print time for an evening with cutters.
- Chamfer, do not fillet, horizontal holes. A horizontal hole with a chamfered or teardrop top self-supports; a round one needs a support pillar inside it, which is the single worst place to have to clean.
- Split the part and glue it. Two pieces that each print support-free, joined at a flat face, beat one piece with an internal support cage — particularly on anything with an enclosed cavity.
- Paint supports on by hand. Every current slicer lets you brush supports onto specific faces or block them with a modifier. Twenty seconds of painting removes the supports the automatic algorithm puts under features that did not need them.
- Support on build plate only. If nothing overhangs the part itself, this option alone stops the slicer from stacking supports on top of your model's own surfaces.
When the Interface Must Be Perfect: Soluble and Breakaway Support
There is a class of part where no gap setting is good enough — an internal channel you cannot reach, a fine lattice, a down-facing surface that has to be as good as a top surface. That is what a second material is for, and it is the only approach that leaves genuinely no removal marks.
Water-soluble (PVA and its relatives). The support dissolves in warm water over several hours with occasional agitation. PVA support filament is the common starting point — eSUN's PVA sits at the affordable end, and Polymaker's PolyDissolve S1 is rated by its maker for pairing with more than just PLA. The catch is moisture: PVA pulls water out of room air faster than anything else on the shelf, and a wet spool prints as a stringy mess that will not bond to the part it is meant to hold. A heated filament dryer is part of the system rather than an accessory.
Solvent-soluble (HIPS). For ABS and ASA, where PVA's temperature range is a poor match, HIPS prints at ABS temperatures and dissolves in d-limonene. Buy the solvent at the same time as the filament, in a ventilated space, or you have simply bought a support material that is harder than usual to remove by force.
Breakaway. A middle option: not soluble, but formulated to bond weakly to the model material so it snaps off in large pieces with no solvent and no soaking. Our support filament round-up goes through the categories and what each pairs with.
All three need a machine that can print two materials. That is an IDEX or dual-extruder printer, or a single-nozzle multi-material system that purges between changes — the difference matters, because purging a soluble support job can waste more filament than the part contains. Flashforge's machine range is one route to the IDEX side, where the idle nozzle parks instead of purging.
Resin Supports Are a Different Problem
On a resin machine nothing above applies. There is no interface gap to tune — there is a contact tip, an orientation and, above all, a moment.
Remove them between the wash and the final cure. This is the whole trick. Freshly washed resin is still slightly soft, and a support tip shears off cleanly at the contact point. Fully cured photopolymer is hard and brittle, so the same tip takes a crater of the surface with it or snaps a thin feature off entirely. If a part is already cured, a few minutes in warm water softens it enough to be survivable.
Then the settings. Contact tip diameter in the 0.3–0.5mm range holds a miniature without welding to it; tips much above that leave nubs you will be filing for an hour. Tilt the model so supports land on flat or hidden faces rather than on detail, and let the slicer's auto-generation be a starting point you then edit, not the final answer. Broader resin failure modes — including supports that detach mid-print and leave a cured sheet on the FEP — are in why resin prints fail.
Because the timing matters more than the tooling here, the wash and cure station is the piece of equipment that changes the result: Anycubic's machines and post-processing gear and ELEGOO's printer range both list the washers and curers alongside the printers they match.
Tools That Do Less Damage
The tool does not fix a bad gap, but the wrong tool turns a fixable job into a scarred part.
- True flush cutters, not side cutters. A flush face sits against the part and shears the tip. A conventional cutter has a bevel on both sides, so it wedges and levers — and levering is what removes surface.
- Cut, never pull. Pulling transfers force into the thinnest feature nearby, which is usually the one you care about.
- Work from the outside in. Free the perimeter pillars first so the remaining structure loses its stiffness, then take the interface off in sheets.
- A pick and a deburring blade from a removal tool kit reach into channels where cutters will not fit, and level a remaining nub flat instead of cratering it.
- Warm the part. Twenty seconds under hot tap water softens PLA enough that the interface releases rather than tears. Do not aim a heat gun at it — PLA deforms long before it lets go.
For scars that are already there, a needle file and sanding stick set follows a curved surface without flattening it, and filler primer buries what is left on a cosmetic part — the route our finishing and painting guide covers in full.
The Ten-Minute Sequence
- Name the failure against the table above. Fused, scarred, sagging or collapsed are four different problems.
- Check the gap against the layer height. Make the top Z distance a whole multiple of it. This fixes most cases on its own.
- Set interface to roof only, density 50 to 70 percent, pattern lines.
- Set XY distance to about two extrusion widths so the supports stop touching vertical faces.
- Drop the nozzle ten degrees and confirm part cooling is running on the interface layer.
- Switch to tree supports on organic geometry; keep grid under large flat overhangs.
- Reorient or paint supports out before accepting them at all.
- On PETG, go to 0.25–0.3mm and interface off. On resin, fix the timing before the settings.
- Only then consider a soluble material and the second extruder it requires.
When to Stop Fighting It
There is a point where this stops being worth your evening. A one-off bracket is worth twenty minutes with cutters. Twenty customer-facing housings, each with an hour of picking and filing, is a different calculation — and a part whose internal channel cannot be reached at all is not a tuning problem, it is a process mismatch.
This is the case where the process itself is the answer rather than the settings. Powder-bed processes such as SLS and MJF use unfused powder to hold the geometry up, so they carry no supports and no support marks whatsoever; industrial resin machines run soluble or engineered supports as standard. A geometry that is a nightmare on a desktop machine often quotes with no support discussion at all. Browse providers by location and process, send the same STL or STEP to two or three, and compare that number against your own time before you commit another weekend to pliers.
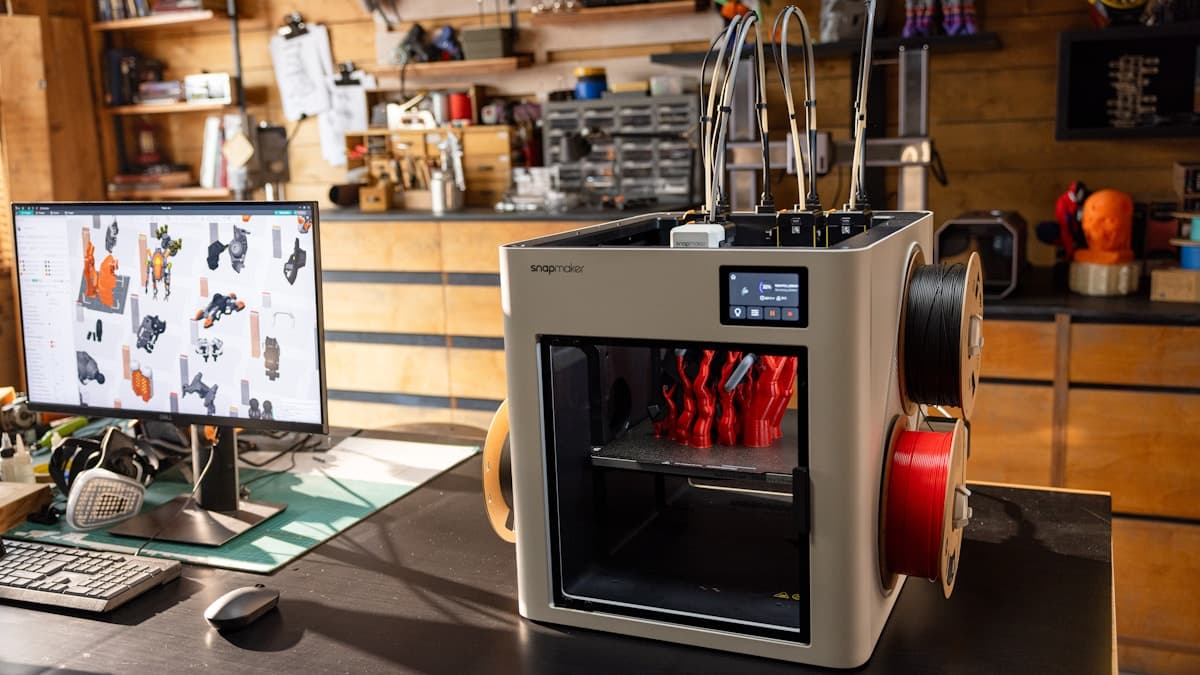
Hero photograph by Snapmaker 3D Printer on Unsplash.