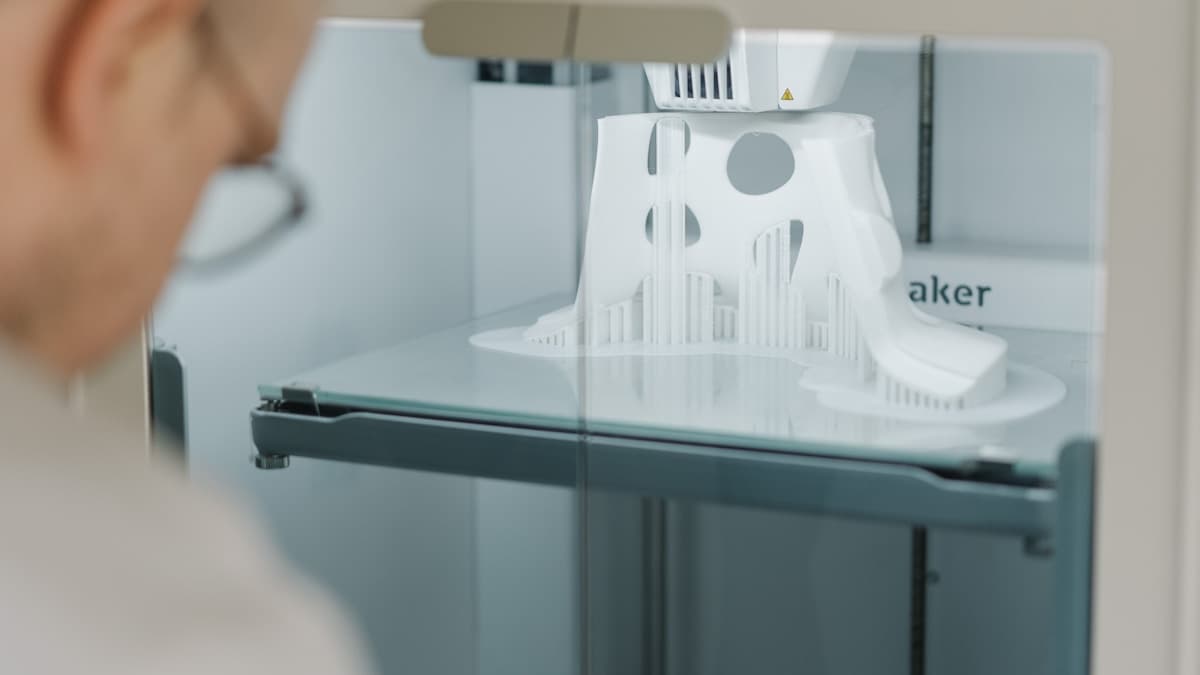
A slope comes out furred and drooping on its underside, the nozzle starts ticking against a curled edge, and by layer forty the machine is dragging a lump of plastic across the part. 3D print overhangs sag for one reason: a bead of molten plastic was laid down with nothing solid under part of its width, and it moved before it set. Everything that fixes it is a way of changing one of those two facts — give the bead more to sit on, or make it set faster. This guide works through both, cheapest first, and ends with the case where the right answer is to have the part printed by a service instead.
This post contains affiliate links. If you purchase through these links, 3D Prototyping Hub may earn a small commission at no extra cost to you.
This post also contains Amazon affiliate links. As an Amazon Associate we earn from qualifying purchases.
What an Overhang Actually Asks the Printer to Do
On a vertical wall, each extrusion lands squarely on the one below. On a sloped wall, each one is offset outward, and that offset is the whole problem: the outer part of the bead hangs over air until it cools.
The offset is arithmetic, not magic. At a 0.2mm layer height, a wall leaning 45 degrees from vertical steps sideways by 0.2mm per layer. Against a typical 0.42mm extrusion width, that leaves a little over half the bead supported — which is roughly the point where a hot bead stops holding its shape. That is where the famous 45-degree rule comes from, and it also tells you the rule is not fixed. Drop to a 0.1mm layer and the same 45-degree wall steps out only 0.1mm, leaving three-quarters of each bead supported. Widen the nozzle to 0.6mm and you buy the same margin a different way.
So "my printer can do 50 degrees" is a statement about a profile, not about a machine.
Read the Sag Before You Change a Setting
Look at the failure before you touch the slicer. The five common appearances point at different causes.
| What you see |
What it means |
First move |
| Fuzzy, drooping strands under a slope |
The bead is still soft when the next one lands |
Full fan on overhang perimeters, slow those perimeters down |
| Edges curling up into the nozzle path |
Cooling is uneven and the tip is contracting as it sets |
Lower nozzle temperature 5-10°C, raise fan, reduce layer height |
| First bridge line falls, later ones hold |
Bridge anchor or flow, not overhang cooling |
Bridge flow around 0.9, full fan on bridges |
| Underside rough but dimensions correct |
Cosmetic support contact, not a print failure |
Add top interface layers, increase Z distance slightly |
| A small pointed feature turns glossy and blobby |
Layer time too short — the tip never cools |
Enable minimum layer time, or print two copies at once |
The last row catches people out constantly. A cone tip or a thin spire has so little material per layer that the head returns before the previous layer has set, and no amount of fan fixes a two-second layer. Printing a second copy on the plate doubles the travel time and often fixes the tip outright.
Fix It in This Order
- Turn the fan up and the nozzle down. On PLA, 100 per cent fan and 195-205°C beats almost every other change. On PETG, 40-60 per cent is the usable ceiling before layer bonding suffers.
- Slow the overhang perimeters. Most modern slicers have a dedicated overhang perimeter speed, and dropping it to 20-30mm/s gives cooling air time to act. Some also vary fan and speed by how unsupported each segment is; if yours does, enable it.
- Halve the layer height on the affected range. 0.1mm layers cost time and buy real angle, and you can apply them to a height range rather than the whole part.
- Rotate the model. Free, and usually the largest single improvement. See below.
- Add supports, set properly. Not as a first resort — supports are a cost you accept when geometry and cooling have run out.
- Change material or machine. Only when the first five have failed on a part you actually need.
Cooling Is Most of the Fix, and It Fights Your Material
Part cooling is the lever with the most authority over overhangs, and on older or budget machines it is frequently the hardware that is short rather than the setting. A small axial fan blowing across the general area of the hotend is not the same as a 5015 radial blower feeding a proper duct that puts moving air on the bead within a few millimetres of the nozzle tip. If your PLA overhangs droop at full fan on a machine more than a few years old, look at the duct before you look at the profile.
Then the complication: cooling improves overhangs and harms layer bonding, and materials sit at different points on that trade. PLA takes all the cooling you can give it. PETG is denser, softer at temperature and slower to set, so the same model prints a visibly worse slope in PETG than in PLA on the same machine. ABS, ASA and polycarbonate cannot be cooled hard at all without cracking along layer lines — which is the subject of our guide to why prints snap along layer lines.
For those three you buy the fan back by making the air around the print warm and still. Inside an enclosure that holds chamber heat, a burst of fan on an overhang perimeter no longer chills the whole part. The same chamber stops those materials warping off the plate, so it earns its cost twice.
Bridges Are a Different Failure
A bridge is anchored at both ends. The slicer detects that, prints a straight line across the gap at reduced flow, and it holds by tension rather than by sitting on anything. A sloped overhang has one anchor and no tension. They fail differently and they are tuned separately.
If your bridges sag, check first that both ends really are anchored — a bridge over an opening whose far wall has not printed yet is not a bridge, it is a very steep overhang. Then set bridge flow around 0.9, bridge speed low, and fan to maximum for that move whatever the material. If only the first line falls, the anchor is the problem, not the flow.
Rotate the Part Before You Add Supports
Orientation is free and it beats every setting on this page. Three habits cover most cases:
- Put the difficult face down. A face on the build plate has no overhang at all. If one side of the part must look perfect and the other must merely fit, that decision makes itself.
- Tilt rather than support. Rotating a model 20 degrees often brings its worst surface from 70 degrees down to 50, which prints. It moves the support burden to somewhere less visible rather than removing it, and that is usually a better trade.
- Split the part. Two halves printed flat and bonded is a legitimate engineering choice, and for a part with an internal cavity it is often the only sensible one. Design a dowel or lap joint into the split so the glue line is not carrying the load.
When Supports Are the Answer, Set Them Properly
Supports are not a switch, they are three settings that decide whether removal is a two-minute job or a ruined afternoon.
Type. Tree or organic supports use much less material, print faster and touch the model in fewer places, so they suit figures, curved shells and isolated overhangs. Normal grid supports still win under wide flat undersides and anything tall and slender, because they hold the whole area rather than reaching for it.
Interface. The two or three layers where support meets model are what you actually see afterwards. Set a dense top interface with a small Z gap — about one layer height on PLA, slightly more on PETG, which sticks to itself harder. Too small and the support fuses to the part; too large and the first model layer prints onto nothing.
Threshold. Raise the support threshold angle to 45-50 degrees so the slicer stops supporting overhangs your printer handles unaided. A default of 55 or 60 generates a forest under geometry that never needed it.
Removal is where most damage happens, and it is worth having flush cutters and a deburring blade rather than levering with a screwdriver and hoping. Work from the outside in, cut rather than pull, and warm the part slightly if the material is stiff.
Soluble Supports, and What They Actually Cost
Where the underside has to be clean rather than merely present, water-soluble PVA removes the mechanical step entirely: the part goes in water and the support leaves. HIPS does the same job for ABS with d-limonene. Both need a second nozzle, so the practical question is whether you own a dual-extruder or IDEX machine — Flashforge's dual-extrusion and enclosed range is the usual starting point if you are buying for this, and our guide to support filament and how the three types differ covers the material side.
The cost people underestimate is moisture. PVA absorbs water faster than nylon and prints appallingly when wet, so it lives in a dry box or it does not work. Budget for that alongside the spool.
When To Stop Tuning and Send the File Out
Some geometry is handled badly by desktop FDM at any setting: internal channels supports cannot reach, enclosed cavities, thin unsupported shells, fine detail on a downward-facing surface. You can spend a week and several spools discovering that, and still end up with a scarred part.
SLS nylon removes the problem rather than managing it — unfused powder holds every overhang, so there are no supports and no scars, at any angle. Industrial resin resolves downward-facing detail that FDM cannot reach. If the part is due to someone, carries a load, or has to look finished, one quote is usually cheaper than the next three test prints. The directory of 3D printing providers lists shops by location and process, and how to choose a 3D printing service covers what to ask before you send a file.
If the machine itself is the ceiling — a duct that cannot put air where it is needed, or an open frame that will never hold ABS steady — that is a hardware answer rather than a settings answer, and the Anycubic FDM range and ELEGOO's printers and spares both list cooling and enclosure specifications per model, which is the thing to compare.
Hero photograph by Tom Claes.
Ready to find a 3D printing service provider?
Browse 2,000+ verified providers across the United States and submit your quote request free.
Browse Providers