You lift the cover expecting a model and find three kinds of disappointment: a bare build plate, a soft rubbery pancake welded to the film at the bottom of the vat, and somewhere in the resin a solid lump you cannot see. Resin print failure looks catastrophic, but it is nearly always one of six causes, and each of them leaves a different signature in the wreckage. Reading that signature first is the whole skill, because the fix for a suction failure and the fix for an under-cured base layer are opposites — and guessing between them costs you a session and a slug of resin every time.
This post contains affiliate links. If you purchase through these links, 3D Prototyping Hub may earn a small commission at no extra cost to you.
This post also contains Amazon affiliate links. As an Amazon Associate we earn from qualifying purchases.
Read Where the Print Ended Up
Do this before you change a single setting. Where the material is tells you which of the three stages failed: adhesion at the plate, cohesion during the lift, or the cure afterwards.
| What you find |
What actually happened |
Where to look |
| Empty plate, cured skin on the FEP |
First layers never bonded to the plate |
Homing and bottom exposure |
| Base on the plate, print sheared off above it |
Layer separation under lift force |
Suction and orientation |
| Print there, supports snapped or islands missing |
Support strategy or exposure |
Supports and exposure |
| Print complete, holes closed and detail mushy |
Over-exposure |
Exposure |
| Print complete, snaps or stays tacky |
Wash and cure |
Post-processing |
| Worked in August, fails in November |
Resin too cold to flow back |
Temperature |
One rule applies before every retry, whatever the cause: filter the vat. A failed print leaves cured fragments in the resin, and a fragment sitting over the screen blocks light and fails the next print in the same place. A pack of resin filter funnels costs less than one wasted print, and the pour-through takes two minutes.
1. Nothing Stuck to the Plate
The first layers cured to the film instead of the plate. Adhesion at the top lost to adhesion at the bottom, and that contest has only three inputs.
Homing. The plate must be genuinely square to the screen with effectively zero gap. Loosen the plate, drop it onto a sheet of paper laid over the LCD, let it self-level under pressure, tighten in a cross pattern, and set Z zero there. A machine knocked in transit or leaned on while cleaning has usually lost this.
Bottom exposure. Bottom layers need several times the exposure of normal ones so they over-cure deliberately and grip. On mono LCD machines the usual working range is 25-40 seconds across 3-6 bottom layers, against 2-3 seconds for normal layers. If the base is peeling but the model is otherwise fine, this number is the one to move.
Surface. A mirror-polished plate has nothing for the resin to key into. Light scuffing with 400-grit in a cross-hatch pattern gives it tooth. Do not use a release agent of any kind on a resin plate; you want maximum grip there.
2. It Sheared Off Halfway Up
This is the expensive one, and the cause is almost always suction. Every layer must peel from the FEP, and the force required scales with the cross-sectional area being lifted. Print a solid model flat and the peak layer can present its entire footprint at once — more force than the supports above it can carry. The part tears away at exactly the layer where the area peaks, which is why the failure height is so repeatable.
Four fixes, in order of how much they help:
- Hollow it. 2-3mm walls, and the interior stops contributing area. This is also what saves the most resin on any part bigger than a thumb.
- Add drain holes. 3-4mm, at least two, positioned at what will be the highest point in the printed orientation. A hollowed model without them becomes a suction cup that is worse than a solid one — and it traps uncured resin that leaks out later and ruins the finish.
- Tilt it 20-30 degrees. No flat plane parallel to the plate means no layer ever presents its full footprint. This single change fixes more mid-print failures than any setting.
- Slow the lift and add rest time. Lower lift speed and a settle delay before each layer let the resin flow back under the model. It costs print time and nothing else.
Then check the film itself. FEP should be drum-tight and optically clear. A slack film stretches on every peel and a clouded, scratched or crazed one scatters light and raises release force across the whole plate. It is a wear part, not a permanent fitting — keep replacement FEP film on the shelf, because the day you need it is the day you discover you have none. If your machine takes a proprietary vat assembly, ELEGOO's own spares and resin printer range and Anycubic's resin printers and wash-and-cure units avoid the cutting-and-tensioning job entirely.
3. Supports Snapped, or Half the Model Is Missing
Missing chunks with nothing to explain them usually means an island — a region of a layer with nothing beneath it, printed in mid-air, which drops into the vat and becomes the lump that fails your next attempt. Automatic support generators miss islands routinely, particularly on organic models. Rotate through the layer preview and look for orphaned outlines before you slice.
The rest is contact strategy. Support tips that are too fine snap under lift force; too coarse and they tear the surface off when removed. Medium supports with roughly 0.4-0.6mm tips are the usual starting point for a 30-50mm miniature. Raise the model 5-8mm above the raft so the supports have length to flex, angle the model so supports land on flat or hidden surfaces rather than on the face, and thicken supports specifically under the heaviest cross-section rather than everywhere. Our guide to the best 3D printers for miniatures covers which machines make this easier by having a stiffer Z axis to begin with.
4. The Detail Is Wrong in a Consistent Direction
Exposure errors are readable because they are systematic. Under-exposure: soft or translucent parts, thin features missing entirely, supports that snap at the tip, dimensions measuring under. Over-exposure: small holes closed up, crisp edges gone rounded, dimensions measuring over, supports fused so hard they take surface with them.
Print an exposure-test model and move in 0.2-0.5 second steps on a mono LCD. Note that the correct value belongs to a combination — this resin, this screen, this temperature — not to the printer, so it changes when you switch bottles. Manufacturer figures are a starting point. If you are between resins anyway, the resin buyer's guide compares standard, tough and water-washable chemistries; a tough ABS-like resin is more forgiving of handling than a brittle standard resin if parts keep breaking during support removal, and water-washable resin removes the alcohol from the workflow at some cost in ultimate strength.
5. It Printed Fine and Broke in Your Hand
Post-processing, not printing. Wash in two stages — dirty alcohol first to take the bulk off, clean alcohol second — and keep the total under about ten minutes. A long soak swells the polymer and softens fine detail rather than cleaning it better. 99% isopropyl alcohol is worth buying by the gallon; lower concentrations carry water that leaves a bloom on the surface.
Then dry the part completely before curing. Alcohol left on the surface cures into a permanent tacky film that no amount of extra UV removes. Cure with 405nm light while rotating the part, for minutes rather than tens of minutes: under-curing leaves it soft and tacky, over-curing makes it brittle and yellow, and thin parts reach both states much faster than thick ones. A timed wash and cure station is the difference between a repeatable process and a guess — we compared them in the wash and cure station guide.
Wear nitrile gloves for all of this. Uncured resin is a skin sensitiser: the reaction builds with exposure, so the person who has handled it bare-handed for a year is at more risk than the beginner, not less. Ventilate the space, and never pour uncured resin or used alcohol down a drain — cure the waste solid under UV first, then bin it.
6. It Only Fails When the Room Is Cold
Resin viscosity rises steeply as temperature drops. Most standard formulations are specified for roughly 20-30°C, and below about 18°C the resin stops flowing back under the model in the time the lift allows. What you see is starved layers, partial cures and separation failures that appeared for no reason in November.
Warm the room, not just the bottle — the resin in the vat is what matters, and it sits in a thin layer with a large surface area. An enclosure that traps the machine's own heat helps, a small heater near (never on) the printer helps, and a machine with a heated chamber removes the variable. If you cannot raise the temperature, raise exposure slightly and accept the detail cost. This is the same class of problem as warping on an FDM machine: an ambient condition masquerading as a settings fault.
When the Answer Is Not a Setting
Some parts are not desktop MSLA problems. If the part is bigger than your vat, needs a certified or engineering-grade material, or has to hold tolerance across a batch, suction force and post-processing time scale against you at exactly the point where the machine stops being cheap. An industrial SLA or DLP bureau treats those as process rather than as failed prints. The provider directory lists shops by location and process, and the resin printer guide covers the other direction — buying a machine that has more of these problems solved in hardware.
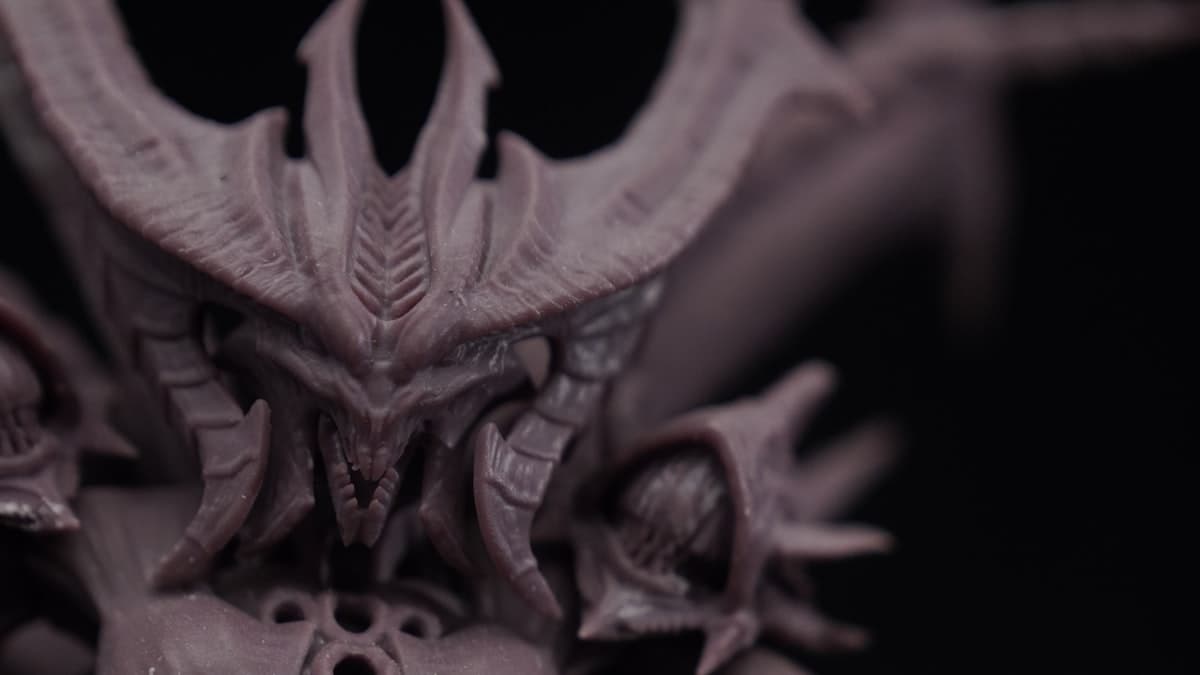
Hero photograph by Azeez Maree via Unsplash.
Ready to find a 3D printing service provider?
Browse 2,000+ verified providers across the United States and submit your quote request free.
Browse Providers