The short version: a wash and cure station is the second machine every serious resin printer needs. Resin prints don't come off the plate finished — they're coated in sticky uncured resin and aren't fully hardened, so they need a wash and a UV cure. Doing that by hand is messy and inconsistent; a station makes it repeatable. If you already run an Anycubic printer, their matching Wash & Cure is the easy pick; ELEGOO's Mercury line is the popular choice for Saturn and Mars owners; and Creality's UW-03 is a strong all-rounder. If you only need one high-detail part, skip the whole setup and order it from a provider.
Post-processing is the step new resin printers underestimate. The print itself is only half the workflow — how you wash and cure a part determines its final strength, surface finish, and dimensional accuracy. This guide covers what a wash and cure station actually does, what to look for, the best options in 2026, and where the line is between buying the gear and sending the job out.
This post contains affiliate links. If you purchase through these links, 3D Prototyping Hub may earn a small commission at no extra cost to you.
This post also contains Amazon affiliate links. As an Amazon Associate we earn from qualifying purchases.
Why Post-Processing Decides Your Print Quality
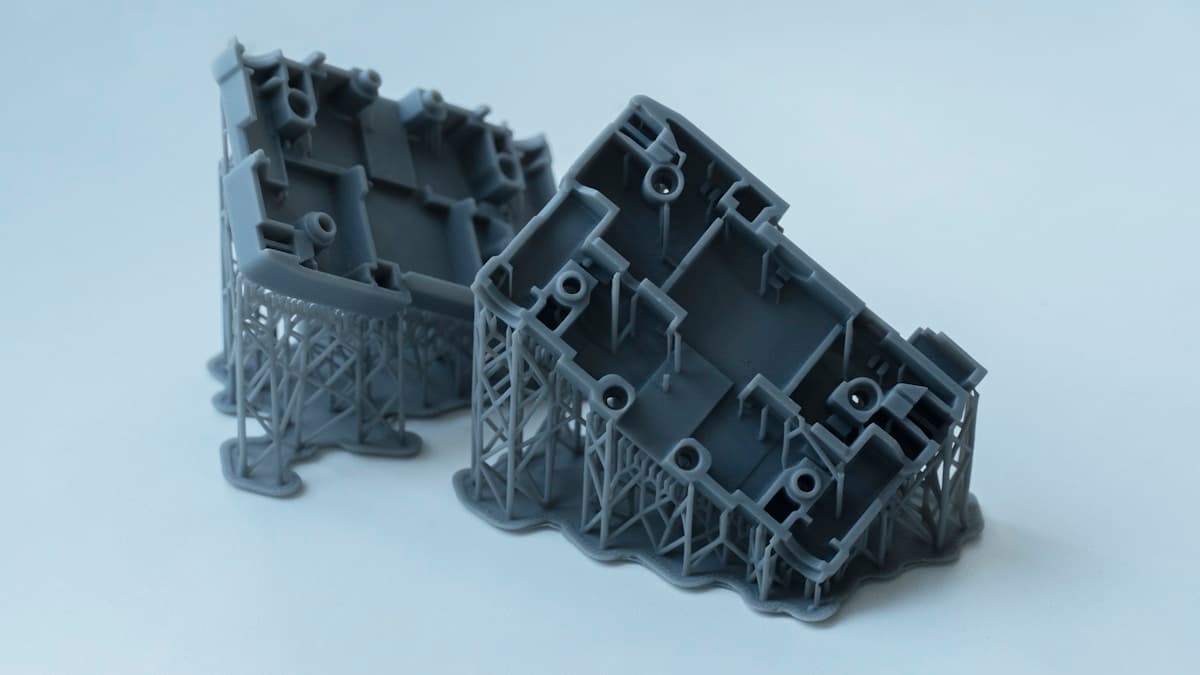
A resin print straight off the build plate is not a finished part. It's coated in a layer of liquid, uncured resin, and the print itself is only "green cured" — hardened enough to hold shape but not to reach full strength. Two steps finish the job:
- Wash — dissolve and rinse off the surface resin, usually in isopropyl alcohol (IPA) for standard resins or plain water for water-washable resins.
- Cure — expose the washed part to UV light (around 405nm) to fully harden it.
Skip or rush either step and it shows: a poorly washed part stays tacky and gummy, fine details get lost under a film of resin, and an under-cured part is weak and can keep deforming. Over-cure it and the part turns brittle. A wash and cure station exists to make both steps controlled and repeatable instead of a messy guess.
What to Look For in a Wash & Cure Station
Don't buy on price alone. Match the station to the printer you already own and the parts you actually make.
- Capacity first. Your build plate and prints have to fit inside the wash basket and under the cure light. A large-format printer needs a large-format station — check dimensions before anything else. This is the mistake that sends stations back.
- UV coverage. Look for 405nm UV and even, wraparound coverage — a rotating turntable or a ring of LEDs so the whole part cures evenly. Single-side lamps leave soft spots.
- Wash method. Magnetic stir or an impeller agitates the alcohol for a faster, more thorough clean than a still soak. A basket keeps parts off the bottom and makes cleanup easier.
- Sealed lid and fume control. IPA fumes and UV exposure both matter. A sealed unit contains solvent smell and blocks UV so you're not curing your eyes along with the print.
- Footprint and noise. These live on a bench next to the printer. Check that it fits your space and won't rattle.
A note on solvent: keep dedicated IPA and gloves with the station, and change the alcohol when it clouds. Cheap, dirty wash fluid leaves residue that no cure step will fix.