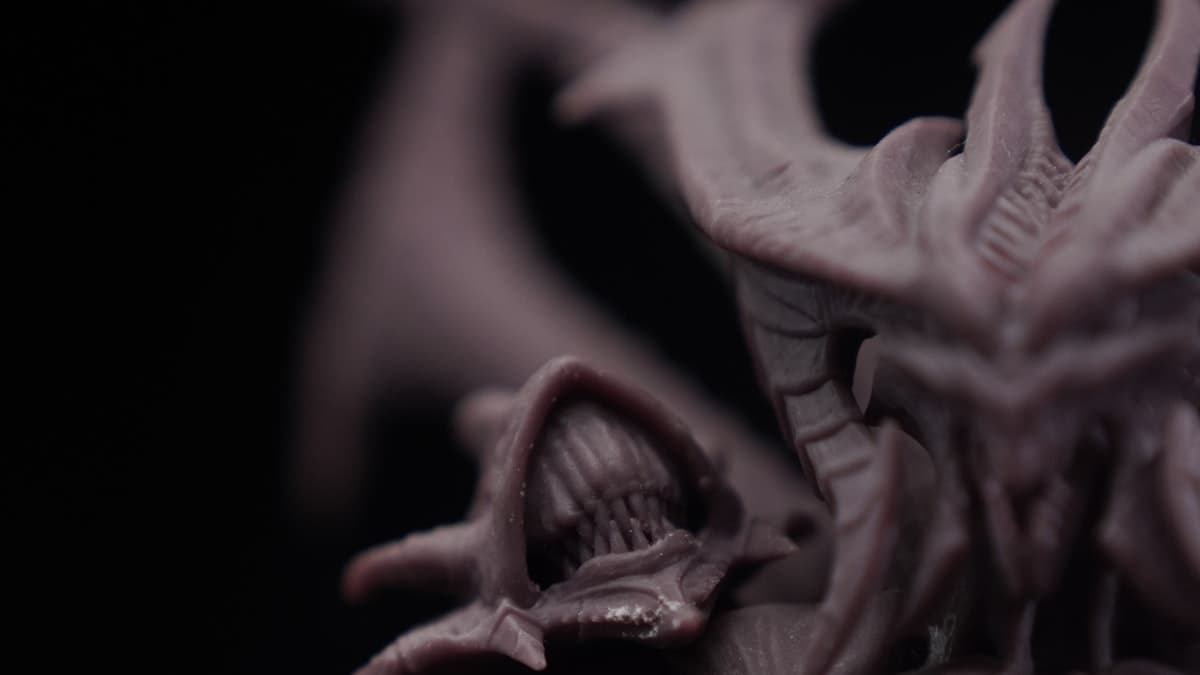
A resin print can be two things at once, and usually is. The armour plates and the engraved lettering come out crisp enough to need a loupe, and the smooth dome above them arrives as a mosaic of flat panels, like a sphere modelled by someone in a hurry. Nothing about the file changed between the two. When resin prints look pixelated, the faceting is almost always the photomask's pixel grid showing through on surfaces that happen to run shallow to it — and that is a different axis, a different cause and a different fix from the layer lines everyone reaches for first.
This post contains affiliate links. If you purchase through these links, 3D Prototyping Hub may earn a small commission at no extra cost to you.
This post also contains Amazon affiliate links. As an Amazon Associate I earn from qualifying purchases.
Read the symptom before you change a setting
Four different defects get called pixelation, and they have nothing in common except that the surface is not smooth.
| What you see |
What it is |
Where to fix it |
| Flat facets in plan view, wide on some parts of a curve and fine on others |
The LCD pixel grid in X and Y |
Orientation, anti-aliasing, pixel pitch |
| Even horizontal lines across every surface, worst on shallow slopes |
Layer height and exposure, in Z |
Horizontal lines and banding |
| Edges rounded, fine detail filled in, outside dimensions over |
Light bleeding past the pixel — over-exposure |
Resin prints coming out the wrong size |
| Large irregular triangular facets, identical on any machine |
A coarsely exported mesh |
Re-export from CAD |
Check the last one first, because it costs nothing and it is the only one that is not the printer. Open the model in the slicer and zoom in on the offending surface. If the facets are already there in the preview, they are in your STL: the export deviation was too loose, and every machine you own will reproduce them faithfully. Re-export at a chord deviation around 0.01mm. Mesh facets are large, irregular and triangular; pixel facets are fine, regular, and line up with two perpendicular directions that do not rotate when the model does.
The pixel is the unit of your XY resolution
An MSLA printer builds a layer by shining 405nm light up through an LCD that is acting as a photomask. The mask is a grid of square pixels, and a pixel is either on or off — or, with anti-aliasing, somewhere in between. Everything in your layer's cross-section has to be approximated by whole pixels of that grid.
That gives the machine two completely separate resolutions:
- Z resolution is your layer height, typically 0.01–0.05mm, and you set it in the slicer.
- XY resolution is the panel's pixel pitch, typically 0.017–0.05mm, and you cannot set it at all. It is a property of the screen.
Nearly every "my prints are pixelated" thread confuses the two, which is why the standard advice — drop the layer height — doubles the print time and changes nothing about the problem. The marketing does not help either. A "12K" figure counts pixels across the whole panel, not their size on your part. Divide the screen's width in millimetres by its pixel count and you get the number that matters: a 10-inch panel at 4K lands near 0.057mm, the same panel size at 8K near 0.029mm, at 12K near 0.019mm. A large-format machine spreads an impressive pixel count over a much wider plate and lands nowhere near the small machine on the shelf below it.
One piece of arithmetic tells you how wide each facet will be
Pixel faceting is not uniform across a curve, and the reason is the same geometry that drives stair-stepping on an FDM dome — only rotated into plan view.
Take the angle between the surface and the nearest pixel grid axis. The width of each flat facet is roughly:
facet width = pixel pitch ÷ tan(angle)
On a 0.035mm panel, a surface crossing the grid at 45° gives facets 0.035mm wide, which no eye resolves. The same panel, on the part of the same curve that runs 5° off the grid axis, gives facets of 0.035 ÷ tan 5° ≈ 0.40mm. That is a tenth of the width of a miniature's shoulder, and it is plainly visible.
This is why a sphere shows the defect in four zones — at twelve, three, six and nine o'clock, where the surface runs tangent to a row or a column — and looks clean on the diagonals between them. If your faceting has that four-fold symmetry, stop looking for a setting. The grid is telling you where it is.
Rotating the part is the free fix, and it is a big one
Because the defect depends on the angle to the grid rather than on the part, moving the part moves the defect.
- Rotate around Z by roughly 30–45° so that flat walls and long shallow curves cross the grid diagonally instead of running along it. The worst zones do not disappear, but they land on different, usually less important, parts of the geometry.
- Tilt the part 20–30° off vertical as well. This is already standard practice for suction and support reasons, and it buys the same thing here: fewer surfaces parallel to anything.
- Aim the rotation at the face you care about. On a bust, that is the cheek and brow. You are choosing where the wide facets go, not whether they exist.
Judge the result on opaque grey model resin rather than on clear or pastel. Translucent resins scatter light under the surface and flatter a bad surface into a glow, which is pleasant and useless for diagnosis.
Anti-aliasing softens the step and moves the edge
Anti-aliasing, and the grey-level and blur settings that accompany it, work by exposing the pixels on a boundary at partial intensity. A half-cured fringe sits where a hard step would be, and the eye reads the transition as a slope rather than a stair.
It genuinely helps, and it has two costs worth knowing before you leave it on permanently:
- It moves your edges. A partially cured fringe is still cured, so outside dimensions grow a little and holes shrink a little. On a display piece this is irrelevant. On a part that mates with something, measure a known feature with digital calipers before and after you turn it on.
- It invalidates your exposure calibration. Anti-aliasing and exposure both act on the boundary pixels, so they have to be tuned together. Run the exposure ladder with anti-aliasing set the way you intend to print, not at defaults you plan to change afterwards.
The settings are per-resin, which is the real argument for standardising on one bottle rather than a shelf of part-used ones. Calibrating once for Chitu Systems' Conjure standard resin in a 10kg format is one evening; recalibrating per 500g bottle is an evening a month.
What does not fix it
More exposure. Over-exposing does visibly soften faceting, because light bleeds sideways past the pixel boundary and fills the steps in. It also closes your holes, rounds every crisp edge and grows the part — the exact trade covered in why resin prints come out the wrong size. You have not removed the facets; you have blurred the whole model to hide them.
A smaller layer height. It is the Z axis. It addresses banding on shallow slopes, which is a real and separate defect, and does nothing to a facet you are looking down on.
Slicer "resolution" or upscaling options. Nothing can subdivide a physical pixel. What those settings alter is how the geometry is assigned to the pixels that exist — which is useful, and is what anti-aliasing already does.
It is worth being clear that this is still a far smaller problem than the FDM equivalent. An extruder resolves curves in 0.1–0.3mm steps, which is why prints come out stepped on curves is a question about whether the part is usable at all. A 0.03mm facet is a finishing question.
Finishing a print that already exists
Facets from a 0.03mm pixel are a few hundredths of a millimetre deep. That sands out in minutes, wet, with 400 to 2000 grit wet/dry paper — start at 600 on a fully cured part, keep the paper backed by something flat for flat faces and wrapped around a dowel for concave ones, and work wet so the dust stays out of the air. A coat of filler primer afterwards does two jobs: it fills what remains, and it is the only honest way to inspect a grey surface, because primer removes the translucency that was hiding the defect from you in the first place.
Do the sanding after the post-cure, not before. A green part loads the abrasive and deforms under pressure.
When the panel is the limit
There is a point where orientation and anti-aliasing have nothing left to give: when the smallest feature you need is within two or three pixels of the pitch. A 0.1mm engraved line on a 0.05mm panel is two pixels wide, and two pixels cannot describe a line with a shape. At that point the honest answers are hardware or a supplier, not another test print.
If it is hardware, buy on the published XY pixel size in microns and on screen diagonal versus pixel count — not on the K figure. Both ELEGOO's resin machines and Anycubic's US store list those specifications per model, which is what makes the comparison possible at all; our resin printer buyer's guide covers how the tiers line up, and the miniature-focused guide covers the pitch that scale actually needs.
If it is a supplier, it is usually because the feature is below what any desktop panel reaches. Jewellery is the standard case — hallmark text, filigree and knife-edge settings are specified in tenths of a millimetre, and a pattern that will be invested and cast has to carry that detail before the mould does anything to it. Shops running professional MSLA and wax-jetting equipment work at pitches a consumer panel does not offer; our guide to 3D printing for jewellery and casting patterns covers how to specify one, and you can browse providers by process and location to get two or three quotes against the part you are actually holding.
Either way, the question to answer first is the cheap one: rotate the model 45°, reprint it, and see how much of the problem was simply where the part happened to be sitting on the grid.
Hero photograph by Azeez Maree, via Unsplash.