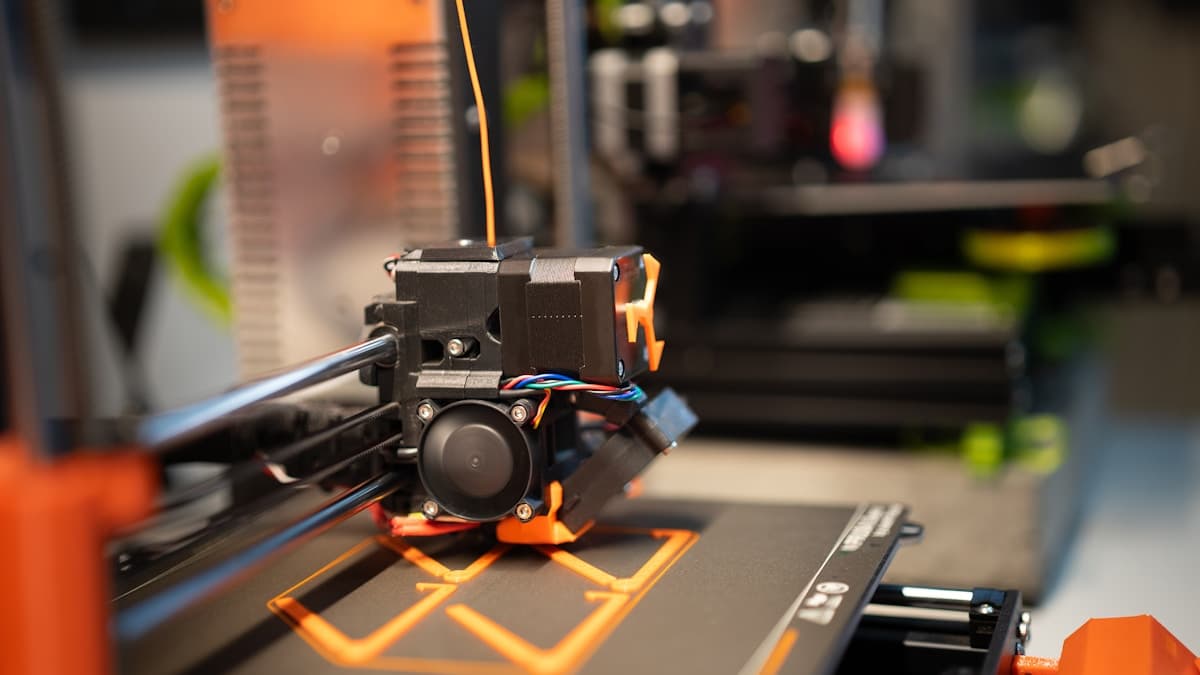
A part lifts at one corner, then two, and by the time you notice, the nozzle is dragging across a curled edge. 3D print warping is not a mystery and it is not a defect in your machine — it is the plastic above the first layer shrinking as it cools and eventually winning against whatever is holding the bottom down. Once you see it as that contest, the fixes stop being a list of forum tips and become an order of operations: make the grip stronger, or make the shrink smaller. This guide works through both, cheapest first, and ends with the case where the right answer is to have the part printed by a service instead.
This post contains affiliate links. If you purchase through these links, 3D Prototyping Hub may earn a small commission at no extra cost to you.
This post also contains Amazon affiliate links. As an Amazon Associate we earn from qualifying purchases.
What Warping Actually Is
Thermoplastic leaves the nozzle at 200-260°C and ends up at room temperature. On the way down it contracts. Published mould-shrinkage figures give you the rough scale: around 0.3-0.5% for PLA, 0.4-0.6% for PETG, roughly 0.8% for ABS and ASA, and higher again for unfilled nylon. Those are small numbers until you multiply them by a 200mm footprint, at which point the bottom of the part wants to be a millimetre and a half shorter than it was printed.
It cannot do that, because the first layer is glued to the plate. So the stress accumulates, and it concentrates at corners — the only places where material is contracting along two axes at once. That is why warping always starts at a corner and never in the middle of an edge, and why a circular footprint warps less than a square one of the same area.
Three things decide the outcome:
- Adhesion — how hard the first layer is held. A function of the surface, its cleanliness, bed temperature and nozzle height.
- Contraction — how much the material shrinks. A function of the polymer and of how fast it cools.
- Geometry — how much leverage the shrinkage has. Big, flat, sharp-cornered footprints are the worst case; tall and narrow is the easiest.
Every fix below moves one of those three. Nothing else does anything.
Fix It in This Order
The order matters because the free fixes solve most cases, and buying an enclosure to compensate for a greasy build plate is an expensive way to not fix your problem.
1. Wash the plate. Actually wash it. Dish soap, warm water, and a rinse — not an isopropyl wipe, which spreads skin oil into a thin even film rather than removing it. This single step resolves more first-layer failures than everything else on this list combined, and it costs nothing. Do it whenever you have handled the surface.
2. Check your first layer under the nozzle. A correctly squashed first line is slightly wider than it is tall, with no gaps between adjacent beads. If you can see the plate texture through the first layer, the nozzle is too high and no adhesive will save it. Adjust the Z offset live during the skirt.
3. Raise the bed temperature 5-10°C and leave it raised for the whole print rather than dropping it after layer one. Warm plate, slower cooling, less locked-in stress.
4. Add a brim, not a raft. 5-8mm of brim widens the first layer at the corners where the lifting force is concentrated. It is cheap in time and material and leaves the part's underside intact. Rafts are for genuinely uneven plates.
5. Kill the draught. An open window, an air conditioning vent or a doorway behind the printer will warp parts that are otherwise fine. A cardboard box over the machine is a legitimate diagnostic — if the warping stops, you have learned you need an enclosure.
6. Turn the part cooling fan down for ABS and ASA — often to zero after the first few layers. Part cooling exists to freeze bridges and overhangs quickly, which is exactly the wrong thing to do to a material that needs to cool slowly.
7. Round the corners in CAD. A 3-5mm fillet on the bottom corners of a large flat part removes the stress concentration entirely, and often costs nothing functionally. Our design for 3D printing guidelines covers the geometry side in more depth.
If you are through all seven and a large ABS part still splits, you have a hardware problem rather than a settings problem, and the next two sections are what to buy.
Material vs. What It Needs
| Material |
Approx. shrinkage |
Bed temp |
Enclosure |
Realistic difficulty |
| PLA |
0.3-0.5% |
50-60°C |
No |
Easy — warping means a dirty plate |
| PETG |
0.4-0.6% |
70-85°C |
No |
Easy, but use glue stick as a release agent |
| ABS |
~0.8% |
90-110°C |
Yes |
Hard above palm size without one |
| ASA |
~0.8% |
90-110°C |
Yes |
As ABS, plus UV stability outdoors |
| Polycarbonate |
0.6-0.7% |
100-120°C |
Yes, warm |
Hard — needs a genuinely hot chamber |
| Nylon (PA) |
High, variable |
70-90°C |
Yes |
Hard — dry it first or nothing else matters |
Two notes on that table. Nylon's headline problem is moisture rather than shrinkage — it absorbs water from the air within hours and a wet spool produces steam-riddled layers that cannot bond to anything, so a heated filament dryer box is a prerequisite, not an upgrade. And if you are choosing between ABS and ASA for an outdoor part, ASA is the same difficulty for meaningfully better UV resistance — the ASA filament guide covers that trade in full, and how to choose 3D printing filament is the broader version of this table.
What to Buy, in Order of Cost
A textured PEI sheet, if you are still on bare glass
The surface is where the cheapest real gain is. A textured PEI spring steel sheet grips a first layer harder than smooth glass because the powder-coated surface gives the plastic mechanical keying as well as adhesion, and it releases the part when you flex the cooled sheet. Smooth PEI is the alternative if you want a glassy bottom finish — a smooth PEI sheet holds nearly as well and looks better, at the cost of being fussier about cleanliness. Borosilicate glass plates remain the flattest option and are worth it if your bed is visibly warped, but plan to use an adhesive with them. We compared the surfaces in detail in the build plate guide.
Glue stick — as adhesion for some plastics, as a barrier for others
A plain Elmer's Disappearing Purple glue stick does two opposite jobs. On glass it adds grip. On PEI with PETG it does the reverse — PETG bonds chemically to PEI and will tear the coating off, so a thin film of glue acts as a release layer that saves the sheet. Either way it is a couple of dollars and it goes on warm, thin, and evenly.
An enclosure, once you are printing ABS, ASA or PC
This is the fix that settings cannot substitute for. Trapping the bed's own waste heat lifts the air around the print to 35-45°C, which slows cooling enough to stop the layer-to-layer stress accumulating in the first place. A fabric enclosure tent is the cheap route and works, provided you keep the power supply and any stepper drivers outside the hot zone. The enclosures Anycubic sells for their own machines avoid the fitting problem entirely, which matters more than it sounds when a generic tent leaves a gap at the spool holder. Our enclosure guide covers ventilation, which becomes a real consideration once you are printing styrene-based materials in a sealed box.
An enclosed printer, if you are buying a machine anyway
Retrofitting an enclosure onto an open-frame printer is always a compromise: the frame was designed to shed heat, the electronics sit under the bed, and the tent fits approximately. A machine built enclosed does not have those problems. Flashforge's enclosed range treats the chamber as structural rather than as an accessory, and ELEGOO's enclosed FDM machines are the same argument at the budget end. If ABS and ASA are going to be a regular part of what you print, the enclosed machine is cheaper than an open one plus a tent plus the failed prints in between.
When the Answer Is Not to Buy Anything
Warping scales with footprint. A 60mm bracket in ABS is a settings problem; a 300mm flat panel in ABS is a physics problem that desktop hardware manages rather than solves, and managing it means more perimeters, longer prints, and a failure rate you cannot quote to anyone.
At that size the sensible options are to split the part and bond it, to switch to a material that barely shrinks, or to send it out. An industrial machine with an actively heated chamber holds the whole part near its glass transition for the entire build, which is a different thing from trapping waste heat in a tent. Powder-bed processes remove the problem at the root — there is no build plate for the part to lift off, because the part is supported by unsintered powder on every side. Both are available by the part rather than by the machine: browse providers by location and process and send the same STL to two or three of them.
That is not a defeat. Knowing which parts your printer is good at is most of what separates an expensive hobby from a working process.
Hero photograph by Jakub Żerdzicki on Unsplash.
Ready to find a 3D printing service provider?
Browse 2,000+ verified providers across the United States and submit your quote request free.
Browse Providers