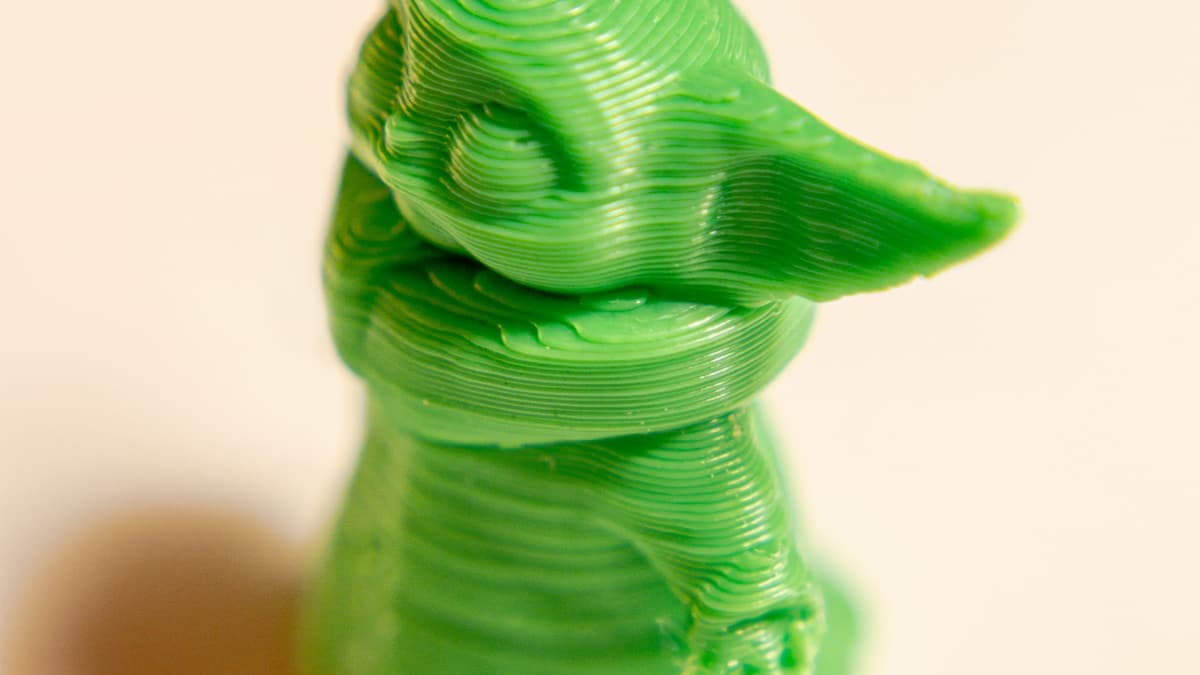
You put an ABS part in a jar with a splash of acetone, came back when the layer lines had gone, and found something worse than layer lines: a logo reduced to a smudge, an edge that used to be sharp now soft, a surface that went milky, or a part that is still tacky to the touch three days later. Acetone smoothing is not a finish you apply — it is a controlled amount of damage, and every one of those failures is the same mechanism delivered in the wrong dose.
This post contains affiliate links. If you purchase through these links, 3D Prototyping Hub may earn a small commission at no extra cost to you.
This post also contains Amazon affiliate links. As an Amazon Associate I earn from qualifying purchases.
Read the Damage Before You Reach for More Acetone
Six symptoms, and the fixes point in different directions. Find yours before you change anything.
| What you see |
When it appeared |
What it actually is |
| Edges rounded, engraved detail gone |
During the exposure |
Too much dose — dwell, concentration or both |
| Sagging, drooping thin walls, flattened contact points |
During the exposure |
The skin softened deeper than the wall is thick |
| Milky white haze across the surface |
Minutes after removal |
Blush — atmospheric moisture condensing into a soft skin |
| Still tacky after a day or more |
24–72 hours later |
Solvent absorbed into the bulk, still off-gassing |
| Fine cracks around holes and corners |
Days to weeks later |
Solvent-assisted stress cracking in a stressed part |
| Nothing happened at all |
Any time |
The part is not a styrenic — acetone cannot touch it |
The last row is worth checking first, because it is the only one that is not an operator error.
What Acetone Actually Does to ABS
It dissolves it. Not metaphorically — acetone is a solvent for styrenic polymers, and ABS, ASA and HIPS all respond to it. In a closed container at room temperature a small amount of acetone evaporates until the air is saturated, that vapour condenses on the cooler part, and where it lands the polymer chains gain enough mobility to move. Surface tension then does the actual work, pulling the softened skin into the lowest-energy shape available, which is flat.
That is the whole process, and it has no idea what you value. A 0.2mm layer ridge and a 0.3mm raised logo are the same size problem to surface tension; the ridge just happens to be the one you wanted gone. Sharp edges go first, because curvature is highest there and the pull is strongest.
This is also why PLA and PETG do not smooth. They are not styrenics, acetone does not solvate them, and the dull or faintly tacky surface people report is surface damage with every layer line still underneath. The material decides whether this technique exists for you at all — see how to choose a 3D printing material for the full picture, and why your printer can't print ABS or nylon if the honest obstacle is that the machine cannot run styrenics in the first place.
Dose Is Dwell Times Concentration, and Heat Multiplies Both
There is no "smoothed" state. There is a continuum from untouched to puddle, and you are choosing a point on it with three variables.
- Dwell. The one to control. Ten minutes is a starting point for a palm-sized part, not a recipe — check at five, then every five after.
- Concentration. More acetone in the container does not smooth faster beyond saturation, but a larger wetted area reaches saturation sooner and holds it. A tablespoon on a paper towel liner is plenty for a jar.
- Temperature. The multiplier, and the one that ruins parts. Warm vapour carries more solvent and delivers it faster, which turns a ten-minute process into a three-minute one with no useful feedback in between. It is also the variable that makes the whole operation dangerous.
Cold vapour at room temperature is slow, forgiving, and the only version worth running at home. The part should sit raised on a stand, not resting on the wet liner — anywhere the part touches is where solvent pools, and pooled solvent is how a contact point becomes a flat spot or a welded joint with the paper towel fibres still embedded in it.
Blush Is Humidity, Not a Bad Batch of Acetone
The milky haze has nothing to do with the solvent's purity. Evaporation cools the surface it leaves; on a humid day that surface falls below the dew point of the surrounding air, water condenses into a skin that is still soft, and the polymer closes over it. The trapped moisture scatters light, and the part looks like it has been breathed on from the inside.
Spray painters have fought this for a century and the fixes are the same: work on a dry day, work in a warmer room, and get the part somewhere warm and dry the moment it comes out. A brief second exposure sometimes reflows the haze away. It also sometimes sets it permanently, so try it on something you are willing to lose.
The Tack That Lasts Three Days
A smoothed part that still feels sticky has not failed to dry — it is still releasing solvent that went deeper than the surface. Acetone migrates into the bulk during the exposure, and it leaves on its own timetable, typically 24 to 72 hours depending on how long and how warm the exposure was.
Two things go wrong in that window. Dust and fingerprints stick to a surface you thought was finished, and primer applied over an off-gassing part stays soft, wrinkles, or lifts in sheets a fortnight later — the same adhesion failure covered in why paint peels off 3D prints, arriving from the opposite direction. Leave the part alone in moving air, and judge dryness by days rather than by touch.
Cracks That Arrive a Week Later
This is the failure nobody warns about, and it is the one that costs a finished part. An FDM print carries residual stress — the plastic contracted as it cooled, layer against layer, and that stress is locked in. Solvent lowers the stress a polymer needs to form crazes, so a stressed part plus a solvent exposure produces fine cracks that appear days after the surface looked perfect, concentrated exactly where stress concentrates: around holes, at internal corners, at the base of bosses, and anywhere you clamped or screwed the part together while it was still off-gassing.
Three things reduce it: thicker walls and generous fillets so the stress has somewhere to go, a cooler and shorter exposure so less solvent enters the bulk, and leaving the part fully degassed before it is assembled or loaded. Printing ABS in a chamber that holds heat reduces the locked-in stress to begin with, which is the quiet reason enclosed machines smooth better than open-frame ones — Flashforge's enclosed CoreXY machines and the enclosed high-temperature machines in ELEGOO's FDM range are built around keeping that contraction gradient small.
Smoothing Is Not a Tolerance-Neutral Operation
The skin swells taking up solvent and shrinks releasing it, and reflowed material moves where surface tension sends it rather than staying where the nozzle put it. Holes come out slightly smaller, chamfers lose their definition, threads lose their flanks, and a press fit tuned before smoothing is a different press fit afterwards.
Decide early which faces are cosmetic and which are functional. Mask or plug critical features, or print them oversize and cut them afterwards.
If the Part Is Not Styrenic, Use the Mechanical Route
For PLA, PETG, nylon and everything else acetone ignores, the surface comes off with abrasive and fill, not solvent. Level any blobs and seams first, sand through a grit sequence, and use a high-build filler primer with sanding sticks to fill what the abrasive cannot reach. It is slower and it is completely controllable, and it works on every material. The sequencing — and why primer alone brings the ridges straight back — is in why 3D prints still show layer lines after sanding.
If a glossy, sealed surface is genuinely the requirement, the other path is to change material rather than technique: ABS filament smooths, and ASA filament smooths and also survives sunlight, which ABS does not.
Safety, Because This Is the One Finishing Step That Can Start a Fire
Acetone's flash point is roughly minus twenty degrees Celsius. There is no room temperature at which the vapour is not ignitable, and the vapour is heavier than air, so it leaves the container, settles at bench height and travels along the floor to whatever is arcing. Printers, heat guns, hot plates, soldering irons and space heaters do not belong in the same space as an open vapour bath.
- Work outdoors, or under extraction, and never in a sealed room with the door closed.
- Use glass or metal. Acetone attacks polystyrene and PETG containers — the bath should not dissolve its own walls.
- Wear nitrile gloves for splashes and change any glove that gets dipped; nitrile degrades in sustained contact rather than resisting it.
- If the space is small, an organic-vapour respirator is the right filter class. A dust mask filters particles and does nothing to a gas.
When to Send It Out Instead
Commercial vapour smoothing is a different process wearing the same name. It runs in a sealed chamber with the solvent heated and the concentration, dwell and dry cycle all controlled, which is why a shop can quote a dimensional allowance and you cannot. It also reaches materials a jar never will — nylon and MJF parts, TPU, and production batches where every part has to come out the same.
That is worth buying when the part is a customer-facing enclosure, when a run of twenty has to match, or when the part is too valuable to practise on. Shops that offer it are listed by location and process in the provider directory, and what the process costs and does to a surface is broken down in post-processing and finishing services.
For everything else: cold vapour, short dwell, check often, and give it three days before you decide it worked.
Hero photograph by Girl with red hat via Unsplash.