The spool is transparent. Hold a strand of it up to a window and you can see your fingers through it. Then the part comes off the bed looking like frosted bathroom glass, and no change of colour setting fixes it. A clear 3D print is not a material you buy — it is a surface and an internal structure you have to build deliberately, and almost every default in your slicer works against it. This is what the haze actually is, which changes remove it, and where the honest limit sits for a desktop machine versus a service with the right process.
This post contains affiliate links. If you purchase through these links, 3D Prototyping Hub may earn a small commission at no extra cost to you.
This post also contains Amazon affiliate links. As an Amazon Associate we earn from qualifying purchases.
Read The Haze Before You Reprint
Five different problems all present as "not clear", and they have different fixes.
| What you see |
What it actually is |
Where to start |
| Milky or frosted all over |
Light scattering at every extrusion boundary |
Fewer, fatter, hotter extrusions |
| Edges clear, body cloudy |
Voids between perimeters and infill |
Vase mode, or walls with no infill |
| Geometry crisp, surface dull |
Surface roughness, not internal haze |
Sand, then coat |
| Clear at first, yellow months later |
UV ageing of the polymer |
Material choice plus a UV-stable coat |
| Resin print hazy after sanding |
Millions of fresh micro-scratches |
Finer grits, then clear coat |
Clarity Is Destroyed By Boundaries, And Printing Makes Thousands
Light travels in a straight line through a solid piece of transparent plastic. It bends every time it crosses from plastic into air and back again, and a bend scatters it in a direction it was not going. That is all haze is: enough tiny direction changes that an image cannot survive the trip.
A printed part is full of those crossings. Every pair of adjacent extrusions that did not fully fuse leaves a long thin air gap running through the part. Every layer boundary is another one. The rough surface texture refracts light on the way in and again on the way out. None of this is a defect in the filament — it is the geometry of a part assembled from thousands of separately cooled beads of plastic.
That reframes the whole problem, and it is worth being blunt about it: you are not trying to print clear plastic, you are trying to print one solid piece of it. Every technique below is a way of removing internal boundaries or removing surface texture, and nothing else helps.
The Settings That Actually Remove Internal Boundaries
In rough order of how much each one buys you:
- Vase mode, where the geometry allows it. One continuous spiralling wall means no seam, no perimeter-to-perimeter join, no perimeter-to-infill boundary and no top surface. The scattering interfaces are not reduced, they are absent. Lampshades, diffusers, vessels and covers are all vase-mode shapes.
- No infill, ever. For a part that cannot be a vase, set the wall count so the walls meet in the middle and the part is solid. An infill lattice inside a clear part is a grid of air gaps, and it will be visible as a pattern from the outside.
- Wider extrusions and thicker layers. Counterintuitive if you are used to chasing detail: a 0.3mm layer from a 0.6mm nozzle has roughly half the boundaries of a 0.15mm layer from a 0.4mm, and each weld is hotter and more complete. Clarity and fine detail are opposing goals here.
- Hotter, slower, and with the part-cooling fan turned down or off. Fusion between beads needs the previous bead still soft when the next one lands. Cooling fast is exactly what you want for overhangs and exactly what you do not want for clarity.
- Slightly over-extrude. A flow multiplier a few percent above normal squeezes adjacent beads into each other and closes the gaps between them. Push it too far and you get a rough surface, which trades one problem for the other.
Dry filament matters here more than usual. Moisture in the spool boils at the nozzle and leaves micro-bubbles distributed through the extrusion, and a bubble is a boundary like any other — a part printed from damp PETG is cloudy no matter what else you do.
Material Decides Your Ceiling
Amorphous polymers stay disordered as they solidify, so the solid is transparent. Semi-crystalline ones form crystal regions that scatter light internally, and no printing technique recovers that.
PETG is the practical answer. It is amorphous, genuinely transparent as a raw material, forgiving to print, and sold in clear grades everywhere — Overture PETG is the kind of mainstream spool this works with. It prints translucent rather than clear and reaches clear with coating. Its limit is heat: it starts to soften around 80°C, so it is not a lamp housing sitting on a hot bulb. The broader comparison is in our PETG filament guide.
Polycarbonate is the clearer, harder version of the same idea, and it is what optical glazing and headlight lenses are made from. Overture's PC Professional is in that class. The cost is process: roughly 270-300°C at the nozzle, a heated bed, an enclosure to stop it warping, and dry filament as a hard requirement rather than good practice. Use it when the part has to be clear and hot, and read the polycarbonate filament guide before committing to it.
Clear PLA is the one that disappoints. It prints translucent and milky, it is the easiest of the three to print, and it will never get past "frosted" without heavy post-processing. That is a material ceiling, not a settings problem.
Coating Is The Step That Actually Does It
Here is the part most guides underplay: surface texture is responsible for more of the haze than anything inside the part, and the surface is the cheapest thing to fix.
Sanding alone does not get you there. It replaces coarse scratches with fine ones, and a uniformly fine-scratched surface is exactly what frosted glass is. You have to work through the grits in order — each one only removes the previous one's marks — and then fill what is left. Hobby sanding sticks and needle files get into the geometry that sheet abrasive cannot reach.
The filling is done with a clear coat, and there are two approaches. A clear two-part epoxy coating kit self-levels into a thick glass-like layer and gives the most dramatic result, at the cost of softening fine detail and needing a dust-free cure. UV-resistant clear coat spray is thinner, far easier to control on detailed parts, and the UV-stable grades slow the yellowing all clear plastics drift towards. Several thin coats beat one heavy one in both cases. More options for the finishing bench are in our finishing and painting supplies guide.
A useful rule: coating with no sanding usually beats sanding with no coating.
Resin Starts Smoother And Still Is Not Clear
Resin printing removes the extrusion boundaries entirely and starts from a much smoother surface, which is most of the battle — this is why clear resin exists as a category and clear FDM filament is a compromise. ELEGOO's resin printers and resins carry clear and water-washable clear grades alongside the machines.
It still arrives translucent rather than transparent, for its own reasons. Support marks and the sanding used to remove them frost the surface in exactly the way described above. Residual alcohol or uncured resin left in the wash dries to a haze. And clear resins yellow under continued UV, which is the same reaction that cured them — cure to firm rather than for as long as possible, keep the part out of sunlight, and seal it. The finishing route is identical to FDM: progressive wet sanding, then a clear coat. Our resin buying guide covers which grades are sold as clear, and why resin prints stay sticky after curing covers the wash-and-cure mistakes that leave a surface haze of their own.
Where The Desktop Ceiling Is
Translucent is reliably achievable at home. Water-clear is a different job.
If the part has to be seen through — a lens, a light pipe, a flow-visualisation cell, a display window — the process matters more than the effort. PolyJet jets and cures clear photopolymer in very fine layers and finishes near-optical with polishing, which is why it is the standard route for transparent prototypes; PolyJet 3D printing services explains where it fits and what it costs. Industrial SLA with a clear resin and a proper polishing pass is the other route.
It is also simply cheaper for a one-off. The abrasives, the coating kit and the two failed attempts cost more than a small job, and a shop that runs clear material regularly has the finishing sorted. The providers in our directory list their processes and materials, so you can filter for the ones that actually offer it.
For everything else, work the list in order: pick an amorphous material, print it dry, remove every internal boundary you can with vase mode or solid walls, go wider and hotter and slower than feels right, then sand and coat. The last step is the one that turns a frosted part into a clear one.
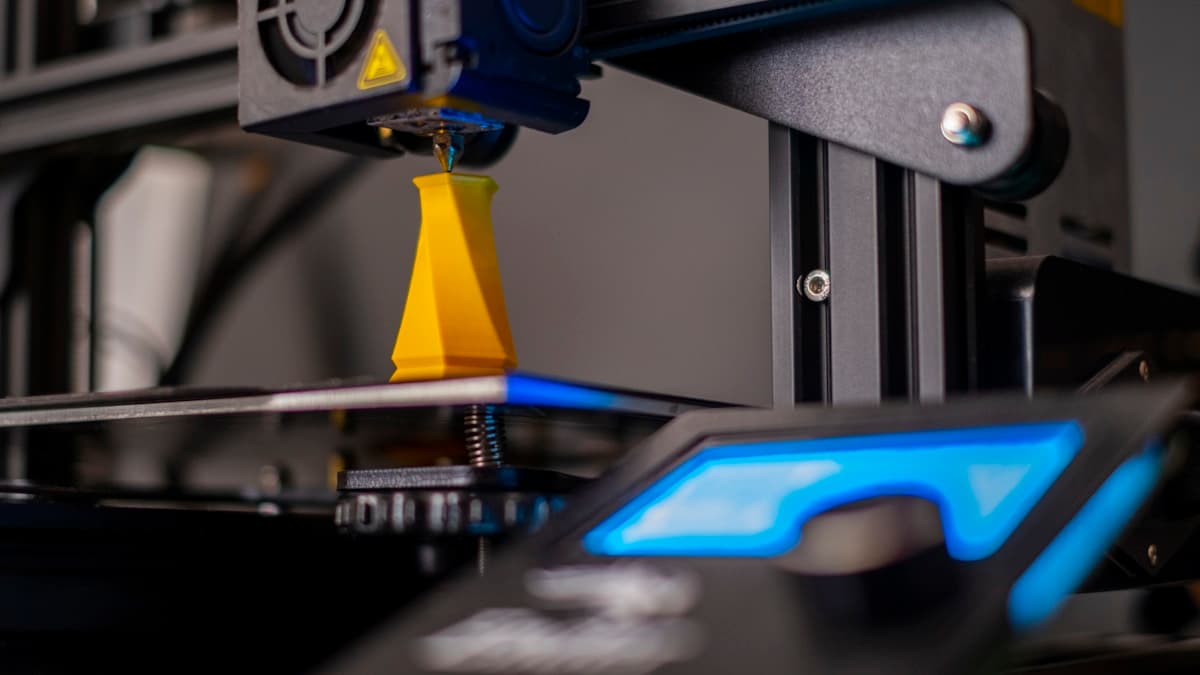
Hero photo by Osman Talha Dikyar on Unsplash.
Ready to find a 3D printing service provider?
Browse 2,000+ verified providers across the United States and submit your quote request free.
Browse Providers