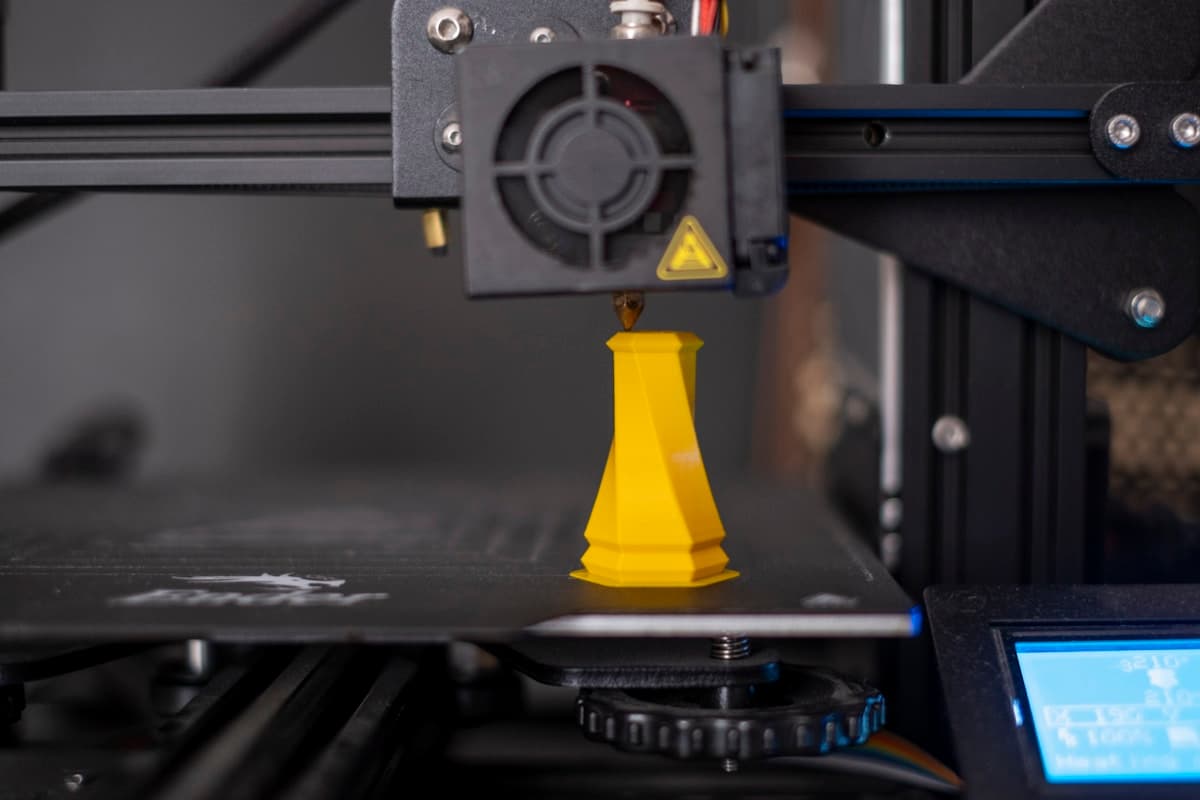
RC and drone parts fail in ways that ordinary desktop prints do not. A bracket that only has to sit on a shelf can be PLA; a motor mount that carries vibration at 20,000 RPM, or a camera pod that hits grass at speed, cannot. That is why the best 3D printers for RC and drone parts are not the cheapest or the largest machines — they are the ones that reliably run PETG, ASA, TPU and carbon-fibre nylon, in that order of usefulness. This guide covers what the hobby actually demands from a machine, our picks by category for 2026, the consumables that matter more than the printer, and where the line sits between printing a part and ordering it from a provider.
This post contains affiliate links. If you purchase through these links, 3D Prototyping Hub may earn a small commission at no extra cost to you.
This post also contains Amazon affiliate links. As an Amazon Associate I earn from qualifying purchases.
What RC and Drone Work Demands From a Printer
Four requirements, roughly in the order they will bite you:
- Material range, not speed. Almost every disappointing RC print traces back to material choice, not machine quality. You need a hotend that comfortably reaches nylon and ASA temperatures and a bed that will hold them down. A fast printer that can only run PLA is the wrong tool.
- A direct-drive extruder. TPU is the most valuable material in this hobby — dampers, feet, bumpers, antenna mounts, tyres — and it feeds far more reliably when the extruder sits directly above the hotend rather than pushing filament down a Bowden tube.
- An enclosure. ABS, ASA and nylon all shrink as they cool. A draft across a long arm print lifts the corners and splits layers. An enclosure is the cheapest fix for the most common structural failure.
- Repeatability over resolution. Mounting holes that land where the CAD says matter more than surface finish. A machine that prints the same part twice at the same dimensions saves you more airframe rework than any detail spec.
Build volume is usually not the constraint. Most FPV parts fit on a 220mm bed with room to spare. Volume only becomes the deciding factor for fixed-wing airframes, RC car bodies and boat hulls — and there, see our large-format printer picks.
Match the Material to the Part First
Buy the printer that runs the materials your parts need. This is the mapping worth memorising:
| Part |
Material |
Why |
| Camera mounts, battery trays, canopies |
PETG |
Tough, cheap, forgiving, no enclosure needed |
| Dampers, landing feet, bumpers, tyres |
TPU |
Absorbs impact instead of transmitting it |
| Quad arms, motor mounts, gearbox parts |
Carbon-fibre nylon (PA-CF) |
Stiff and dimensionally stable under vibration |
| Anything left in sun or a hot car |
ASA |
UV and heat resistant where PLA and PETG degrade |
| Fit-check prototypes only |
PLA |
Fast and cheap; too brittle to fly |
The material shortlist is why an enclosed machine with a hardened-capable hotend is worth more here than an extra 100mm of plate. Deeper on the two that matter most: TPU filament picks and nylon and carbon-fibre nylon picks.
Our Picks by Category for 2026
Best all-round: an enclosed CoreXY
If you buy one machine for RC work, buy an enclosed one. The Bambu Lab P1S is the default recommendation — enclosed, fast, and comfortable with PETG, ABS and ASA without tuning, with a hardened nozzle available for carbon-fibre filaments. It is the machine most people stop shopping after. Our full Bambu Lab breakdown covers where the rest of that range fits.
The Creality K1C is the alternative worth a look specifically because it ships with a hardened nozzle and is sold for carbon-fibre filament out of the box — which removes the single most common first-week mistake in this hobby. Flashforge's enclosed desktop machines cover the same ground and hold chamber heat well, which is what keeps a long ASA arm print flat.
Best budget entry: direct-drive open-frame
If your first year is PLA and PETG mounts with occasional TPU, you do not need to spend enclosed-machine money. Anycubic's Kobra FDM range uses direct-drive extruders, which is the spec that matters for flexible filament, and the range extends up into enclosed models when you outgrow the open-frame one. ELEGOO's Neptune line is the other long-standing value pick at this tier and prints PETG mounts and jigs perfectly well.
The honest framing: a $250 direct-drive machine that prints PETG and TPU covers most of what an FPV pilot prints. The upgrade to enclosed buys you ASA and nylon, not better PETG. If you want the full budget-tier comparison, see FDM printers under $500.
Best for TPU-heavy builds
Anyone printing a lot of soft parts — crash-heavy freestyle quads, RC crawler tyres, shock mounts — should treat direct drive as non-negotiable and then tune rather than shop. Slow the print down to roughly 15–30mm/s, cut retraction distance right back, and keep the spool dry. Both Anycubic and ELEGOO ship direct-drive machines at the sub-$400 tier, which is why TPU stopped being an advanced material somewhere around 2023.
Best for big airframes
Fixed-wing fuselage sections, RC car shells and boat hulls are where plate size finally decides the machine. Large-format desktop printers cut the number of glued seams, which is where the weight and the weak points come from. Start with our large-format round-up and prioritise a heated chamber or enclosure over raw plate area, because a 400mm ASA part warps far more dramatically than a 150mm one.
The Consumables Are Half the Buying Decision
The printer is the smaller half of the total system cost for this hobby:
- Carbon-fibre nylon (PA-CF) — the engineering material for arms and mounts. Stiff, stable, and far more crash-tolerant than PLA.
- TPU 95A — the single material that most improves how a model survives a bad landing.
- Hardened steel nozzles — buy these before the first carbon-fibre roll. Chopped fibre visibly widens a brass nozzle within hours, and the first symptom is dimensional drift, not a clog. Our nozzle guide explains what sizes to keep.
- A filament dryer — nylon and TPU both pull water out of room air. Wet nylon extrudes as foam and snaps; a heated box you can feed the printer from fixes it permanently.
Print Settings That Actually Change Flight Parts
Four settings do most of the work on parts that fly:
- Wall count over infill. Strength in an FDM part comes mostly from perimeters. Four to five walls at 20% infill beats two walls at 50% for almost every mount, and it prints faster.
- Print orientation against the load. Layer adhesion is the weak axis. Orient an arm so that bending stress runs along the layers, not across them — this single choice changes part strength more than material grade does.
- Fillets everywhere. Every internal corner on a printed bracket is a crack starter. Round them in CAD.
- Dry filament, every time. Not a preference. A wet spool of nylon produces a part that looks correct and fails at a fraction of its rated load.
When to Print It and When to Order It
Print the iterations. A desktop machine's real advantage in this hobby is the loop: redesign a mount at midnight, fly it in the morning, and do that ten times in a week. Nothing outsourced competes with that.
Order the parts that cannot fail. Once a design is finished and you need five identical copies in a material your desktop machine cannot run — industrial nylon, continuous-fibre composite, anything requiring tight tolerance across a batch — a service bureau is the better answer. That is the same reasoning behind our guides to carbon-fibre 3D printing services and drone and UAV part production.
If you are at that point, browse 3D printing providers in the directory and send the same STL to three of them — quotes for composite work vary more between shops than most buyers expect.
Hero image: 3D Prototyping Hub image library (legacy asset, photographer unrecorded).
Ready to find a 3D printing service provider?
Browse 2,000+ verified providers across the United States and submit your quote request free.
Browse Providers