You bought the 256mm machine because the part is 240mm. The part loads into the slicer, the plate goes grey, and a warning says the object is outside the print area. Or worse, it slices, prints for thirty hours, and the last 8mm of height never happens because the gantry ran out of travel.
The number on the box is the motion envelope — how far the axes can move. What you can actually place a part inside is smaller, in all three axes, for three unrelated reasons. None of them is a defect, and none of them is in the specification.
This post contains affiliate links. If you purchase through these links, 3D Prototyping Hub may earn a small commission at no extra cost to you.
This post also contains Amazon affiliate links. As an Amazon Associate I earn from qualifying purchases.
Where the Volume Actually Goes
Three different things take it, and they take it from different axes.
| What takes it |
Which axis |
Typical loss |
| Prime or purge line along one edge |
X or Y |
10–20mm off one side |
| Nozzle brush, chute or wiper station |
X or Y |
a corner, 20–40mm square |
| Firmware soft limits and homing offsets |
X, Y, Z |
2–5mm per axis |
| Plate thickness above the bed casting |
Z |
1–4mm |
| Cutter, duct or gantry hardware in the roof |
Z |
5–10mm |
| Brim or skirt around your part |
X and Y |
5–10mm per side |
| Multi-material purge tower |
X and Y |
a 60mm square block |
Add the common ones and a 256 × 256 × 256 machine routinely places parts inside something closer to 235 × 230 × 250. That is not the manufacturer lying — every one of those regions is genuinely used by the machine — but it is the number you should design to, and almost nobody is told it.
Find yours in five minutes. Open your slicer's printer settings and read the bed shape, the origin and any excluded regions; that rectangle is the truth. Then home Z, jog the carriage upward until it refuses to go further, and read the display. Write both numbers on a sticker on the machine's frame. Everything below is about the parts that a sticker cannot fix.
The Edges of the Plate Are the Worst Part of the Plate
Even inside the placeable rectangle, the plate is not uniform, and a part using the full footprint has to survive all of it.
The heater element underneath stops short of the plate's border — it has to, because the plate is clamped or glued around its edge. On a typical 235mm bed the heated area ends 8–15mm in. Measure a plate set to 60°C with an IR thermometer and the corners commonly read 5–15°C lower than the centre. A small part in the middle never meets that gradient. A 230mm footprint has four corners sitting in it for the whole print, which is exactly where lifting starts. A bed insulation pad underneath narrows the gradient by cutting the heat that leaves downward, and it is the cheapest change that targets this specific failure.
Flatness works the same way. Plates dish or crown with age and heat cycling, and the deviation is largest at the extremes. Mesh levelling compensates the first few layers and nothing above them, which is a distinction worth understanding properly — the long version is in why auto bed levelling doesn't fix your first layer. If your plate has been through two years of 100°C ABS cycles, a fresh textured PEI spring steel sheet restores the corners more reliably than any amount of probing. Buy the size your machine already takes; a larger sheet does not enlarge anything.
Adhesion is the third. A large footprint generates large shrinkage forces and applies all of them to its corners, continuously, for the whole job. Adhesion spray covers a big area more evenly than a glue stick, and a 5mm brim on a 230mm part is cheap insurance. If parts are lifting at the corners specifically, that is the warping mechanism rather than a size limit, and why 3D prints warp covers the fix order.
Full Reach Is Where the Machine Is Least Stiff
A gantry is stiffest near its supports. At full X travel the carriage is at the end of its belt span, and at full Y a bed-slinger is throwing the entire mass of the bed, the plate and your part as far forward as it goes. Both conditions produce more ringing, more positional error and a worse surface than the same part printed in the centre — the mechanism is the one described in why prints have ringing and ghosting, just concentrated at the extremes of travel.
Height does the same thing to Z. A tall part is a lever on whatever holds it, and the error is angular, so it grows with every layer. Printing at 95% of the machine's Z is the condition that makes small geometry faults visible for the first time.
The practical response is to slow down near the limits rather than to accept the finish. Dropping acceleration and outer-wall speed for a full-envelope part costs hours and buys back most of the surface quality. You are no longer printing the same job you print in the middle of the plate.
Air Is the Last Thing You Lose
Part cooling is aimed and tuned for a nozzle somewhere near the centre. Out at the plate's edge the duct blows asymmetrically, so one side of your part gets the airflow and the other does not. On an enclosed machine, the door glass is the coldest surface in the chamber and your 240mm part is now 10mm from it. On an open machine the part is simply standing in the room, and a 30-hour job spans at least one night of whatever the room does after dark.
That is where a fabric enclosure earns its money on an open-frame machine: not for temperature, but for removing the draught as a variable on the one print that cannot afford to be restarted. If the room itself is the problem, why cold garages ruin 3D prints is the specific case.
The Three Ways to Get the Size You Need
Rotate it. The diagonal of a 256mm square plate is 362mm, so a long, narrow part of 300–330mm fits across it with margins. This is free, it takes two minutes in the slicer, and almost nobody tries it first. Check that the gantry genuinely reaches both corners and accept that the part now crosses the cool regions, so brim and adhesion matter more.
Split it. Two halves with located joints will fit almost anything on almost any machine, at the cost of a deliberate weak plane and an alignment problem — why split prints never line up is the honest account of what that costs. Split along a face the part does not need, never across a bore or a sealing surface.
Make the envelope bigger, which is the hardware answer and the one worth doing carefully.
What to Read on the Spec Sheet If You Are Buying for Size
Stated from construction and published specification rather than from a shootout we did not run, four things decide whether a large advertised envelope is a usable one:
- Where the machine purges. A prime line along the front edge costs you a strip of Y on every print. A purge chute that lives off the plate costs you nothing. This is rarely in the headline specification and is always in the slicer profile.
- Whether the heater reaches the plate edge, and whether the chamber is enclosed. Both decide how close to the border a part can be and still keep its first layer. QIDI's enclosed machines sit at the end of the market where the chamber is a boxed structure rather than an open frame, which is the construction that makes a full-width footprint behave.
- Rigidity at full extension. A boxed frame with linear rails holds its geometry at the far corner in a way two uprights and V-wheels do not. ELEGOO's current printer range and Anycubic's current printer range both publish the frame type and motion system per model — read those rather than the speed figure, and prefer a smaller well-built envelope over a larger flexible one.
- Machine shape for your part. A bed-slinger that moves a 300mm bed forward and back is a different proposition from a CoreXY that keeps the plate still. For a tall part the difference is large.
A machine with a bigger number and a worse structure will not print your part. That is the whole trap.
When Buying Nothing Is the Right Call
Run the arithmetic before the upgrade. A full-envelope part is usually a 30–60 hour job on 600–900g of filament, and it carries a failure probability it accumulates the entire time. If you need one of them, a service bureau with a large-format machine quotes it in a day, and the part arrives whole. If you need thirty of them a year, the machine pays for itself.
For the one-off, large-format 3D printing services explains what the shops actually run and what they need from your file, and the provider directory lists them by process and location. Batch economics are a separate question — if your problem is fitting many parts on one plate rather than one large part, that is why full-plate prints fail, which has a different cause list entirely.
The Order to Work Through
- Read the placeable rectangle out of your slicer's printer settings, not off the box.
- Jog Z to its stop with your actual plate fitted, and write the real height down.
- Try rotating the part. The diagonal is 40% longer than the side.
- If it fits but fails, treat it as an edge-of-plate problem: insulation, adhesion, brim, draught.
- Slow the outer walls and acceleration for full-envelope prints. It is not the same job as a part in the middle.
- Only then decide between splitting it, buying a bigger machine, or buying the part.
The usable envelope is a real number and your machine has one. Finding it takes five minutes and stops you designing to a figure that was never available.
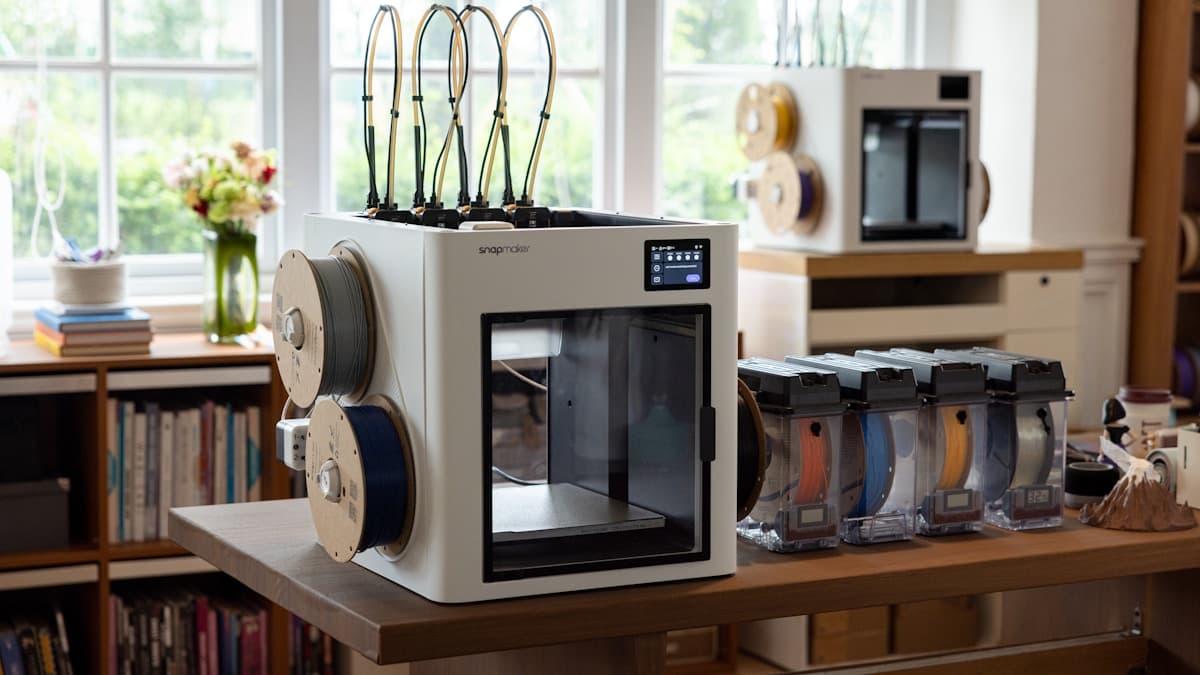
Hero image: an enclosed desktop FDM printer with its build chamber empty, flanked by filament spools and sealed dry boxes. Photograph by Snapmaker 3D Printer, from the 3D Prototyping Hub image library.
Ready to find a 3D printing service provider?
Browse 2,000+ verified providers across the United States and submit your quote request free.
Browse Providers