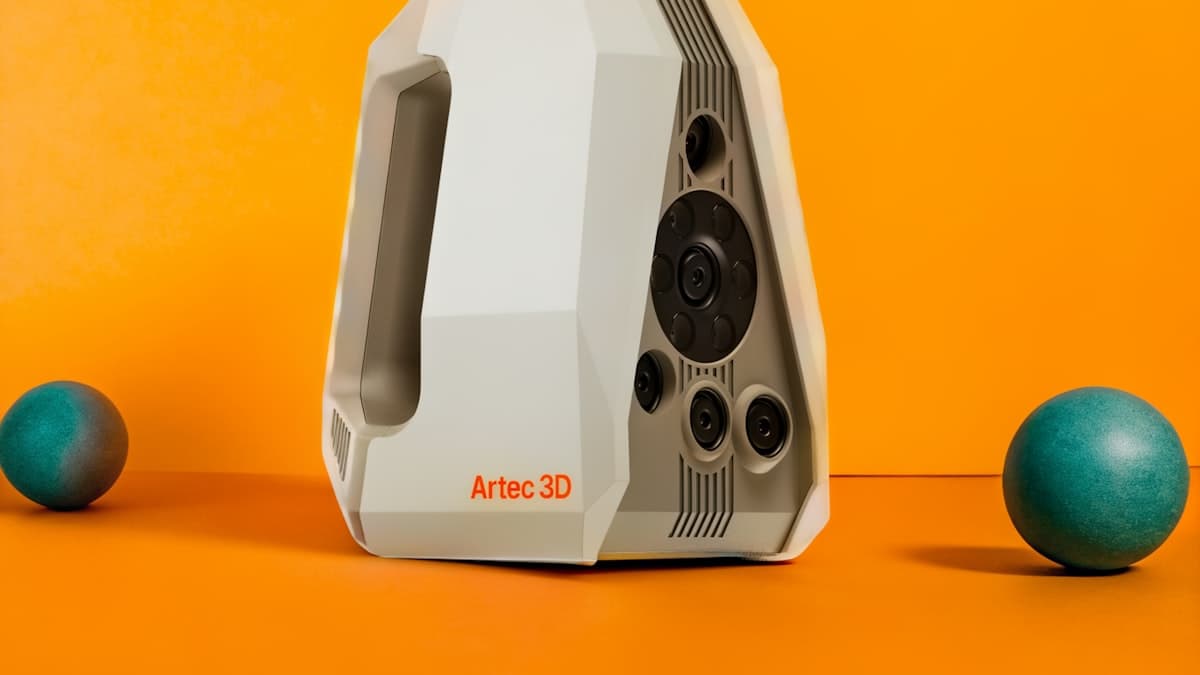
The geometry came out fine. Every curve is there, the dimensions check out, the mesh is watertight. Then you turn the texture on and the object has gone grey and chalky, there are dark smears in every recess that are not on the real part, one side is warmer than the other, and a white blown-out patch sits exactly where the glossiest face was. Nothing is wrong with the scan as a measurement. 3D scan colors and textures come out wrong for photographic reasons, not geometric ones — and because almost every setting people reach for first belongs to the depth sensor, the usual response makes no difference at all. This page covers how to tell which failure you have, what to change at capture rather than afterwards, and where the provider directory is the shorter route than a fourth evening of rescanning.
This post contains affiliate links. If you purchase through these links, 3D Prototyping Hub may earn a small commission at no extra cost to you.
This post also contains Amazon affiliate links. As an Amazon Associate we earn from qualifying purchases.
Your Scanner Is Doing Two Unrelated Jobs at Once
A scanner measures shape with a projected pattern — structured light, blue light, a laser line — and a sensor that watches how that pattern deforms. None of that work has any color in it.
Color arrives separately. A second camera, or the same camera between pattern frames, takes ordinary photographs of the object and the software wraps them onto the finished mesh. That is all texture is: photos, projected. Every rule that governs a photograph governs it, and none of the specifications you bought the scanner on describe it.
This is why the usual fixes do nothing. Point spacing, accuracy, scan speed and alignment quality are statements about the depth sensor. Washed-out color, baked shadows and a patchwork surface are statements about exposure, white balance and lighting. The two sets of controls barely touch.
Read the Defect Before You Rescan
| What you see |
What it actually is |
Where to start |
| Pale, flat, low-contrast color |
Exposure set for the projector, not the room |
Texture exposure, set manually |
| Blown white patches on glossy faces |
Specular highlights recorded as data |
Diffuse the light; polarize if you can |
| Dark smears in every recess |
Directional light baked into the map |
More sources, softer, from more angles |
| One side warm, another cold |
Mixed light sources — window plus lamp |
One color temperature, lock white balance |
| Blotchy patches at frame boundaries |
Auto exposure or auto white balance drifting per frame |
Lock both before the pass |
| Sharp mesh, blurry color |
Texture camera resolution, or motion blur |
Slower pass; check the texture camera spec |
| Marker dots visible on the object |
Markers photographed into the texture |
Markers on the fixture, not the part |
| Uniform chalky grey |
Matte spray, doing exactly its job |
Second, unsprayed pass for color |
| Blocky color after simplifying |
Vertex colors, not a texture map |
Bake to UV before decimating |
The last two are not capture faults at all — they are a geometry tool and an export format doing what they are designed to do. Worth separating early, because no amount of relighting fixes either. If the mesh itself is also poor, start there instead: why 3D scans come out noisy or full of holes covers the geometry side of the same captures.
The Light You Scan Under Is Baked Into the File
This is the one idea that explains most of the list above. A texture map does not record what color the object is. It records what color the object looked under the light that was in the room, and nothing in the file separates those two things afterwards.
So a single lamp or an uncurtained window puts a real shadow in every crevice, the camera records it, and it becomes part of the surface — as permanent as if somebody had painted it there. Load that model into a renderer and the renderer adds its own lighting on top, so the crevice is shaded twice and the object reads as dirty.
What fixes it is boring and effective: flat, even, diffuse light from two or three directions at one color temperature. A pair of diffused continuous LED panels does more for scan texture than any upgrade inside the scanner, because it removes the shadows before they are ever recorded rather than trying to subtract them later. Turn the room lights off rather than adding to them — a 2700K bulb and a 5600K panel in the same capture is where a two-tone object comes from.
Then lock the camera down. Most capture software exposes a texture exposure or brightness control separately from the geometry exposure, and some expose white balance too. Set them, lock them, and take a reference frame of a grey card under the same light if the color has to be right rather than merely plausible. Auto anything, re-deciding frame by frame, is what produces a texture that changes shade across a single flat panel.
Gloss Is the Surface That Light Alone Won't Save
Diffusion handles shadows. It does not handle a mirror. A glossy, varnished or polished face throws a bright reflection of your light source straight back at the camera, and a blown highlight contains no information to recover — it is white, and white is all it will ever be.
Three responses, in order of how much trouble they are:
- Move the light, not the object. A highlight is a geometric accident between source, surface and lens. Raising the panels, pulling them wider, or bouncing them off a wall often kills it outright. Free, and it takes a minute.
- Cross-polarize. Polarizing film over each light plus a polarizer at the lens, rotated 90° to each other, removes specular reflection and leaves the object's own color behind. This is standard practice in photogrammetry and it works properly — on a fixed rig. On a handheld with a bare texture camera it is usually not practical.
- Accept a two-pass job. Below.
Spray and Markers Buy Geometry and Cost Color
If a part is glossy, dark or translucent, the geometry may not capture at all without help — and both standard fixes are destructive to color.
Matte scanning spray works by temporarily replacing the object's optical surface. That is precisely why the shape appears, and precisely why the texture comes back uniformly chalky. Positioning markers have the same character: they give the tracker something to hold onto, and they get photographed onto the object as a field of dots.
When the color matters, split the job in two:
- Geometry pass. Spray it, mark it up — markers on the fixture and the surrounding surfaces wherever possible, never on a feature or a logo. Get the mesh you need.
- Clean the part. Self-vanishing sprays sublimate off over a few hours; give them the time.
- Texture pass. Capture color with the part unsprayed and the lighting set properly — either a texture-only pass in the scanner software, or a set of photographs for photogrammetry.
- Project the second onto the first. Confirm your software supports re-projecting texture onto an existing mesh before you plan a job this way. Not every package does, and finding out afterwards means recapturing both.
A motorized turntable earns its keep here more than it does on geometry. Fixing the camera, the lights and the subject relative to each other means every frame sees identical illumination, which is most of what an even texture needs.
The Camera You Did Not Compare
Scanner specifications lead with accuracy and point spacing because those are the hard-won numbers. The texture camera gets a line further down, and on some models it does not exist at all — a monochrome blue-light unit returns geometry only, and no setting changes that.
Three things to read before buying for color work, none of which appear in a headline figure:
- Texture camera resolution, stated separately. A 0.05mm point accuracy says nothing about whether the color camera resolves printed lettering on a label.
- Onboard illumination for the texture pass. Models with white LEDs intended for color give you a known, consistent source that travels with the camera. Models without one record whatever is in the room.
- Whether color is included or an add-on. On several budget handhelds a color module is a separate purchase, so a kit that appears to undercut the field is quoting a geometry-only machine.
In practice: Revopoint's handheld scanner line covers the bench-sized end of this work and publishes its texture figures per model, which is the page to compare rather than the headline accuracy. At the budget end, 3DMakerpro's handheld scanners are honest shape-capture tools where you should check the color specification explicitly before assuming it is in the box. Where color capture is a recurring function rather than an occasional one, SHINING 3D's EinScan standalone range is the fixed-rig answer: the subject, the rig and the lighting stay put, which is the condition everything above depends on. The wider comparison sits in our 3D scanner buyer's guide.
Vertex Colors Versus a Texture Map
A capture that looked photographic and turned blocky the moment you simplified it was never a texture map. It was vertex colors — one color value per triangle corner — so color resolution is bolted to mesh density. Decimate a five-million-triangle scan to 200,000 for CAD or a game engine and you throw away 96% of the color with the geometry you no longer needed.
A UV texture map is a separate image. A 4K map stays 4K on a 50,000-triangle mesh, which is why it is the format every downstream pipeline expects.
The order of operations is the whole trick:
- Capture at full density.
- Bake the color to a UV texture map while the mesh is still dense.
- Decimate the geometry.
- Export the decimated mesh plus the map.
Do those two in the other order and there is nothing left to bake from. Export OBJ with its MTL file and the image alongside it, or a GLB with the texture embedded — a bare PLY is where vertex colors go, and emailing an OBJ without its MTL and PNG is why a model arrives grey at the other end.
One more thing worth knowing: texture images are sRGB. A model that renders dark and muddy, or oddly washed out, in a viewer that looked fine in the scanner software is usually a color-space setting — the base color input wants to be told it is sRGB rather than linear data.
Capturing for Something That Will Be Printed in Color
If the point of the scan is a full-color print — binder-jetted or multi-material — the requirements tighten, because the printer reads a textured model and nothing else. Vertex colors frequently do not survive the trip, so the UV map above is not optional. Resolution matters less than you would think and evenness matters more: baked shadows print as shadows, permanently, on an object that then gets photographed under new light.
Shape problems come first, though. A mesh that is not watertight will not print however good the color is, and that is a separate sequence — why 3D scans won't print covers it. If you are capturing with a phone rather than a scanner, the texture is usually the best part of the file and the geometry the worst, which has its own trap: why phone 3D scanning apps fail on real parts is about exactly that gap.
A Sequence That Keeps the Color
- Decide first whether color is a deliverable or a bonus. It changes every step below.
- Light the subject before touching the scanner: two or three diffused sources, one color temperature, room lights off.
- Set texture exposure manually and lock white balance. Shoot a grey card under the same light.
- Kill specular highlights by moving the lights; cross-polarize if the rig allows it.
- If the part needs spray or markers, plan two passes and keep the markers off the object.
- Keep subject, lights and camera distance constant — turntable where the part allows.
- Check the texture on a flat-shaded preview and a textured one side by side, before you pack up.
- Bake to a UV texture map at full mesh density.
- Decimate, then export OBJ+MTL+image or GLB.
- Color-correct globally in an image editor if needed. Anything that needs local retouching is a recapture.
Step 7 is the one that saves a return trip. Baked shadows and blown highlights are obvious in a side-by-side and nearly invisible when you are looking at the pretty view on a laptop in a bright room.
When to Hand It Over
Three cases where sending the object out is simply cheaper. The color has to be matched rather than merely captured. The object cannot be sprayed, marked or moved — which covers most of what museums and cultural heritage collections deal with. Or the deliverable is a finished, retouched, UV-mapped asset rather than a capture, which is a post-production job as much as a scanning one.
Ask for the thing you need, in those words: a decimated mesh with a baked 4K UV texture, color-referenced to a target, delivered as OBJ with maps or GLB. "Scan it in color" gets you whatever the operator's default was. Providers in the directory are filterable by location and process, so the object does not have to travel far to be captured once, properly.
The geometry is the measurement. The color is a photograph of a moment in a room — and a photograph is only ever as good as the light you took it in.
Hero photo by Karina Shchukina via Unsplash.