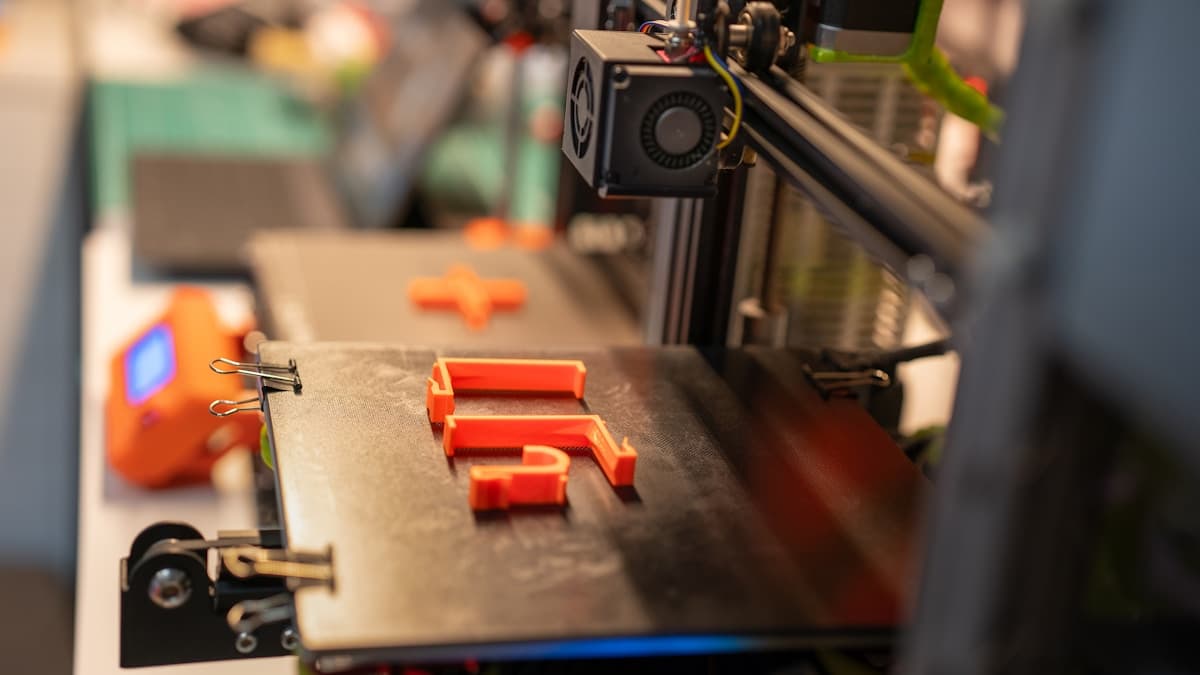
It went together once. The second time the clip came off in your hand, or it still goes on but no longer holds, or it never clicked at all and you have been sanding the catch to make it fit. 3D printed snap-fit clips fail more often than almost any other printed feature, and the reason is that the geometry in most CAD models was designed for injection moulding — where the part is one continuous, isotropic piece of polypropylene, not a stack of welded beads in a material chosen for how it looks on the shelf. The failures are readable, though, and three of the four are fixed in the model rather than in the machine.
This post contains affiliate links. If you purchase through these links, 3D Prototyping Hub may earn a small commission at no extra cost to you.
This post also contains Amazon affiliate links. As an Amazon Associate we earn from qualifying purchases.
Read The Break Before You Reprint
Four failure modes cover nearly every broken printed clip, and they do not share a fix.
| What you find |
What it actually is |
Where to start |
| Snapped clean off at the root, no bending first |
The layer bonds took the load |
Print orientation |
| Beam bent and stayed bent |
Too much strain for the material |
Material, then beam geometry |
| Still intact but no longer grips |
Creep — it was left deflected |
Design: the catch must relax |
| Never engaged, or jams and shears the ledge |
Dimensional error, not strength |
Measure and compensate |
The first row is the one to check before anything else, because it has nothing to do with your design and everything to do with how the part was laid on the plate.
The Layer Plane Decides Whether It Breaks At All
A snap-fit is a cantilever beam. Bending it puts the outer surface into tension, and the tension peaks at the root, where the beam meets the body. That is simple beam mechanics and it applies equally to a moulded clip.
What is not equal is what sits at the root. FDM parts are anisotropic: the material bonds to itself within a layer far more strongly than one layer bonds to the next — the property behind most functional print failures, covered in detail in why prints snap along layer lines. If the clip is printed standing up, the beam is a stack of discs glued face to face and the peak tensile stress pulls directly across those glue joints. It breaks cleanly, at the root, on the first or second click, with no deformation to warn you.
Print the clip so the beam's length lies in the X-Y plane. Then the extrusions run along the beam, the bending load runs along continuous material, and the layer bonds are loaded in shear rather than pulled apart. On an enclosure with clips on four sides this is genuinely awkward, and it is why production housings are moulded — but two orientations are usually available on a printed prototype, and one of them is several times stronger than the other.
Two smaller print-side details follow from the same logic:
- Move the Z seam off the root. The seam is where each layer starts and stops, and it is a line of slightly weaker bonding running up the part. Landing it on the outside of the beam root puts a crack initiator at the most stressed point. Most slicers let you paint the seam position, or place it on a rear corner.
- Print warm, cool less. Interlayer bonding improves at the top of the material's temperature range and gets worse with aggressive part cooling. On a small clip the fan is running almost constantly because the layers are short — reduce it and raise the nozzle temperature ten degrees.
PLA Is Stiff, Which Is Not The Same As Springy
The property a snap-fit needs is not strength and not stiffness. It is how much strain the material can take and still come back — and a stiff material with a high tensile number can be terrible at it.
PLA is the clearest example. It is stiff and it is strong in a pull test, but it tolerates very little strain before it yields or cracks, and it creeps under sustained load at room temperature. A PLA clip is a spring made of a material that does not want to be one.
| Material |
How it behaves as a spring |
The catch |
| PLA |
Stiff, low strain tolerance, creeps |
Snaps on assembly; loses grip if left loaded |
| PETG |
Yields before it fractures |
Softer catch feel; still creeps if held deflected |
| ABS / ASA |
Good strain tolerance, tough |
Needs an enclosure to print without splitting |
| Nylon (PA) |
The best common choice for repeated cycles |
Must be printed dry; wants a warm chamber |
| Polypropylene |
What moulded snap-fits are made from |
Difficult to print and to stick down; rarely practical |
| TPU |
Bends indefinitely |
Too compliant to hold a rigid part in registration |
For most people the useful ladder is short. PETG is the cheap step off PLA and is enough for a battery door, a cable clip or a housing that gets opened occasionally; the grades and their differences are compared in our PETG filament guide. For a catch that is used daily, the answer is nylon — it takes far more strain per cycle and recovers from it, which is exactly the duty a snap-fit performs. It arrives with conditions: nylon absorbs water out of room air within hours, and wet nylon prints with steam voids that sit inside a 2mm beam as cracks waiting to run, so a heated dryer feeding the machine while it prints is part of the process. The nylon filament guide covers the grades; buying the common materials direct is also worth a look, and ELEGOO's own store is one of the stores where desktop filament pricing and marketplace pricing diverge.
Where the real answer is compliance rather than a stiffer spring — a strap, a wrap-around tab, a cover that flexes over a lip — TPU 95A does a job no rigid material does. It will not hold two halves of an enclosure in alignment, so treat it as a different solution rather than a drop-in material swap.
Make The Beam Longer, Thinner, Tapered And Filleted
Four geometry changes do most of the work, and they cost nothing.
Lengthen the beam. Strain in a cantilever falls with roughly the square of its length, so doubling the length cuts the strain at the same deflection to about a quarter. Length is the cheapest variable in the whole problem and the one people are most reluctant to spend, because a long clip looks less tidy.
Thin it. Strain rises with beam thickness. Halving the thickness roughly halves the strain for the same deflection — at the cost of retention force, which is usually the thing you have too much of rather than too little.
Taper it. A straight beam concentrates its strain at the root and leaves the tip barely stressed. Tapering the cross-section down toward the tip, to roughly half the root thickness, spreads the bending along the whole beam and buys meaningfully more deflection for the same peak strain. This is the standard moulded-snap-fit trick and it works identically in print.
Fillet the root. A sharp internal corner concentrates stress exactly where it is already highest, and on a printed part it is also where extrusion paths meet. A fillet of about half the beam thickness is the single highest-yield change available on a clip that keeps breaking at the root.
Two more that decide the feel rather than the survival: a shallow lead-in chamfer of around 30° on the catch makes assembly smooth, and the retention face angle decides whether the joint is meant to come apart — a shallow angle releases, a square face is permanent whatever anyone intended.
A Clip That Stays Bent Will Not Stay A Clip
This is the failure people misread as wear. The part still assembles, nothing is broken, and the catch simply does not hold the way it did.
A snap-fit is designed to be strained during assembly and to return to zero strain once it is engaged. If the geometry leaves the beam deflected while the parts are together — which happens whenever the clip is doing double duty as the thing that pulls the assembly tight — the plastic relaxes under that constant strain over days and weeks and takes a permanent set. PLA does this at room temperature; every thermoplastic does it faster when warm, which is the same mechanism behind prints that deform in a hot car and behind printed brackets that sag.
The fix is to let the catch seat completely, so the beam is unloaded when assembled, and to take clamping force somewhere else — a screw, a compressed gasket, a second locating feature. A snap-fit locates and retains; it is not a clamp.
Measure The Clip, Not The Drawing
The last failure mode is not a strength problem at all. The printed part is not the CAD part: extrusion width adds material to outside surfaces, elephant's foot spreads the first layers, and a catch that was drawn with 0.4mm of engagement may come out with 0.6mm or none. Both mating halves carry that error, and they carry it in opposite directions.
Measure the beam thickness and the catch depth with digital calipers and compare them to the model before changing anything else. If the difference is consistent, put it back into the design or set the slicer's horizontal expansion to a small negative value — the general method is in tolerances and accuracy in 3D printing.
Then stop printing the whole housing to test a clip. Cut a 20mm test coupon containing just the beam, the catch and the mating ledge, print it in four minutes, and click it twenty times. That loop is the difference between three design iterations in an afternoon and three in a fortnight, and twenty cycles finds the fatigue failures that one assembly never will.
When The Clip Is The Wrong Fastener
Some joints should not be snap-fits on a desktop machine at all. If the part gets opened weekly, if it lives somewhere warm, or if a failure means the housing is scrap, spend the hardware:
And if the design genuinely requires a moulded-quality snap — a living hinge, a fine latch, a batch of enclosures that all have to close the same way — that is a process decision, not a settings one. SLS nylon parts come out dense and effectively isotropic, with no weak layer plane at the beam root to design around, and they are quotable as one-offs. The providers in our directory run exactly this work, and the tradeoffs between printing a functional part and ordering it are set out in functional and end-use 3D printed parts.
For everything else the order of work is fixed: lay the clip down so the layers run along the beam, pick a material that tolerates strain instead of one that resists it, make the beam longer and thinner with a taper and a root fillet, let it relax when engaged, and measure what actually came off the plate. That is most of what people call a broken clip — and where it is not, the joint had outgrown the process, which is a cheaper thing to discover on a test coupon than on the fourth printed housing.
Hero photograph by Jakub Żerdzicki via Unsplash.