You printed the bracket, it came out well, and the only thing left was to open the mounting hole from 4.8mm to 5mm. The bit bit, the part climbed the flutes, and a split ran out of the hole and down the side. 3D printed parts crack when you drill them because a drill applies exactly the load a printed part is worst at carrying: an outward wedge against a wall whose layers are only welded together. It is not that printed plastic cannot be machined — it is that a twist drill is close to the worst tool for the job, and the hole usually should not have needed drilling in the first place. If the hole has to hold a real tolerance, the provider directory lists shops that will machine or mould the part instead.
This post contains affiliate links. If you purchase through these links, 3D Prototyping Hub may earn a small commission at no extra cost to you.
This post also contains Amazon affiliate links. As an Amazon Associate we earn from qualifying purchases.
Find Out Which Failure You Had
Four things go wrong when a bit meets a printed part, and they want different fixes. What the damage looks like tells you which one you got.
| What happened |
What it actually is |
Where to start |
| A split runs out of the hole along one line |
Wedging load opened a layer weld |
Reaming instead of drilling |
| The bit grabbed, spun the part, snapped it off |
Twist drill self-feeding into soft plastic |
Step drill or brad point, slower speed |
| The hole is oval, glazed, with plastic welded in it |
Frictional heat above the material's softening point |
Lower RPM, sharp bit, peck and clear |
| A chunk blew out on the far side |
No backing material at breakthrough |
Sacrificial block under the part |
| It cracked days later around a screw |
Hoop stress, not drilling |
Threads and inserts |
The first two are the common pair and they often happen in the same second — the bit self-feeds, the sudden grab becomes a wedge, and the wall opens along a layer.
A Printed Hole Is a Stack of Loops, Not Solid Plastic
Look at a sliced preview of any part with a hole in it and you will see what you are actually cutting.
The bore is formed by two to four solid perimeter loops, printed one on top of another, each loop welded to the one below over a contact band narrower than the line itself. Behind those loops is sparse infill — mostly air. Those loops are doing all the work: they are a continuous hoop of material in the strong direction, which is why a printed hole takes a press-fit pin far better than its infill suggests.
A drill removes them. You open 4.8mm out to 5mm and the first thing the cutting edge takes off is the innermost perimeter, which was the loop carrying the hoop load. If the wall is thin, what is left is one perimeter and some cut-open infill cells. The part has not cracked yet, but the hole has lost most of what made it strong, and the crack that appears when a bolt is tightened a week later starts there.
The consequence is a design rule more than a technique: put solid material where you intend to cut. Most slicers let you add a modifier region around a feature; raising the perimeter count locally to five or six, or setting infill to 100% inside a cylinder around the hole, gives the bit something continuous to work in and costs almost no print time.
Why a Twist Drill Grabs, and What to Use Instead
A standard twist drill is designed to pull itself into steel. The helix angle gives it positive rake, and the point angle turns the two cutting lips into a shallow screw. In metal, the material's stiffness limits how fast it can feed. In a soft thermoplastic nothing limits it, so the bit screws itself in, the feed rate becomes whatever the flutes decide, and the grab is violent — particularly on breakthrough, when the resistance disappears and the point snatches through the last layer.
Three tools behave better:
- A brad-point bit. The centre spur locates in the existing hole instead of letting the chisel edge skate across the bore, and the outer spurs shear the perimeter loops cleanly ahead of the flutes. A metric brad-point set is the cheapest change you can make to how printed parts drill.
- A step drill. It cuts on a shallow, near-neutral edge and physically cannot self-feed, which removes the grab failure entirely. Step bits are ideal for opening a hole in a thin printed wall and useless for a deep hole in a thick boss.
- A reamer. The right answer most of the time — see the next section.
If a twist drill is all you have, blunt the leading edge slightly with a stone so the rake goes negative. That one change turns a self-feeding bit into a scraping one, which is exactly what the plastics trade has always done.
Speed matters as much as geometry, and not in the direction people expect. The failure mode is heat: PLA softens around 60°C, which a dull bit reaches quickly in a blind hole. Once the plastic melts it welds to the flutes, and from there the bit is stirring rather than cutting. Run slow, feed steadily, and withdraw often to clear chips — if the swarf comes out as recognisable curls you are cutting, and if it comes out as fused strings you are melting.
Ream It Instead, and Print the Hole Small on Purpose
The fix that removes this whole category of problem is to stop drilling printed holes and start reaming them.
Printed holes come out undersized anyway, for reasons that have nothing to do with your tuning: a slicer approximates a circle with straight segments that fall inside it, the inner side of a curve gets slightly over-filled, and the first layers over a vertical hole sag inward. That dimensional behaviour is covered in full in why prints come out the wrong size. Rather than fight it, design around it — model the hole 0.2 to 0.4mm under and finish it.
A hand reamer takes a thin ring of material off an existing bore with multiple flutes, almost no rake and no self-feeding action. Turned by hand with light pressure, it produces a round, sized, smooth hole and puts almost no wedging load into the layer plane. It is also fast: a few seconds per hole, no clamping drama, nothing to snatch.
Measure first. Digital calipers on the printed bore tell you how much stock is actually there, and that number is specific to your machine, nozzle and profile. Guessing it is how a 0.2mm reaming job turns into a 0.6mm drilling job.
Finish with a chamfer. A hand deburring blade breaks the edge in seconds without the chatter that a power countersink produces in soft plastic, and it removes the raised exit burr that any cutting operation leaves on the underside.
Hold the Part Properly, Because It Is Hollow
Most of the dramatic failures are fixtured failures rather than cutting failures.
A printed part held in a vice is a thin shell over air, so jaw pressure that would barely mark solid plastic collapses an infill cell and starts a crack before the bit arrives. Clamp across the solid direction — through a boss, over a flat face, with soft jaws or offcuts of wood either side — and never on a wall with a hole in it.
Back the part up. A sacrificial block of scrap underneath keeps the material supported right through breakthrough, which is the moment the bit snatches and the moment the underside blows out. Printed parts that get drilled in mid-air lose a crescent of material off the back face almost every time, and that crescent is usually where the washer was going to sit.
Finally, put the hole in the right axis if you can choose. A hole printed vertically, around the Z axis, presents its layer welds in rings around the bore and resists the wedge much better than a hole printed on its side, where the drill is pushing directly into the weakest plane. The underlying mechanics are the same ones in why prints snap along layer lines.
The Material Decides How Forgiving This Is
The same operation on the same geometry behaves very differently depending on what the part is made of.
| Material |
How it cuts |
What to watch |
| PLA |
Chips rather than shears; lowest heat tolerance of the common filaments |
Cracks and melts — the worst of the group for drilling, and worse again if annealed |
| PETG |
Tough and slightly gummy; deforms where PLA splits |
Stringy swarf that wraps the bit; clear it often |
| ABS / ASA |
Cuts cleanly with powdery chips, tolerates heat well |
The best-behaved common filament under a tool |
| Nylon |
Very tough, will not crack, cuts gummy |
Burrs heavily; needs deburring on both faces |
| CF-filled grades |
Cut crisply and hold size |
Brittle matrix, abrasive dust — wear a mask, expect bits to dull |
If you already know a part is going to be drilled, tapped and bolted, that is a reason to print it in PETG rather than PLA before you start, not after the first one splits. Annealed PLA deserves a specific warning: the crystallinity that makes it stiffer and more heat-resistant also makes it markedly more brittle, so an annealed part that needs machining should be machined before it is annealed.
If You Are Drilling It to Tap It, Stop
A large share of these failures happen to holes that were about to become threads, and the thread is the thing that should change.
Cutting an M3 or M4 thread into printed plastic produces a fine helix whose crests are a fraction of a millimetre of material sitting across the layer welds. They shear. Heat-set brass inserts are the standard fix and they work by melting into an oversized hole rather than cutting it, which means no wedging load at all. Install them with a temperature-controlled iron with a conical insert tip, sinking slowly and square, and the joint becomes a steel thread you can undo repeatedly.
A tap set still has a place for M6 and above in a thick solid boss on a fastener that goes in once. The full breakdown of which option suits which joint is in why printed threads strip.
Do It In This Order
- Measure the printed hole with calipers. Write down what is actually there.
- If more than 0.5mm has to come out, reprint it closer to size instead — that is a slicer job, not a bench job.
- Clamp across solid material, with a sacrificial block underneath.
- Ream if you are sizing an existing hole. Step drill or brad point if you must cut.
- Slow speed, firm feed, clear the chips often; stop the moment the swarf turns stringy.
- Chamfer both sides and check the bore is still round before anything is assembled into it.
When to Hand the Part Over
Three cases are not worth another attempt.
Hole position across a batch is the clearest: reaming sizes a hole but cannot move it, and two holes that must sit a precise distance apart depend on the print and its shrinkage, which is the territory covered in tolerances and accuracy. Pressure-tight holes are the second, because cutting through the perimeter loops removes the continuous material that was sealing the bore — the same mechanism as printed parts that leak. Anything load-bearing with a bolt through it is the third, since the drilled hole has already lost its hoop reinforcement before the fastener is tightened.
For all three, a machined or moulded part costs less than the evenings. The comparison between the two methods is in CNC machining vs 3D printing, and the shops in our provider directory are listed by location and process and will quote from an uploaded file.
Everything else is a tooling choice. Print the hole small, ream it to size, back the part up, and the split that ran out of your last one does not have a mechanism to start.
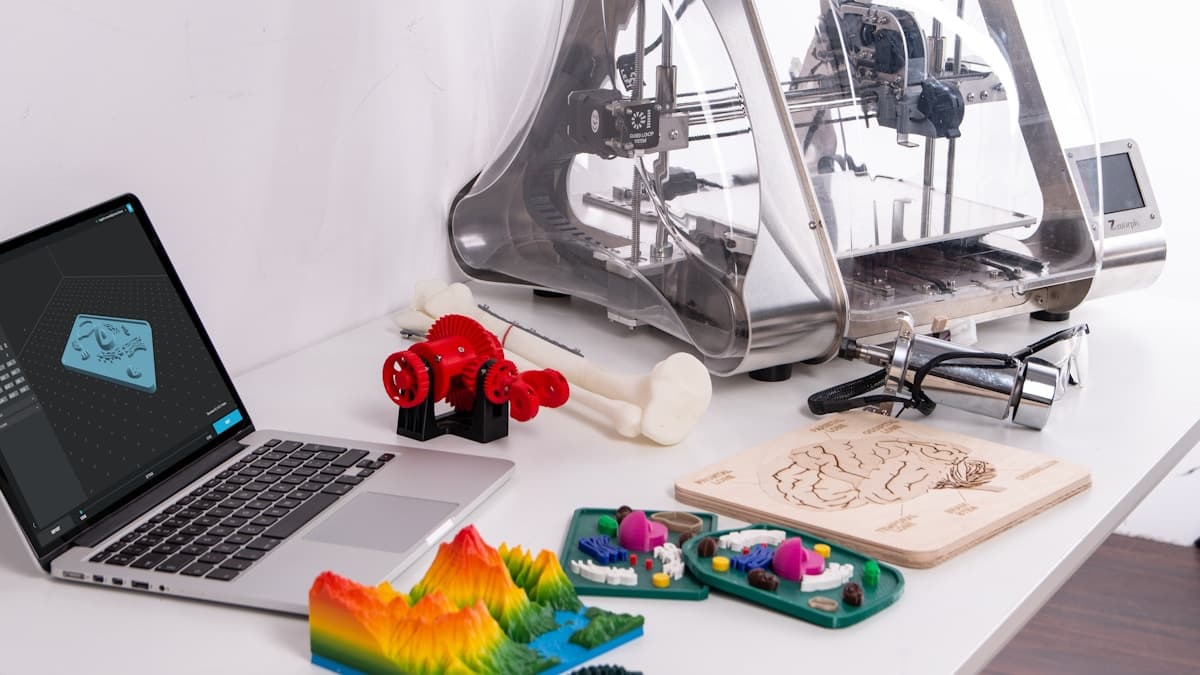
Hero photo by ZMorph All-in-One 3D Printers via Unsplash.